Instead of buying expensive lampshades, why not buy a less costly plain shade and dress it up just the way you want it. Not only will you be saving money, when you do it yourself, but you can also customize your lamp to fit your decor. DIY lampshades are the way to go when you want to update a look.
I have updated several lamp shades throughout my house and I am always happy with the unique designs that I can get with a few creative materials. It’s real easy to quickly add a little fabric paint to the shade for some custom color. However, here are some ideas that are a bit more rustic.
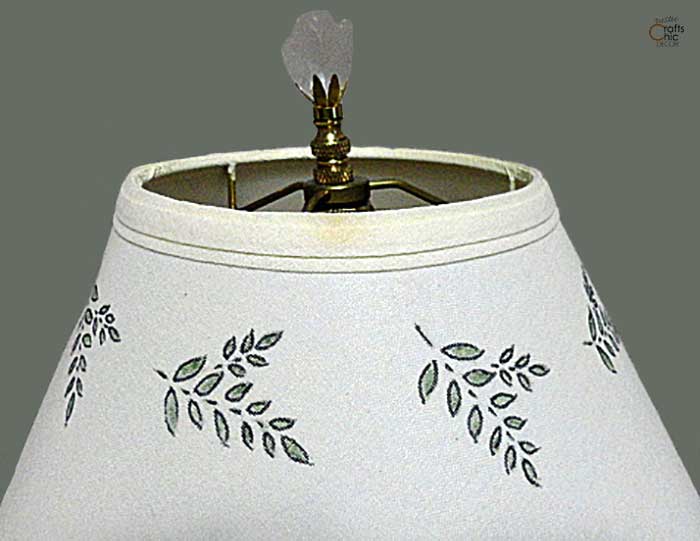
Updating A Lampshade With Paint And A Stencil
I used a simple stencil just around the top of this first shade to add a bit of subtle color. It was quick and easy and added a little style to an otherwise plain shade.
Here is another one that I stenciled but then also added some rustic touches.
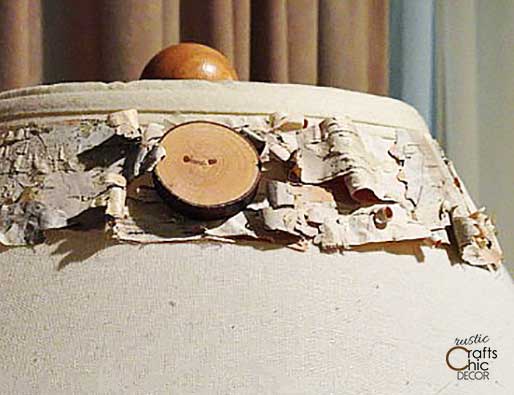
DIY Lampshade Using Birch Bark And Buttons
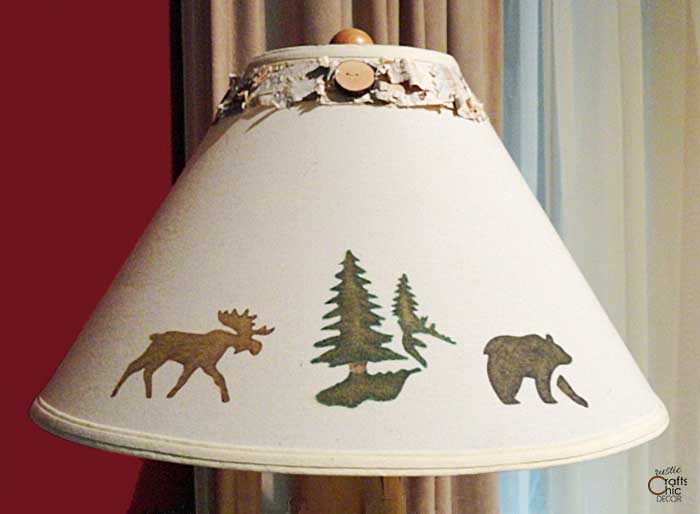
Once again, I used a stencil to paint a rustic image. After stenciling on the bear and moose pattern, I wanted to add some fun detail to the top. I used one of my favorite elements, birch bark, and glued strips of it around the top about an inch and a half wide. It still needed a little something so I added one of my homemade wooden buttons to the center by actually sewing it on to the lamp shade.
This next shade was a little more complicated but is a lot of fun to do.
How To Decorate A Lampshade With Birch Branches
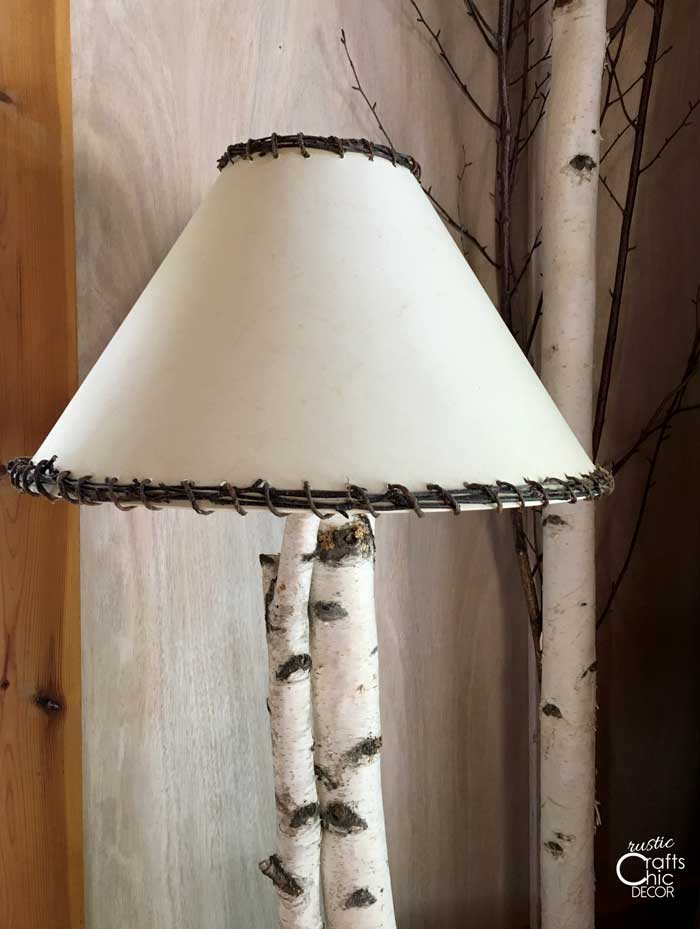
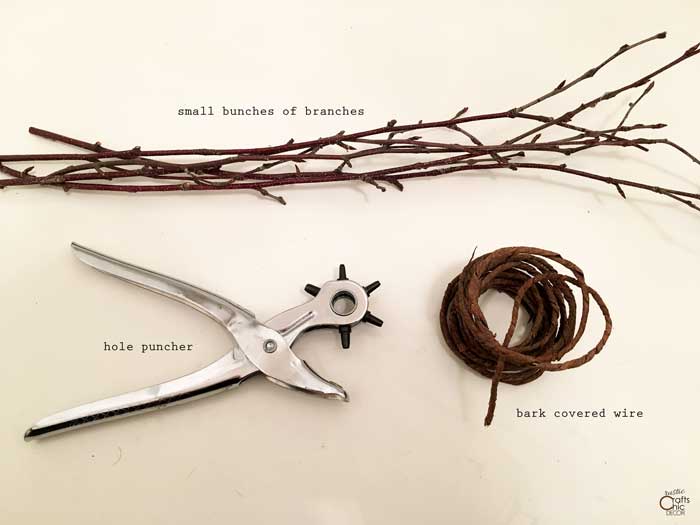
You need to use a hard parchment type shade for this lampshade decor. I had to punch holes in the top and bottom of the shade so I could weave a large piece of bark covered wire through the holes. I kept inserting birch branches through the wire as I was tightening it to the shade.
How To Weave In Branches
- Starting at the back of the shade, punch holes along top and bottom edges with the hole puncher. Space the holes about a half inch from the edge and one inch apart. Do this for both the top edge and bottom edge.
- Bunch together lengths of three or four new branches. They are flexible when they are first cut which is the time to do this.
- Cut a length of bark covered wire to about two and a half times the circumference of your shade.
- Insert one end of the bark covered wire into one of the holes at the back seam. Bring it in about one inch and then twist the inserted end around the long length of wire to hold it in place.
- Hold your bunch of branches against the edge of your shade and begin looping the wire up and around the branches and through the next hole. Keep adding small bunches of branches until you are once again to the back of the shade. Twist the leftover wire around itself to hold it in place. Then, cut off any remaining wire.
Rustic Chic DIY Lampshades
One of my favorite rustic chic DIY lampshades is this next one with branches and sequins. The shiny sequins remind me of frozen branches in the winter.
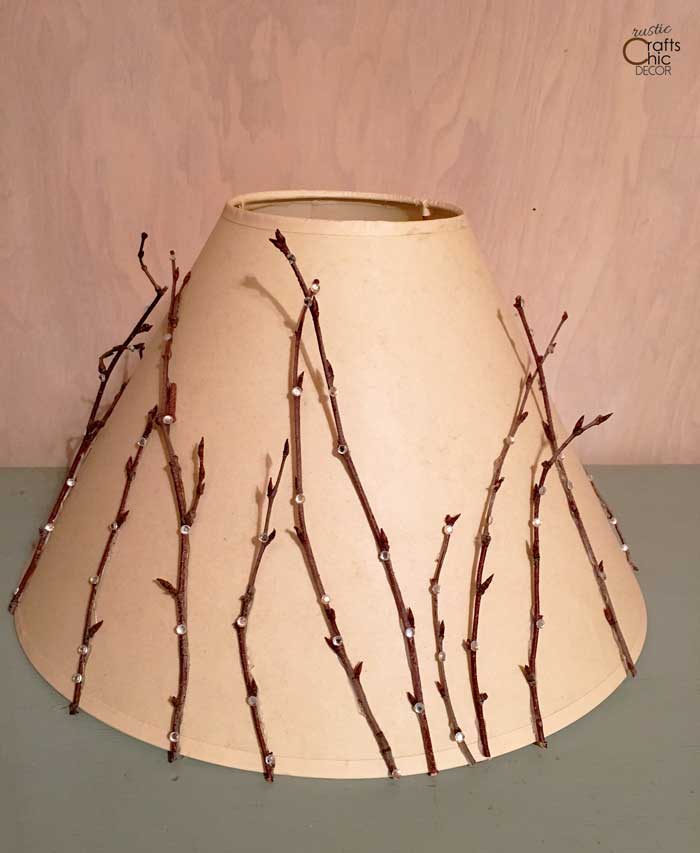
I just glued some birch branches from the base of the shade, up. For some extra glamour, I added some small rhinestone sequins to the branches.
Make sure to check out my rustic lampshade that is decorated with a vintage coffee sack! What ideas do you have for DIY lampshades in a rustic chic style?
Awesome lamp shades I love the lodge rustic look!!