Birch candles are a great way to accessorize a rustic space. However, sometimes you may want something a little more feminine or shabby chic. That is why I came up with this shabby chic birch candle holder craft.
How To Make A Birch Candle Holder Shabby Style
I love using birch logs for tea light candle holders because you get the look of pillar candles but they never burn down. You simply keep changing the tea lights! We find a lot of birch trees in the woods up by our cabin, however you can also buy birch logs from stores such as the Birch Bark Store.
I have made birch and other wood candle holders before with a drilled out hole for the tea light holder. For this craft, I decided to do it a little differently. I didn’t drill any holes for the glass tea light holder. Instead, I added a round piece of wood to the top of the birch log.
Shabby Chic Birch Candle Holder Craft

Materials Needed For Candle Holder
- cleaned and dried birch log section
- round wood piece in the same diameter as your log – 1/4 inch thick
- acrylic paint
- glass tea light holder and tea light candle
- decorative stamp
- burlap garland
- six to nine inch string of faux pearls, glass beads or ribbon
- tacky glue
Instructions For Candle Holder
- With a chop saw, cut a section of birch log to the desired length of your pillar.
- Paint your round wood piece in your desired paint color. Once dry, glue the woodsie to the top of your log. If your cut wasn’t perfectly straight, you will want to use wood filler to fill in the gaps.
- Glue a glass tea light holder to the top of the round woodsie.
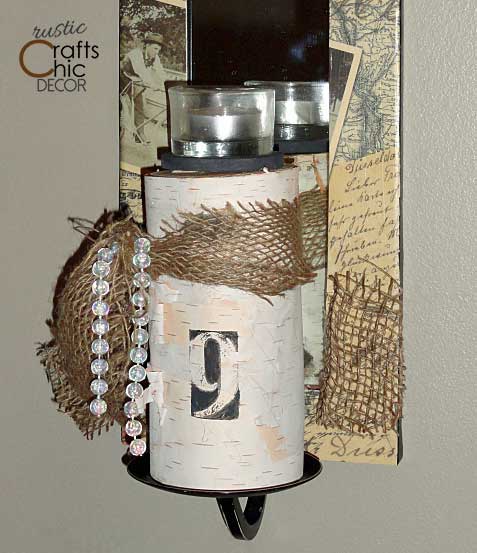
- Decorate the birch with a decorative stamp and wrap with desired garlands.
An Additional To The Shabby Chic Look
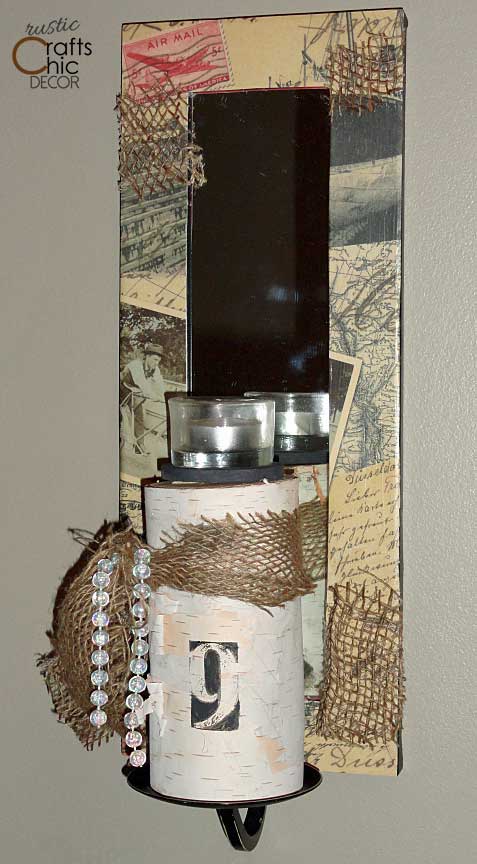
Because I had an old wall hanging candle holder, I decided to update that to place my shabby chic birch candle holder on.

 I could have left it black or even painted it white. However, I decided to have a little fun with paper. First I cut the top and bottom pieces and then I filled in the two sides. To adhere the paper to the frame, I used Mod Podge matte finish. I first secured the four pieces by applying the Mod Podge just to the bottom of the paper. Once I had all of the pieces in place, I went over the entire frame with another coat of the decoupage. When it was dry, I covered the seams with different sized pieces of burlap garland. I used the Mod Podge to secure these in place as well. Now I just had to add my candle!