The Christmas star is popular to decorate your home with during the holiday season. It represents the star of Bethlehem and is usually a focal point at the top of the Christmas tree. I like to make decorative stars because they are an easy shape to work with. These Christmas star decorations are made with flannel, burlap, and coffee sack material. All of the fabrics used offer an interesting pattern and texture for displaying on the tree or to hang from a mantel or shelf. See how to make easy star ornaments and garland that can be made from scrap material.
How To Make Christmas Star Decorations For The Tree
I made a combination of star ornaments and star garland as my Christmas star decorations for the tree. First up are the ornaments.
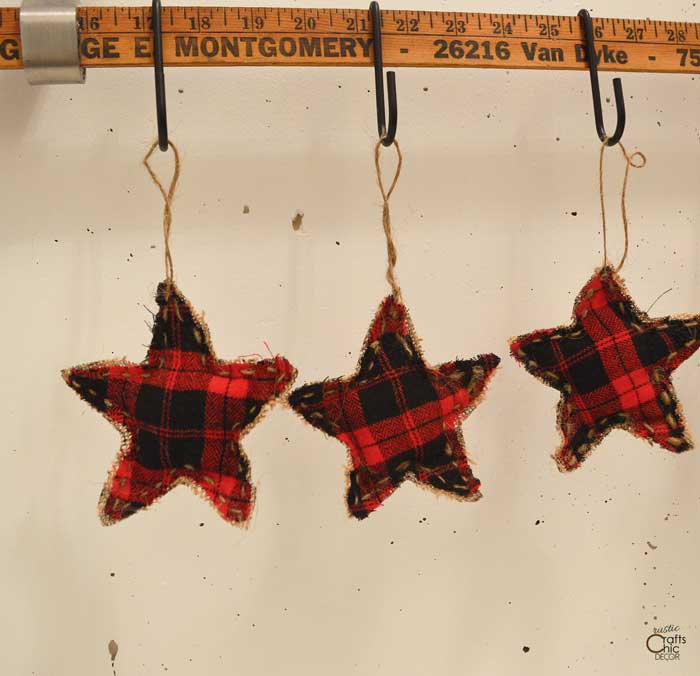
DIY Christmas Star Flannel Ornaments

Use scrap flannel fabric or an old flannel shirt to make these rustic star ornament. I used a combination of flannel and burlap to give an even more rustic look. They were hand sewn with twine to complement the burlap border and rustic style.
Materials Needed
- flannel material
- burlap
- twine
- pillow stuffing
- star cookie cutter or stencil
Instructions
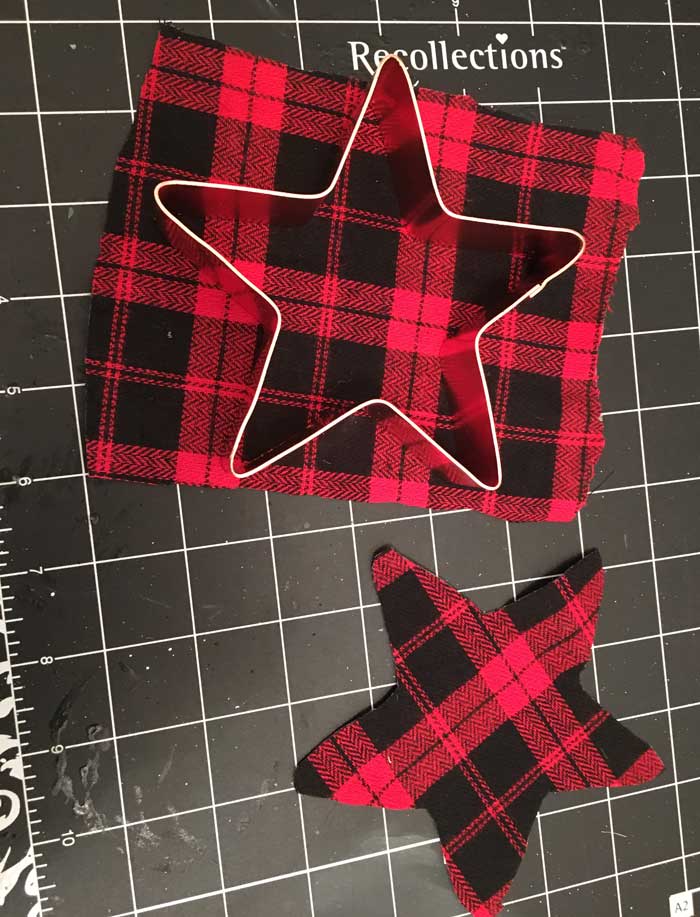
- Using a star shaped cookie cutter or a stencil, cut out your flannel star or stars. Next, cut out burlap stars just a smidgen bigger than the flannel ones. If you are using a star cookie cutter, you can basically trace inside the cookie cutter for the flannel stars and outside the cutter for the burlap stars.
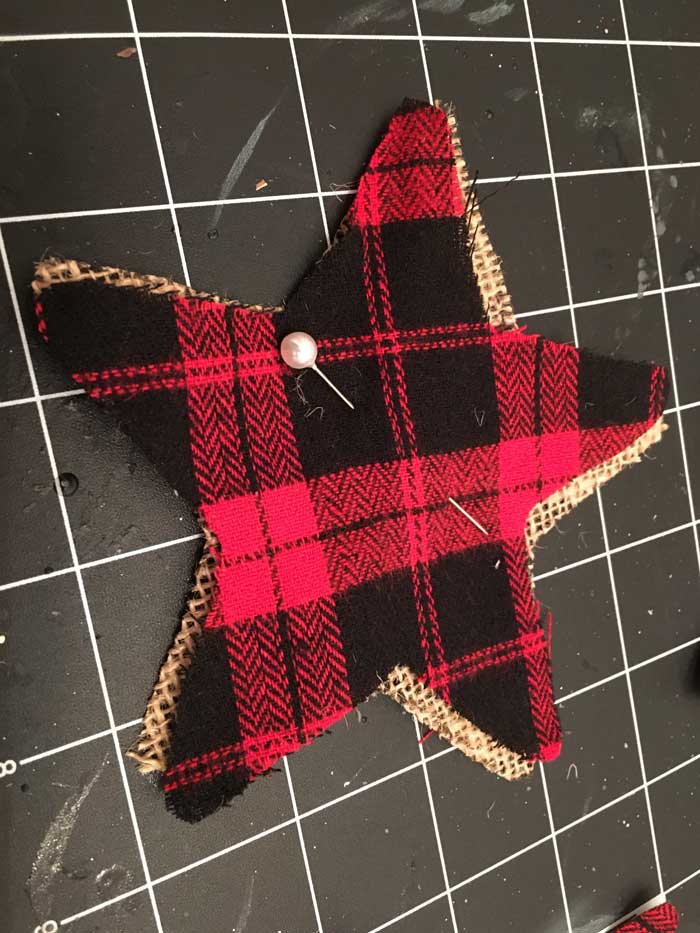
2. Line up the flannel star with the burlap star and offset just a little if you want more burlap to show in certain parts. Pin the two pieces together.
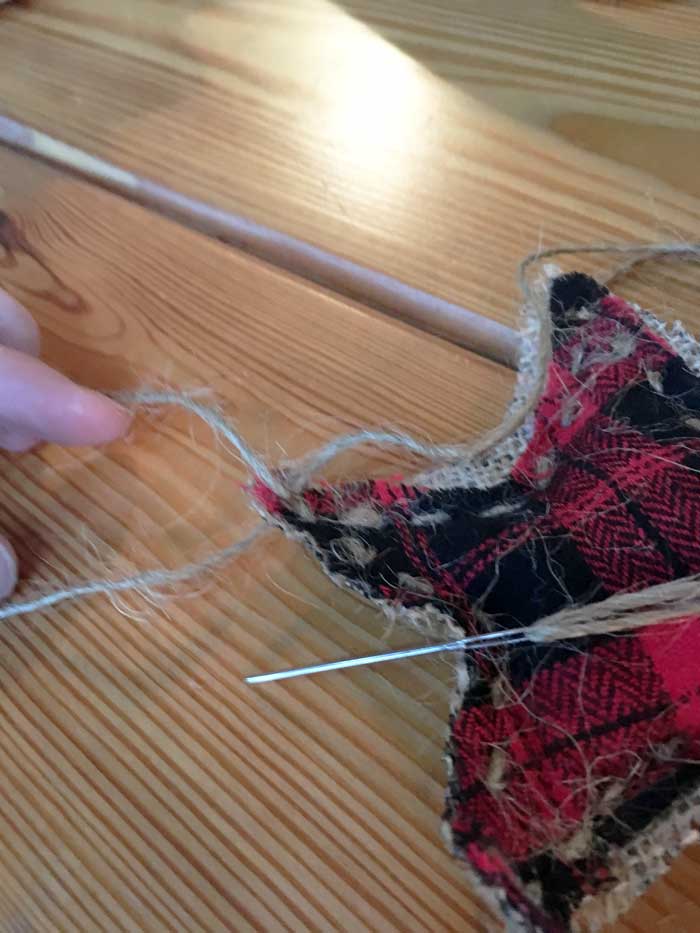
3. Hand sew the two pieces together with twine using a running stitch. When starting, have the knot of the twine end be in the middle of the two pieces so it won’t show. Start stitching at one of the points and continue around until you are at the last point next to your starting point. This leaves you with a small opening for inserting some pillow stuffing. Don’t tie off your twine yet.
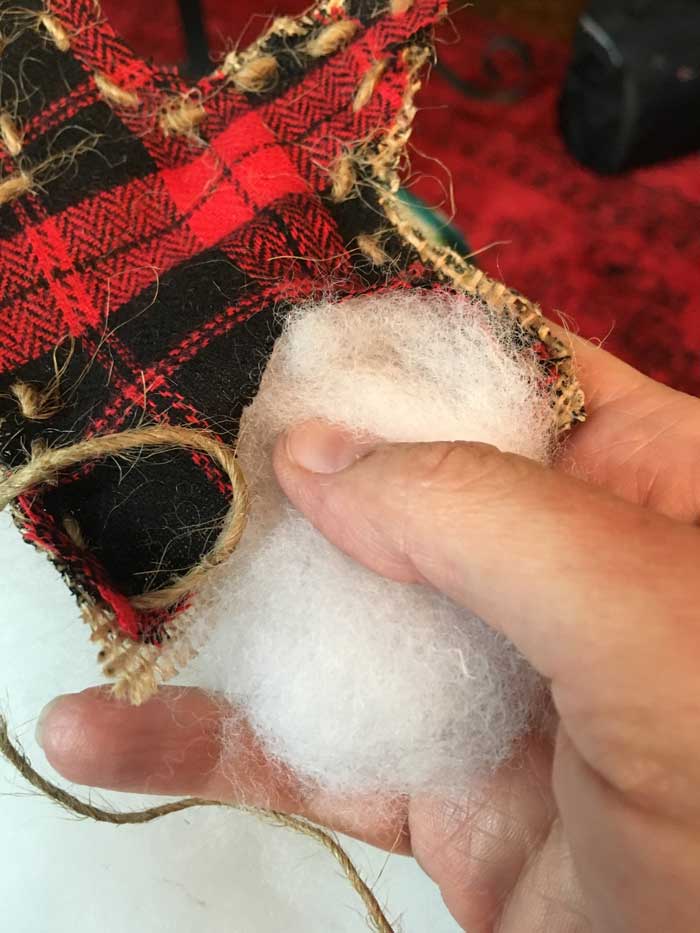
4. Add just a little stuffing to give the star some shape. Once you have the stuffing in place, continue stitching the star closed. You will end at your starting point. When you pass the twine through at that point, make a loop for hanging and then tie the twine off at the back of the ornament. This way, you are only using one length of twine for the entire process.
When you make your loop, you will then make one more small stitch to end at the back of the ornament for tying the knot.
Whip up several of these Christmas star decorations to decorate your tree or to use on gift packages instead of bows. Vary the fabrics for an interesting look. You could also make these stars into a garland or try the star and button garland below.
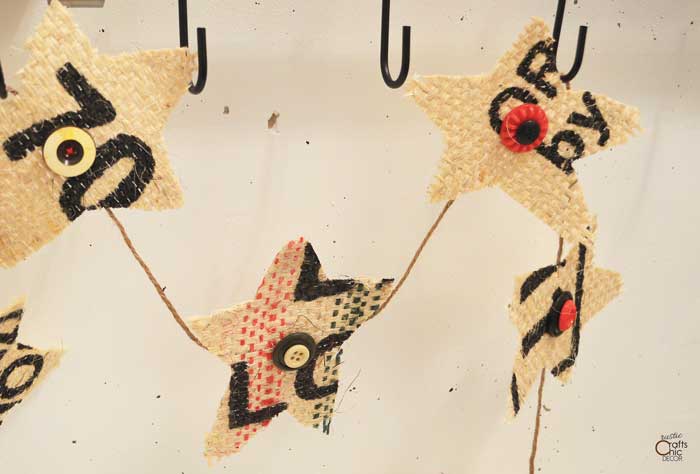
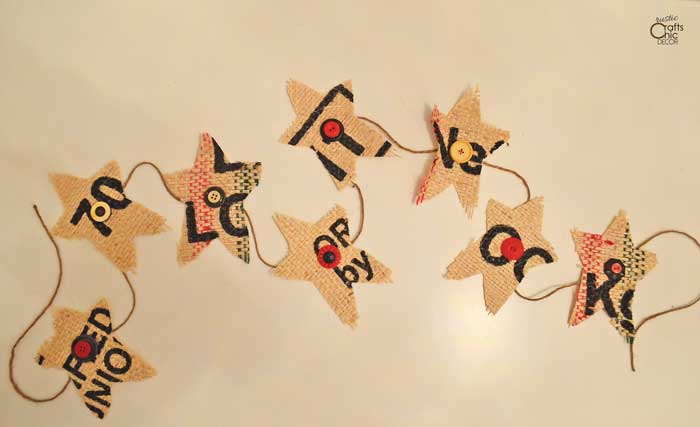
DIY Christmas Star Garland
Since this garland uses just one layer of fabric, it’s best to use a heavier weight material like a grain sack or coffee sack. The star shapes are just sewn onto a section of twine using buttons. This project is super easy to whip up quick.
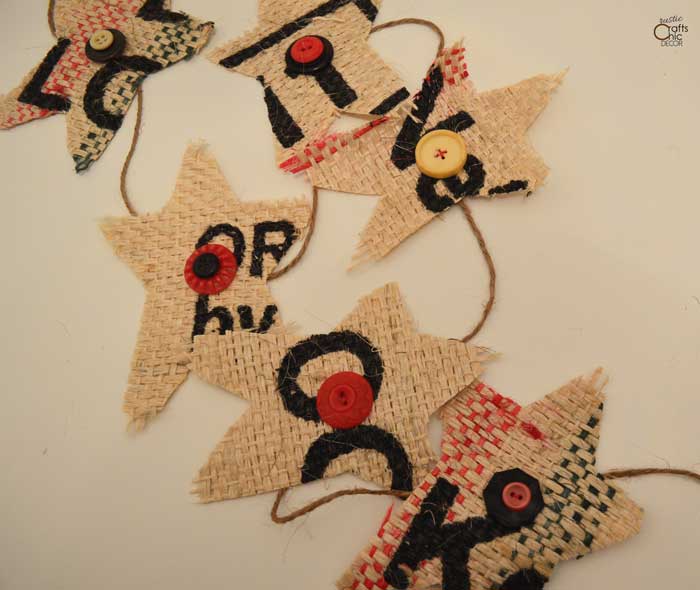
I used an old coffee sack for the material for this project. You can use any heavy weight material that you want.
Materials Needed
- coffee sack or any heavy material
- buttons
- twine
- thread
- star stencil, cookie cutter, or wooden star
Instructions
- Cut out as many stars as you need for the length of garland that you want. I had a flat wooden star that I used to trace around but you can use whatever template you have or draw out a star shape.
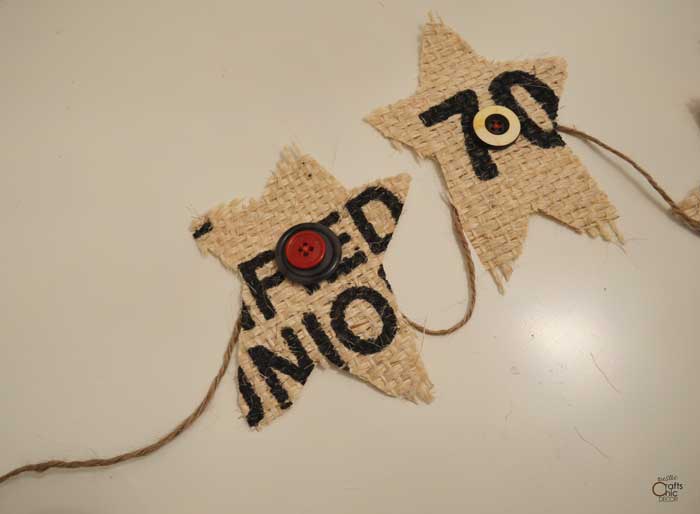
- Sew buttons onto the stars just enough to secure. For a fun look, layer some of the buttons.
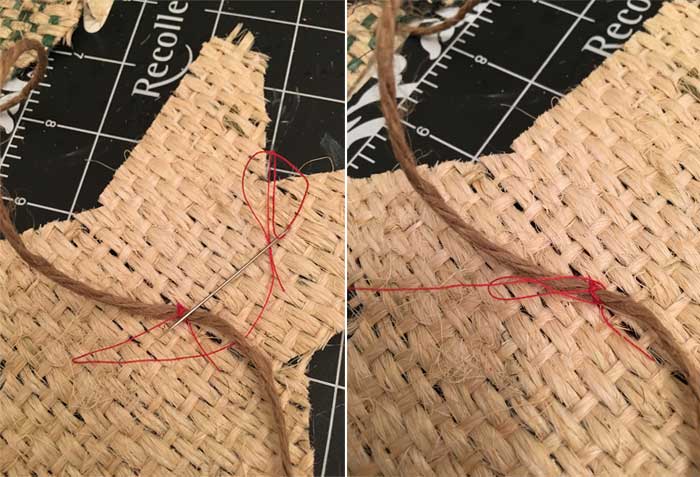
- Continue sewing the buttons onto the star but also secure them to your twine at the same time. When you pass through the needle going down from the button, loop it around the twine and then bring your needle up through the other side of the button. Do this a few times to secure the star onto the twine and then tie off your thread and repeat for the next star. I place my stars seven inches apart from center to center.
You can see that there is some fraying of the burlap. If your material does this, you can apply a little bit of Mod Podge to the edges to stop it from fraying more. You can also stitch around the perimeter to stop the fraying as well.
I’m looking forward to hanging this on my tree!
The coffee sack that I used for this garland was the same one that I used to make a Christmas stocking. I love when I can use every little scrap of material. That’s the nice thing about making Christmas star decorations. You can use small scraps of material so you don’t have a lot going to waste.
For another Christmas ornament idea, check out how I made tree ornaments using just cinnamon sticks and ribbon.