A blank canvas holds endless possibilities to the artist or crafter. I often look at all of the canvases, lined up in the aisle of the craft store, and wonder about all of the potential ways I could fill that blank space. However, I must admit, that I do get a little overwhelmed at the size of all of that white. I did make a giant collage once for our cabin but I prefer to work on projects at a bit smaller scale. Today I am sharing a DIY canvas art project using paint, stamps, and other embellishments.
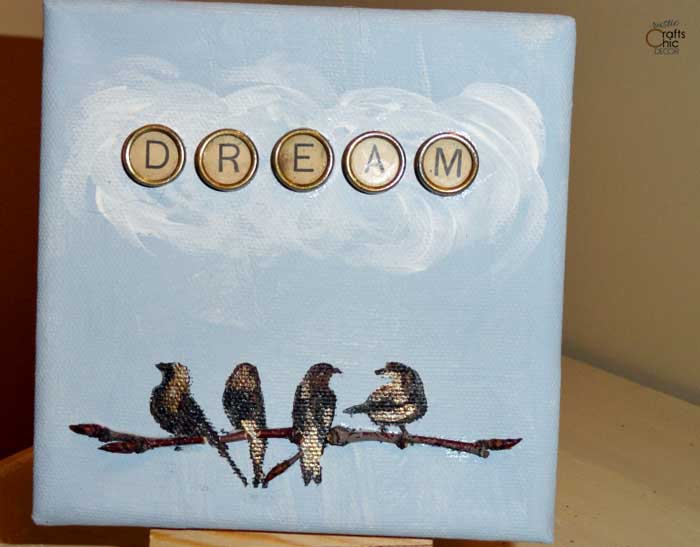
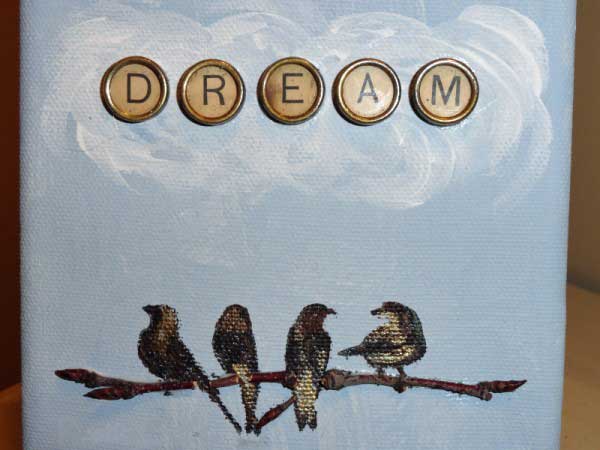
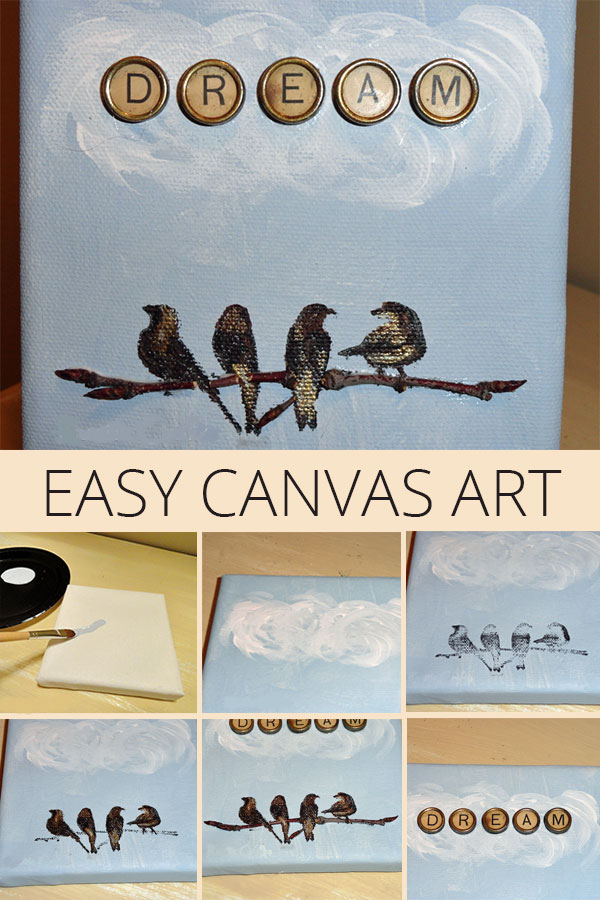
Since I wanted to start with a small project, I picked up just a 5″x 5″ square canvas with a cute little easel. This is a fun size for doing an inspirational desktop display. I chose to do a simple design of birds on a branch. To make it a little more inspirational, I also added an uplifting message. Since I had some vintage typewriter keys, I decided to spell out the word “dream”. I also played around with another look using an embossed sticker. Since I love to play with paints and stamps, the rest came together quite easily. Here is what I did.
DIY Bird Canvas Art Instructions
Materials Needed:
- small 5″ x 5″ canvas
- small easel
- blissful blue acrylic paint
- white acrylic paint
- burnt umber acrylic paint
- pure gold acrylic paint
- white acrylic paint
- medium paint brush
- fine tip paint brush
- birds on a branch stamp
- ink pad
- tacky glue
- E6000 craft glue
- small twig
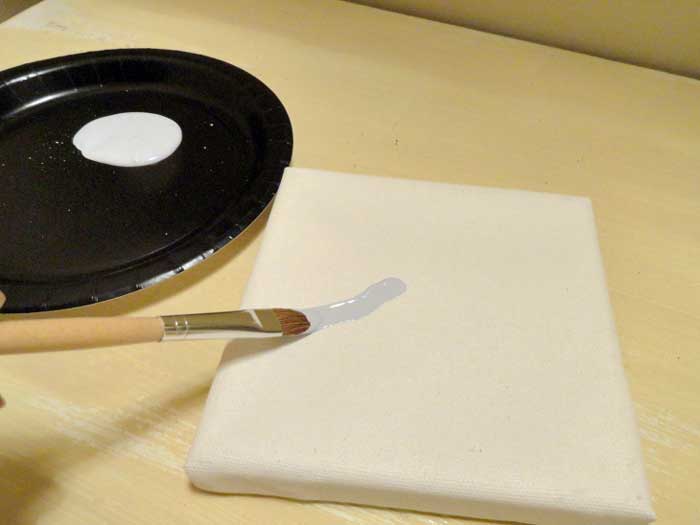
1. Paint the entire canvas with the Blissful Blue paint.
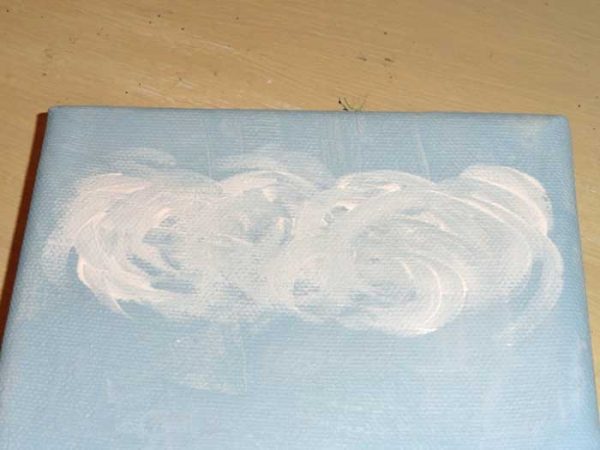
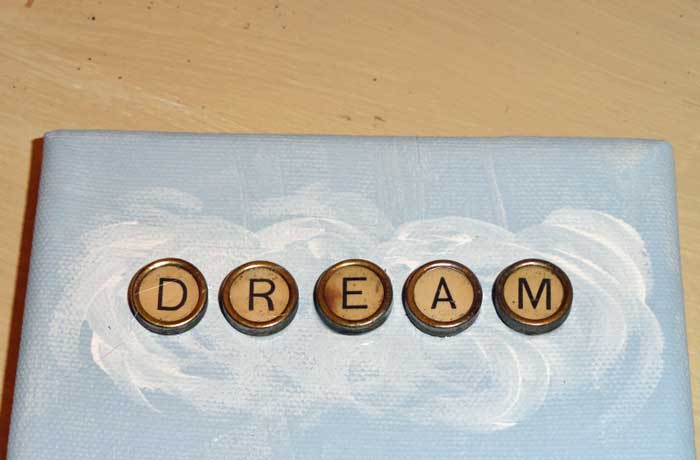
2. Using the white paint, paint some clouds, at the top of the canvas, by making a swirling motion with your brush.
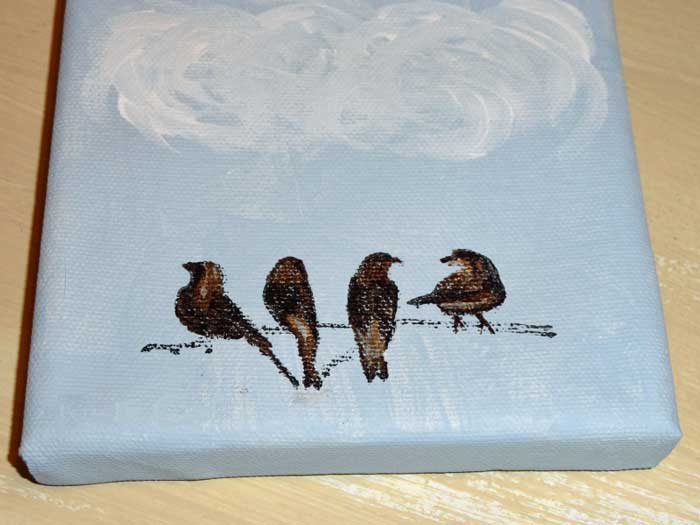
3. Press your stamp into your ink pad and then press lightly to the bottom of canvas. This basically makes the outline for filling in with paint later.
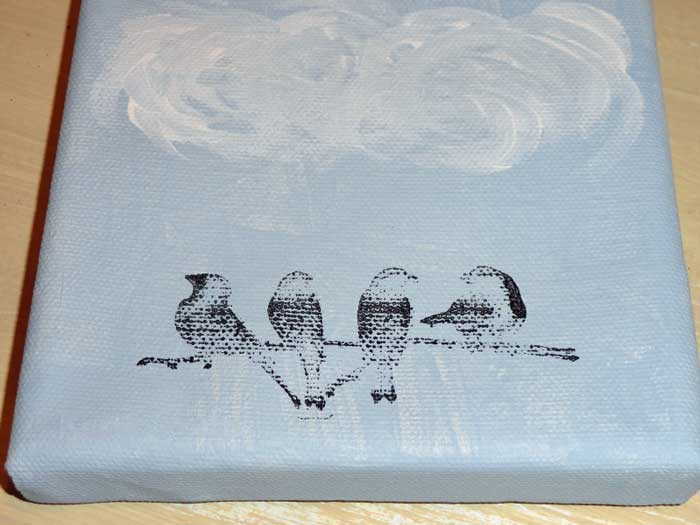
4. Using your burnt umber and pure gold paints along with your fine tip paint brush, fill in the birds with the paint. I like to define the wings with the darker paint and use the gold to highlight.
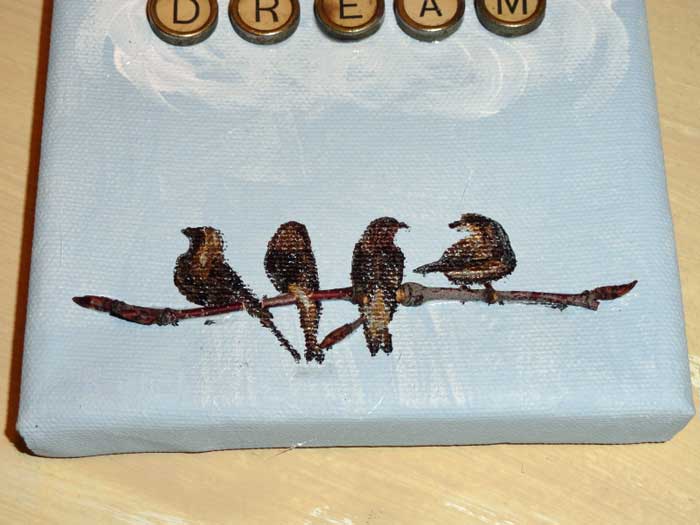
5. Cut or break your twig and glue it over the stamped twig with tacky glue. I had five separate sections that were glued in between the birds.
6. Glue your typewriter keys, centered in the clouds, with E6000 craft glue. You can also just use tacky glue which will probably hold up just fine.
And here is a close up of the finished art canvas.
The other option that I played around with is this version with the embossed sticker.
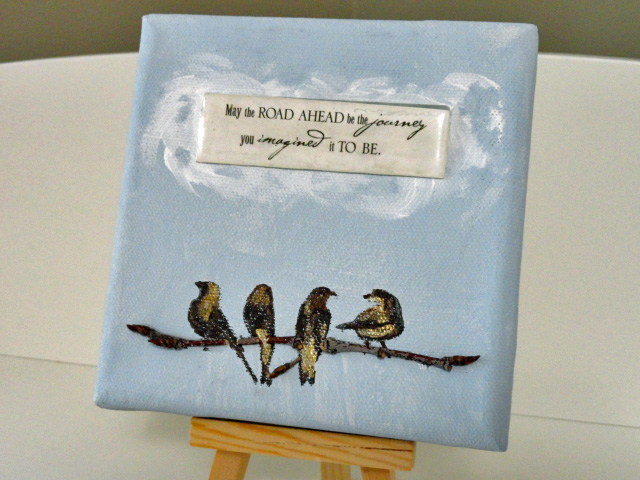
I love all of the embossed stickers that are available at craft supply stores. You can find several different messages and shapes of the stickers. It’s an easy way to get words onto a canvas easily.
How lovely, and creative. It’s perfect! Thank you for joining us at the Thursday Favorites Hop. Wishing you a happy weekend! xo P.S. Have you entered the Pink Poodle giveaway yet?
Thanks Katherine! I’m going to check out the contest now!