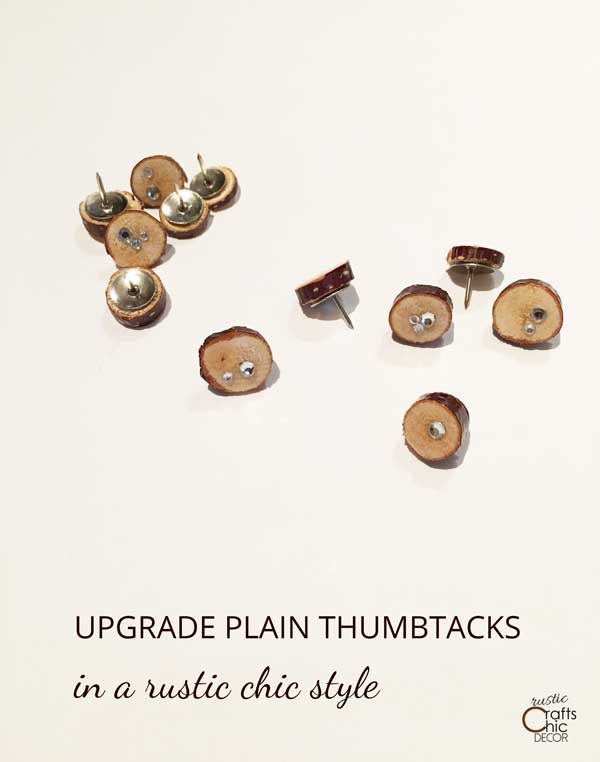
The other day I was looking at my bulletin board and realized that it could use a little more style. For one, the thumbtacks, on my board, were just standard and plain. It’s funny how even the smallest of details can make a difference with what inspires you. Since your everyday standard thumbtacks don’t really add much style, I thought I could probably just make my own. Using those plain thumbtacks as a base, it’s easy to give them a fun upgrade. My DIY thumbtacks are very rustic chic. By using branches and clear shiny sequins, I was able to create a style that I like and dresses up my bulletin board.
Although you can buy plenty of decorative thumbtacks, I have never found exactly what I was looking for. That is what I love about crafts and DIY projects. You can easily customize even the smallest of objects to fit your style. I could take what was in my head and make it reality. Thumbtacks are an easy enough project that I could quickly get a nice supply in no time at all.
One of my favorite things to decorate with are branches. You can make so many cool things with branches. Whether I stick them in a vase or make decorative accents, they are definitely my go to supply. Since I especially love a rustic chic style, I thought of upgrading thumbtacks with branch slices and a little glitz.
How To Make Thumbtacks Rustic Chic
Upgrading plain thumbtacks isn’t hard. It’s just a matter of gluing whatever you want to a plain flat head thumbtack. The hardest part of these DIY thumbtacks is slicing the branches. And, even that is not hard with the right tool. To cut my slices, I used a chop saw that was a little overkill. However, it was out and readily available so I went for it.
Slicing The Branches
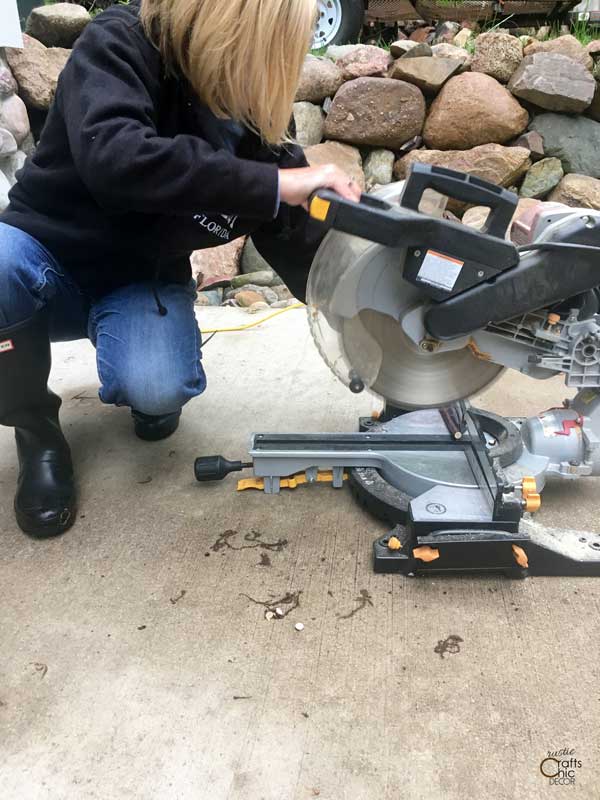
The chop saw that I used had a twelve inch wide tooth blade. This is meant for much larger pieces of wood. However, it did the trick. My little slices did go flying everywhere though. So, it was a bit of a search and rescue when I was finished. For future small projects, I plan on buying a smaller miter saw with a smoother blade. The cuts with this larger saw were still okay but I felt like I needed to sand them a little to get them extra smooth. If you don’t have a chop saw, a small hand saw would work as well. It would just be more time consuming and harder to get a straight cut.
I should also mention that I used a birch branch that had dried naturally for over a year. Since I do a lot of projects with branches, I always have dried branches on hand. If you cut a fresh branch, you will want to dry the slices out after you cut them. This can be done a lot like drying acorns. Just put them in the oven at 200 degrees for about an hour. However, since the wood slices are so small, I would wrap them in tinfoil first to prevent any scorching. Also, I would not recommend using a fresh pine branch. They are just too sappy and hard to work with.
Sand And Seal Slices
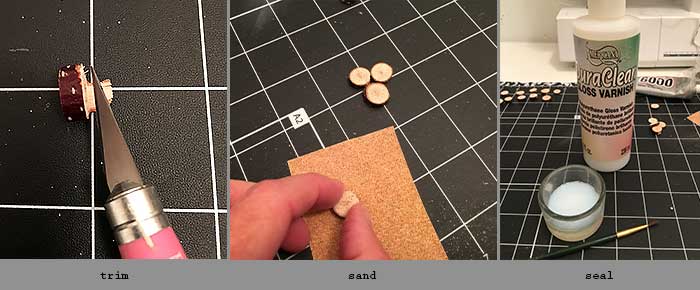
The first thing that you will want to do is trim any edges that have little frays left. A razor knife works great for this. You might only have a couple that need trimming or none at all. After that, sanding is an option. You may not need to sand your slices but if the cut left the finish a little rough, they are easy to take care. I just laid out a piece of medium sand paper and rubbed the wood slices over it. It may seem like a lot of fussiness for such a small project but the slices will look better, once sealed, if they are smooth. Once the slices are smooth, you can seal them off with varnish. I ended up putting four coats of the Dura Clear gloss varnish on. It’s water based so it tends to soak into the wood at first.
Final Touches For The DIY Thumbtacks
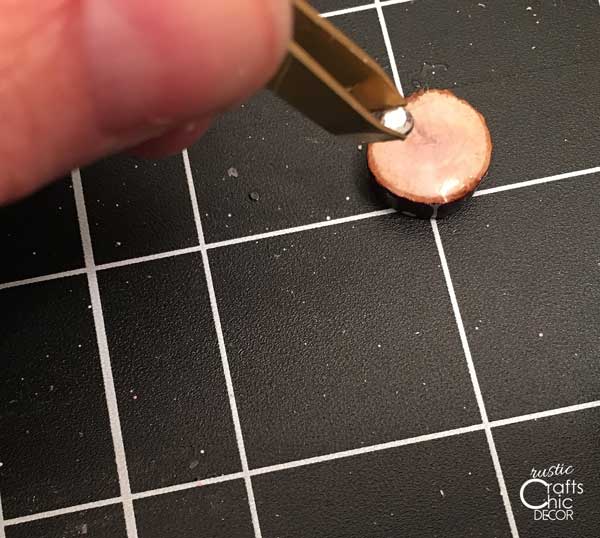
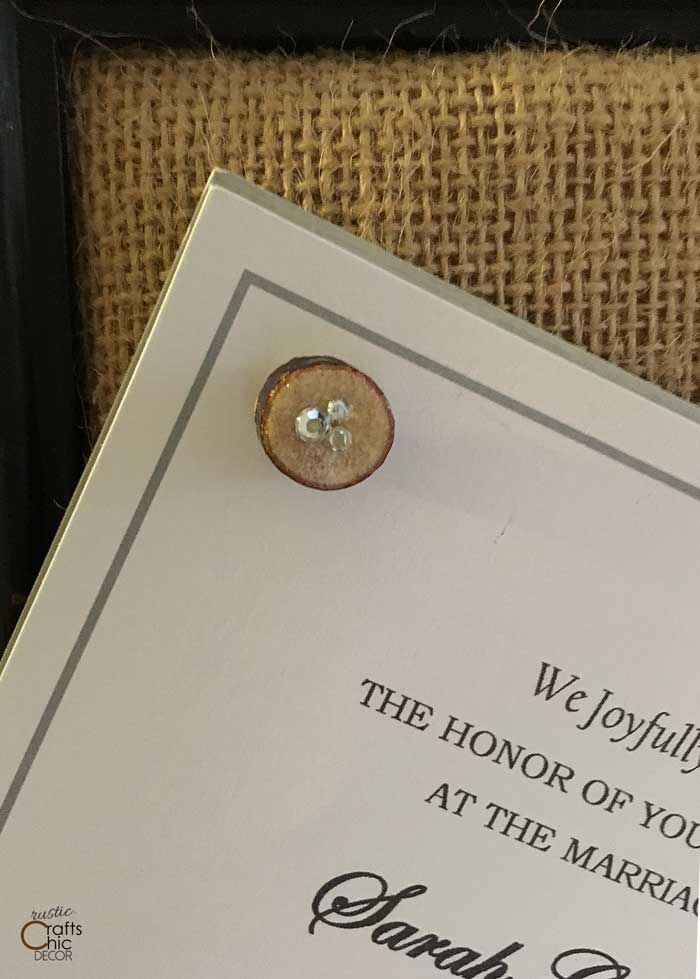
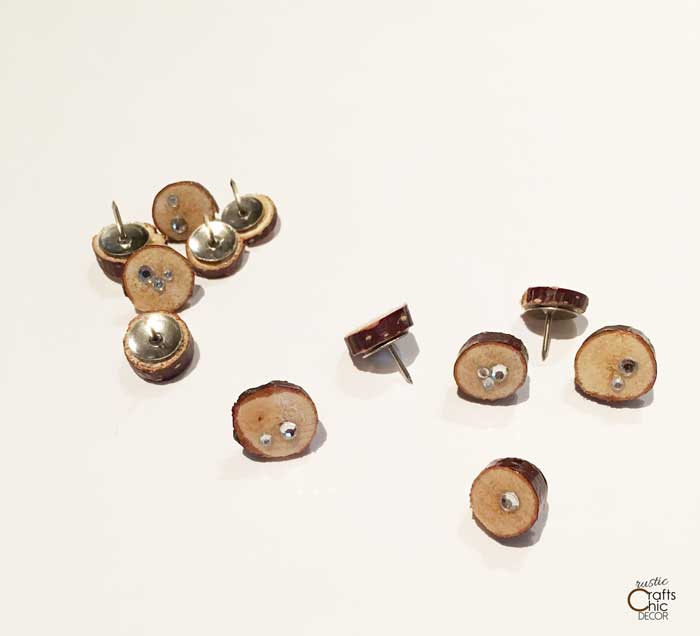
At the point that I got to my final coat of varnish, I dropped between one and three crystal sequins onto the wet varnish. Once the varnish dried, the sequins stayed in place. This was actually an experiment for me because I wasn’t sure how well the varnish would hold the sequins. Luckily, it worked perfectly. The varnish acted just like glue. I was really hoping for that result because I didn’t want to try and put a drop of glue under the sequin. It would have surely oozed out and made a mess since I didn’t have a fine tip glue container. Using tweezers to drop the sequins also really helped with the placement. After getting all of the sequins in place, I let the varnish dry completely.
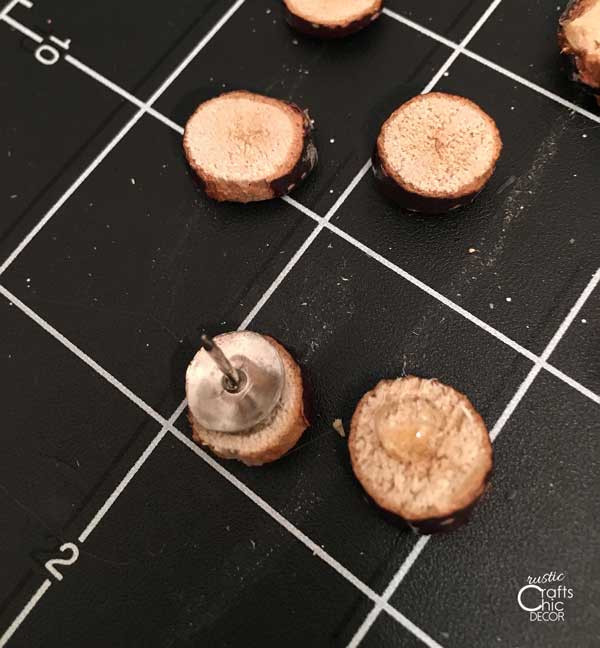
Once the varnish was dry, I flipped the branch slices over to attach the plain thumbtack. Using a drop of E6000 craft glue, I pressed the thumbtacks onto the wood. I have had extremely good luck with using that glue so I knew it would hold up to continually pulling tacks out of a cork board. And that is all there is too it for rustic chic DIY thumbtacks!
Now I’m just looking for things to hang on my board! If you prefer using a magnet board to a bulletin board, simply glue a round magnet to the back instead of a thumbtack. You might also want to check out my post on making magnets out of bottle caps and pebbles.
Great thumbtacks crafts. Unfortunately, I don’t have a saw. Is it possible to cut branch end with a knife?
I’ve never tried cutting branches with a knife but it may be possible. A sharp serrated knife might work best.