Knowing how to distress wood is a beneficial skill for decorating rustic chic. If you’ve recently purchased or built a new piece of furniture but want it to look used and distressed, follow these simple steps to give new wood an antique, vintage feel.
How To Distress Wood
What you’ll need:
- Wooden furniture or wooden item you’d like to distress
- Fine-grit sandpaper
- Paint in two different colors (one light, one dark) in satin of flat sheen
- Paint supplies (brushes, rollers, etc.)
- Hammer, chain, nails and/or meat tenderizer for physical distressing
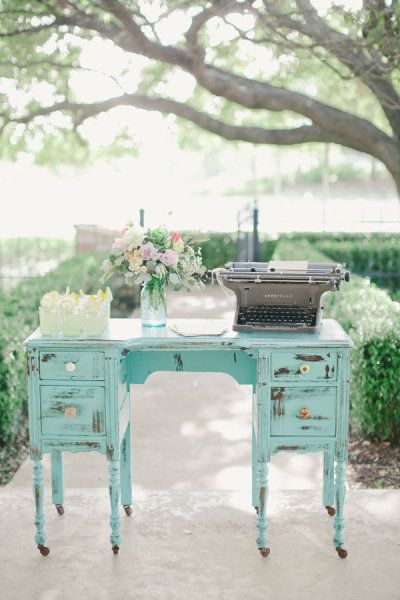
Photo via Style Me Pretty
Step 1
Physically distress the wood. Since there are so many ways to distress the wood, experiment on scrap wood until you find what works for you. You can drop a hammer on a tabletop or smack it with a chain for more obvious marks. A hammer can also be used to flatten corners of a table to make it look even more used. You can fill a sock with nuts, bolts, and nails and hit the wood to create softer divots. A meat tenderizer also works great. Just hit the wood at different strengths to create random marks. You can even throw stones at it or cover it with gravel and place another piece of wood of equal size on top of the gravel and walk along it or “surf” it. When physically distressing a piece of furniture, always keep in mind which areas would normally be worn down by regular use and distress those areas more. For chairs, focus on the arms and edges. When doing a table, distress the entire tabletop, edges, and legs. And, for barstools, pay attention to the rungs and legs.
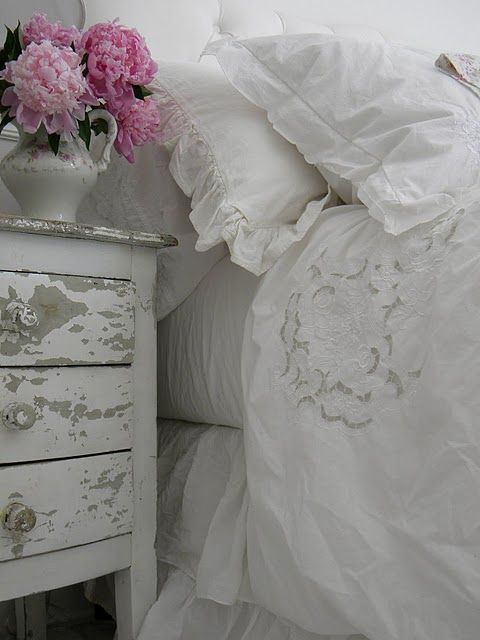
Photo via Pinterest
Step 2
Next, use distressed painting techniques. Use a paintbrush to apply a coat of your flat, darker base color. You can experiment with different shades and thicknesses until you achieve the look you want. While you should paint the entire piece of furniture, it doesn’t have to be even. Allow the paint to dry for about 24 hours.
Step 3
When applying your flat, light top coat, you can choose to either apply it as is or thin the paint out for a more washed look. To thin the paint, add a teaspoon of water at a time until the desired consistency is obtained. Experimenting on a piece of scrap wood is a good idea to get the exact look that you want. Use a foam brush to paint on your topcoat or wash. For a more antiqued look, wipe down areas of the furniture while the paint is still wet. Allow the paint to dry for about 24 hours.
Step 4
Lightly sand the entire piece of furniture with fine-grit sandpaper, letting the darker base color show through where it would normally receive the most wear. For further distressing, sand the edges, arms, and legs.
Written by Kelly Mahan, also writer for homeyou.com, a company that helps homeowners connect with reliable contractors for their home improvement projects. Check more on Twitter, Pinterest, and Instagram: @teamhomeyou
I distressed a china cabinet. It was and old china cabinet my mother and father used for years while I was growing up. A couple years after I was married my mother gave it to me. After about 10 years or so, Refinished it and gave it a distressed look. I enjoyed doing this project and may give it to my daughter when she needs a china cabinet for her own. Here are some pictures of how it turned out.
Thanks and am enjoying your blog,
Jen