What do you do when you have an old salvaged door, kitchen chairs you no longer need, and a blah patio space? I decided to use those items to spice up our patio just a bit. The patio before was basically just a space to store our grill. Since we normally use the upper deck for gathering, the lower patio was left unnoticed. I changed that now with a fun little patio makeover.
I really hate to throw out anything that could still have potential use. Whenever I can repurpose or makeover an old item, I am a happy girl. A lot of times my repurposes come from items straight out of my house. However, sometimes we pick up old stuff from flea markets, antique stores, or even the trash dump! In fact, that’s exactly where the salvaged door came from. The saying is true that one man’s trash is another one’s treasure!
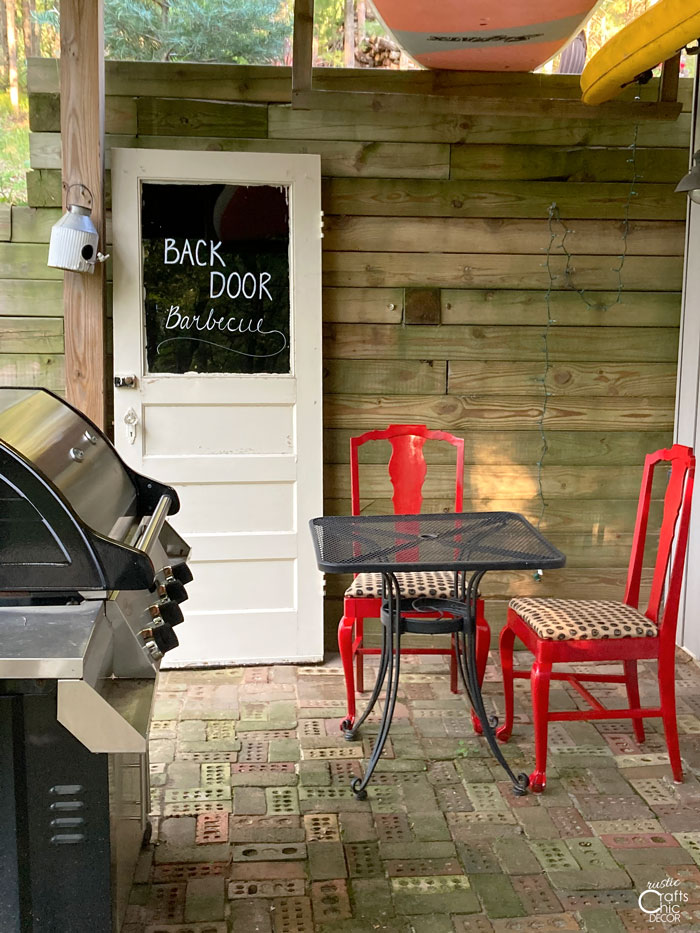
By giving a little TLC to the old door and my unused kitchen chairs, I was able to create a welcoming space to sit while grilling.
This post contains recommended product links. If you make a purchase through one of the links, I may earn a small commission at no extra cost to you.
Salvaged Items Get A New Look For The Patio
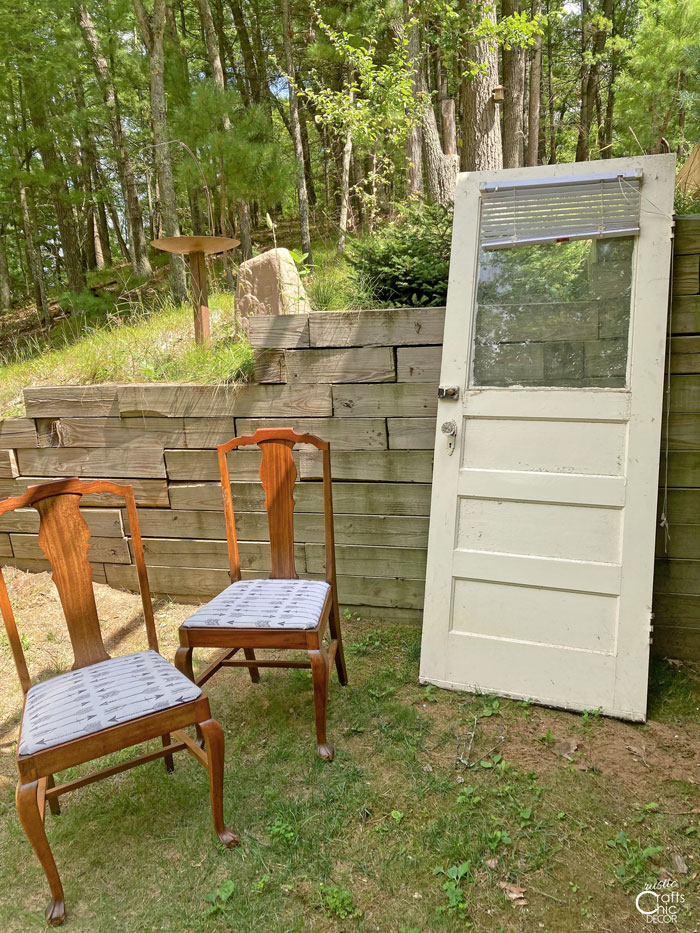
To start, I love the look of the old door. I simply removed the blind and cleaned it up. Then, I set it aside for one final step and went to work on the chairs.
The chairs came out of our cabin kitchen. I didn’t mind the look of them but wanted something a little more cheery for the patio. Since we have touches of red decor throughout the inside and outside of the cabin, I decided to paint the chairs red as well.
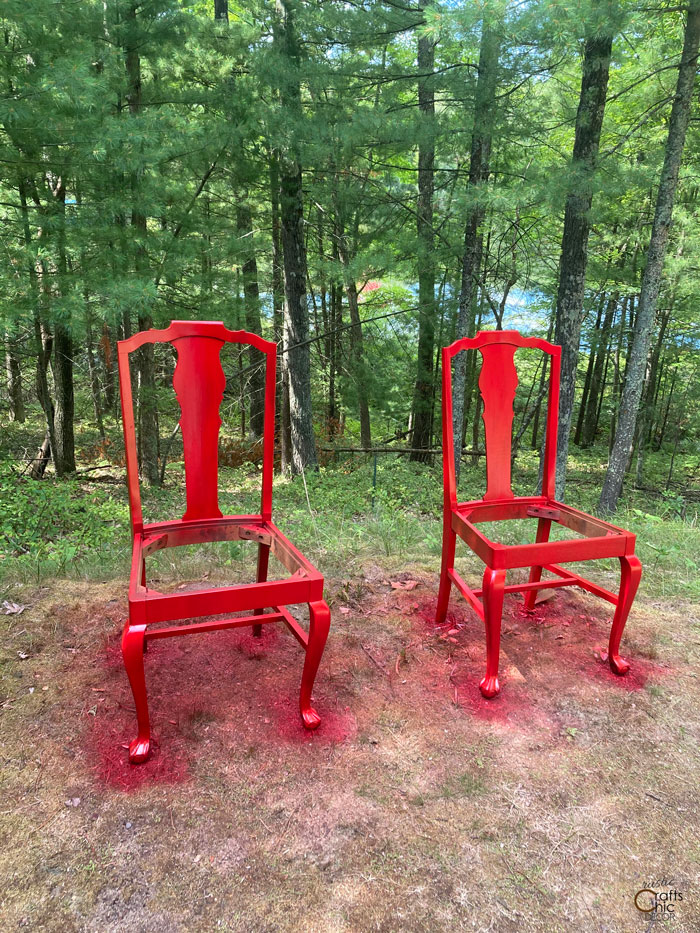
I began by removing the seats and then painted the chairs with a red exterior spray paint. I only needed to do two light coats to get the coverage that I wanted.
Since I was changing the color of the chairs, I thought I should change the seat fabric as well. I went with a heavy burlap that will hold up well outside.
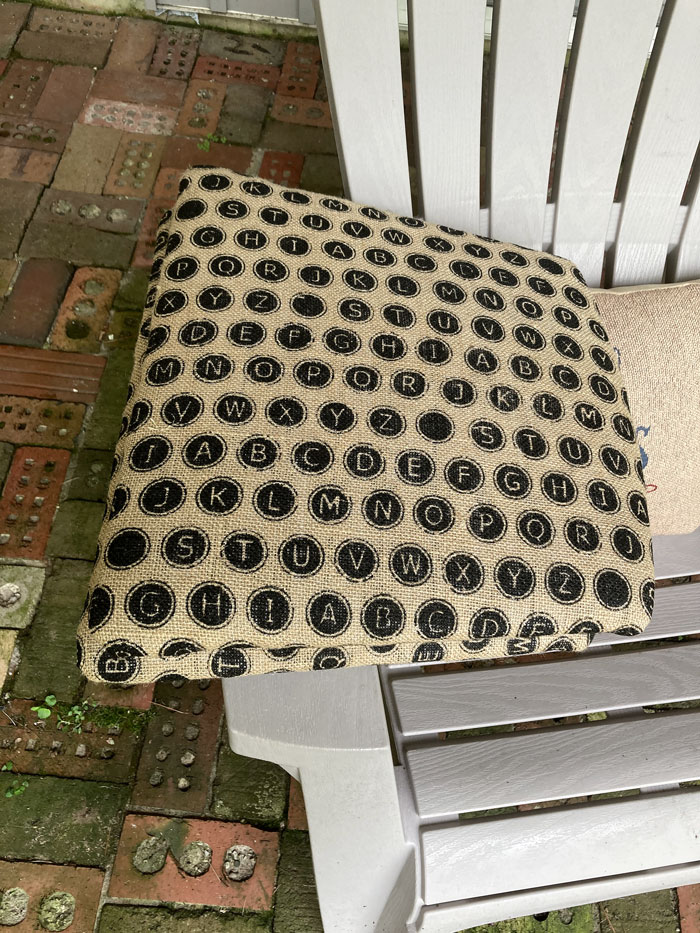
I was going to use plain burlap but then I found this burlap, with a typewriter key pattern, in my stash of fabrics. The design looks playful and cheery to me. All I did was wrap the existing seats in the burlap. I used a heavy duty staple gun to secure the fabric in place to the wood base underneath.
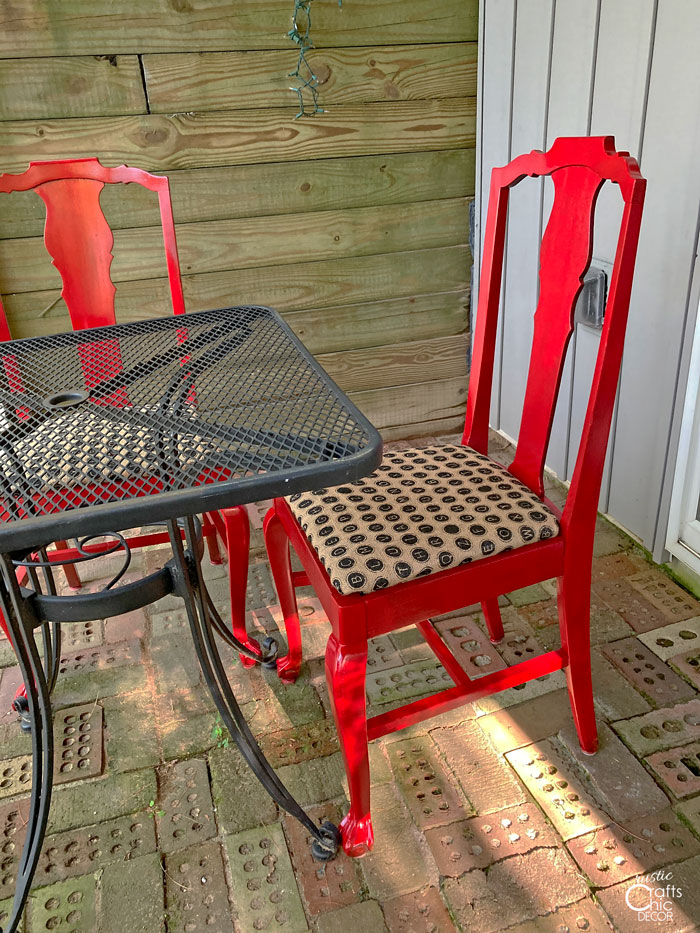
Once the paint was dry and the fabric was secured to the seats, I reattached the seats. It’s such a different look than before and more suited for a rustic patio. I just needed one more thing for my patio makeover.
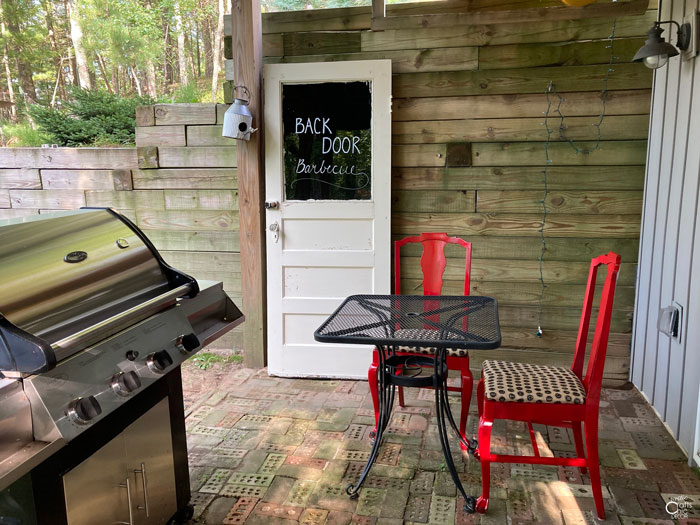
With the chairs complete, I went back to work on the final step for the door. At first, I was going to paint the window with chalk board paint to turn it into a chalkboard. Instead, I painted the window at the back side with two coats of black paint. Then, when I turned the door around, I had smooth surface for writing with a chalk marker. It’s a less messy way of writing a little sign.

My patio makeover is complete! Now I just need to grab a glass of wine and watch my husband grill!