Because my husband and I have incorporated so many unique DIY projects and decorating ideas into our cabin, I thought I would give you a little cabin tour. This tour starts with the actual construction process and ends with the finishing touches. See how we installed a brick interior wall, finished our OSB floor, made a concrete sink, and many more fun projects.
Northern Michigan Cabin Tour
Having a cabin in the woods of northern Michigan was always something we aspired to but with a busy family wasn’t exactly a priority or even affordable before 2010. However, in 2010 that dream became a reality. With two of our three kids out of the house, the slower pace made the timing just right. Of course, when things get a little slow for my husband and I we usually don’t add just a little bit of something into our lives – we add a lot!
We could have just easily purchased an existing cabin, moved in and enjoyed. Or, if we had to build, we could have hired a builder. But, we didn’t do either of those. We jumped right in and decided to build this cabin ourselves! Luckily though, we did have a lot of help from some very good friends.
Some of our cabin decor ideas are a bit unique. We used some cost saving finishes that are both rustic and chic.

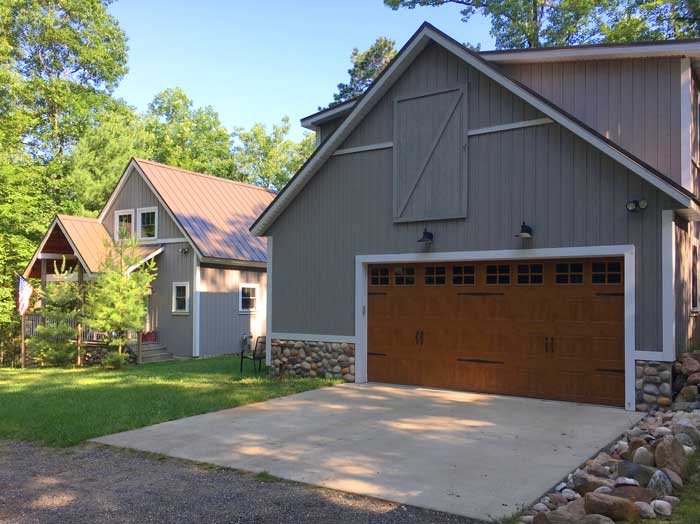
We actually built the garage a few years after the cabin. Not only do we now have space for a few toys, but we also finished the second floor of the garage for additional living space.
Building Our Cabin
Designing The Floor Plan
The first step, in our cabin build, was to design the perfect floor plan. To start, we found an existing cabin plan, in a book, that we liked. From there, I redrew the plan using a home planning software program. Once I had the original dimensions in place, I could tweak the design to fit what we needed. Basically, I just bumped out the main floor a little to add a mud area and room for stairs to the walkout basement. I also added a small bump out for a window seat. I’m so glad I took the time to design a floor plan that would work best for us. It was well worth the extra time.
The Construction Process
From drawing up the plans to the final decorating, we enjoyed every minute of it……well almost. There were certainly some tough times, mainly for my husband. When you are working on scaffolding, two stories up, it can get kind of harry. You would never catch me up there—–I’m terrified of heights!

Sometimes I wonder how we ever made it through the construction. My husband and I had never built any kind of home ourselves. The only experience we had was acting a general contractors on other building projects. It definitely helped to be assisted by great friends who had a little more experience! Through the process, we learned a ton. Although we did most of the work ourselves, we did hire out for things like siding, roofing, electrical and plumbing.
The construction process of our cabin took about nine months to complete. All of our good things took nine months to complete!! Of course a cabin isn’t as fantastically wonderful as our three children but it is a nice consolation with the kids leaving the nest. Plus it is now another place of attraction for them – win win!
The Finishing Touches To The Cabin
Once the basic construction was finished, we were on to the finish work. I must say that we used some rather interesting techniques for finishing the floors, walls and vanities. We wanted the cabin to be cost effective and unique at the same time. I think we accomplished both as you will see from this cabin tour.
Finishing The Walls
My husband absolutely did not want to hang drywall. He had done that before and hated to process. He WAS NOT going to do it again. He wanted to hang plywood on the walls. WHAT??!! I thought that sounded like a terrible idea. My mind went to a seventies den with dark paneling and that was NOT going to work for me. I did put my thinking cap on though and thought maybe we could get a plywood with just the right looking grain and then whitewash it. We could then put up white battens on the seams and have a cool unique look that would contrast with the knotty pine ceiling and trim.
He agreed.
It was a little bit of work wiping on the whitewash pickling stain and then wiping it off but the result was exactly what I had in my head. I was happy!


See more of this project at Put Plywood On Walls.
Finishing The Floors
When my husband suggested that we finish the OSB subfloor with polyurethane and have that be it – our finished floor, I thought he had gone off the deep end. I’ll admit I put up some resistance at first. I finally agreed with the stipulation that if it looked terrible, we were going to cover it with regular wood flooring…..and did he really want to put the time and expense into that experiment??
He did.
Much to my delight, and his, we loved how they turned out. Of course, he knew they would turn out great from the start….


You can see all of the details from this project at Finished OSB Flooring. We also used recycled bricks to make a raised platform under our wood stove.
A Unique Sink Design
When it came to making our own concrete sink for one of the bathrooms, I was all in! It was a pretty easy project that only took a little time, hardly any money and turned out just how we wanted.

Check out the details at Rustic Cabin Bathroom Decor.
Budget Friendly Cabin Decor Ideas
Unique Rustic Lighting
A lot of our lighting is unique as well. We brought most of our homemade birch lamps and sconces to the cabin. However, in the dining area of our kitchen we went even a little more unique. We used a vintage kitchen sifter as the shade for our homemade dining light. It gave us kind of a vintage industrial touch to the kitchen.

Ikea Cabinets In The Kitchen
The rest of the kitchen was also very budget friendly. We decided to customize the cabinet space using Ikea cabinets. It was actually pretty easy to measure, purchase and ultimately put together and install all of the cabinets. I chose a white and birch wood mix and combined stainless steel and butcher block counters for more of the rustic industrial feel. Most of our cabin decor ideas are a little more modern rustic or rustic chic.


Our Handmade Log Staircase
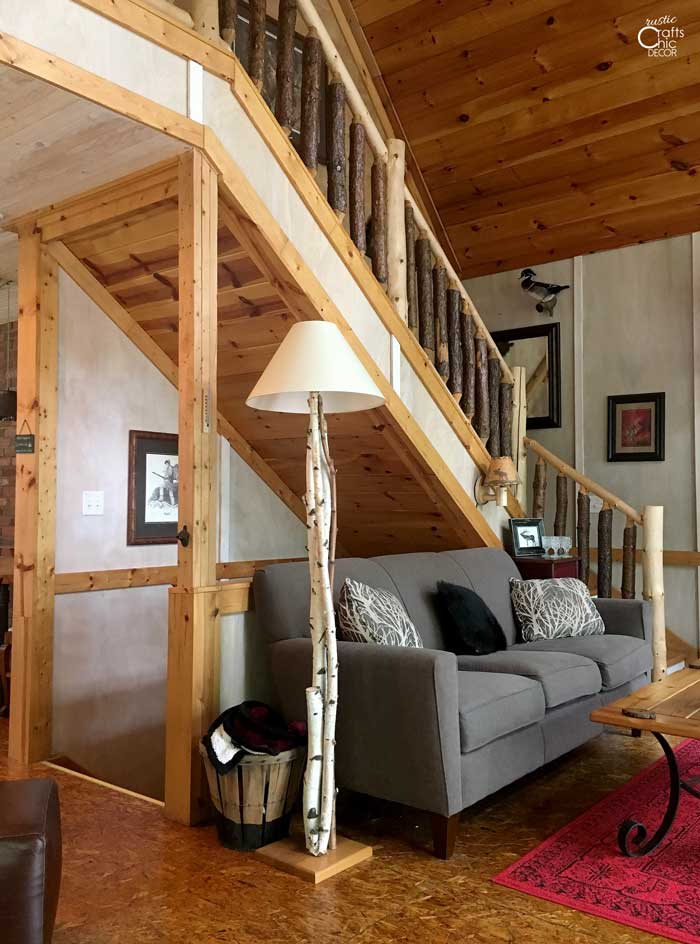

We also saved a little money in finishing the staircase ourselves. The railing was made from tree that were cut from clearing our property. My husband had the special tools, including tenon cutters and a circular drill bit, for fitting the logs together. I painted and stained the stair treads and risers. See our finished staircase.
Brick On The Kitchen Wall
To add just a little extra character, I installed a brick veneer wall in one of the interior walls of the kitchen.

Our Cabin Loft
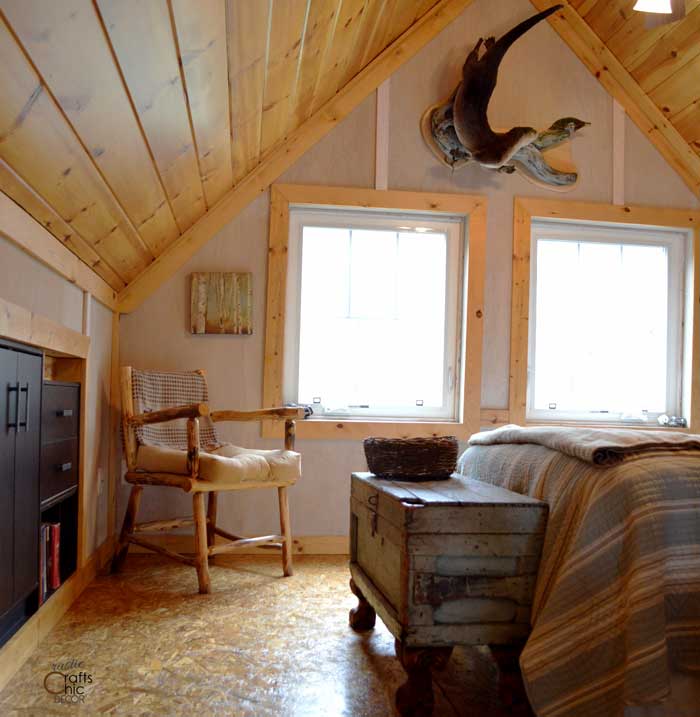
Our loft bedroom is fairly small so we made use of the area under the eves. Instead of wasting this space, we built in cabinets for storage.
Cabin Tour Of Our Finished Basement
This cabin tour wouldn’t be complete without a little look at our basement. Again, we incorporated some budget friendly DIY projects that make our space very functional.
Built In Bunk Beds
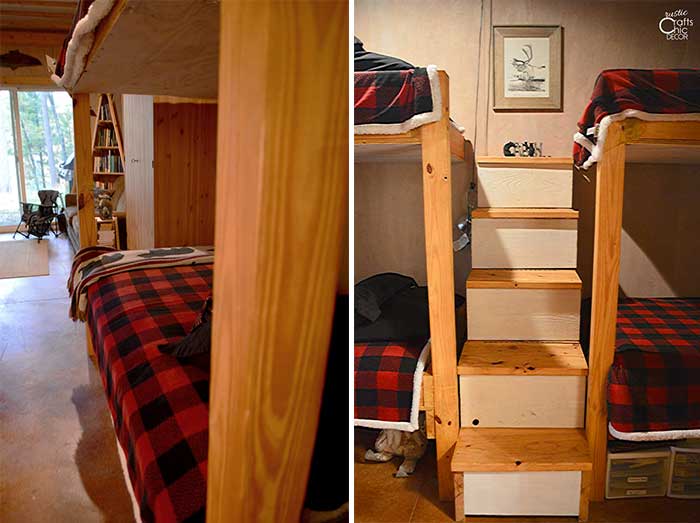
Our double bunk bed design was necessary to squeeze in as much sleeping space as we could into our basement. The bunks are built right into the wall and we also built steps that lift up for storage between the sets of beds. We also have two pull out couches in the main living area of the basement. That way, when we don’t have a lot of guests over, we can use the space for more hanging out.
Ikea Wardrobe
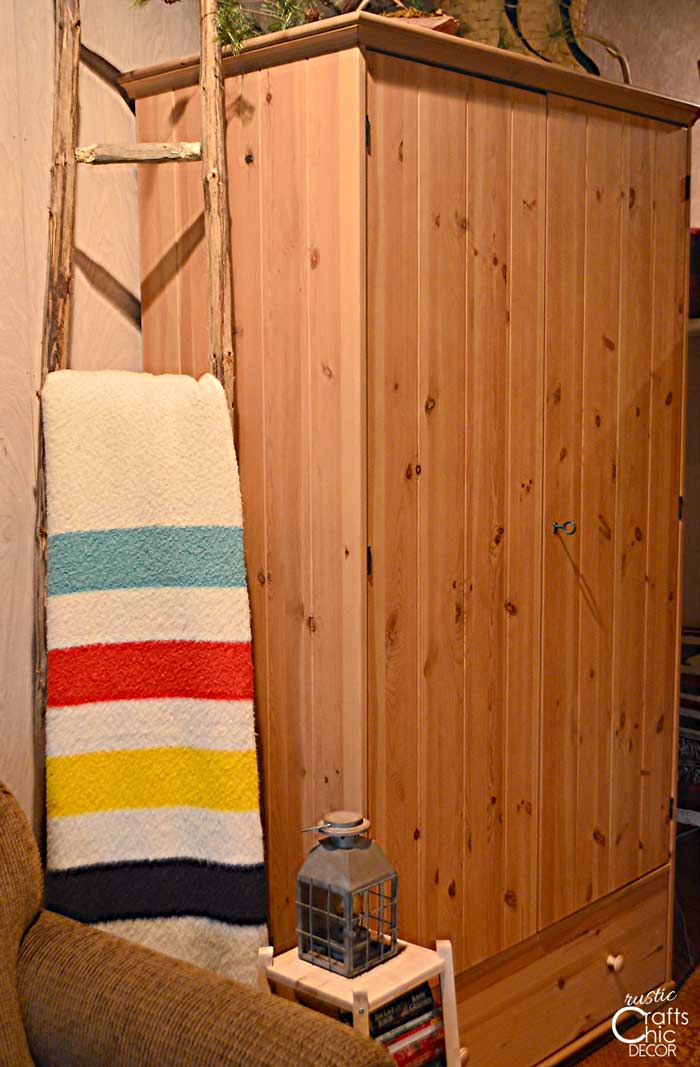
Once again, we were able to make use of an Ikea cabinet for storage. This wardrobe holds lots of extra clothes.
Craft Space In The Basement
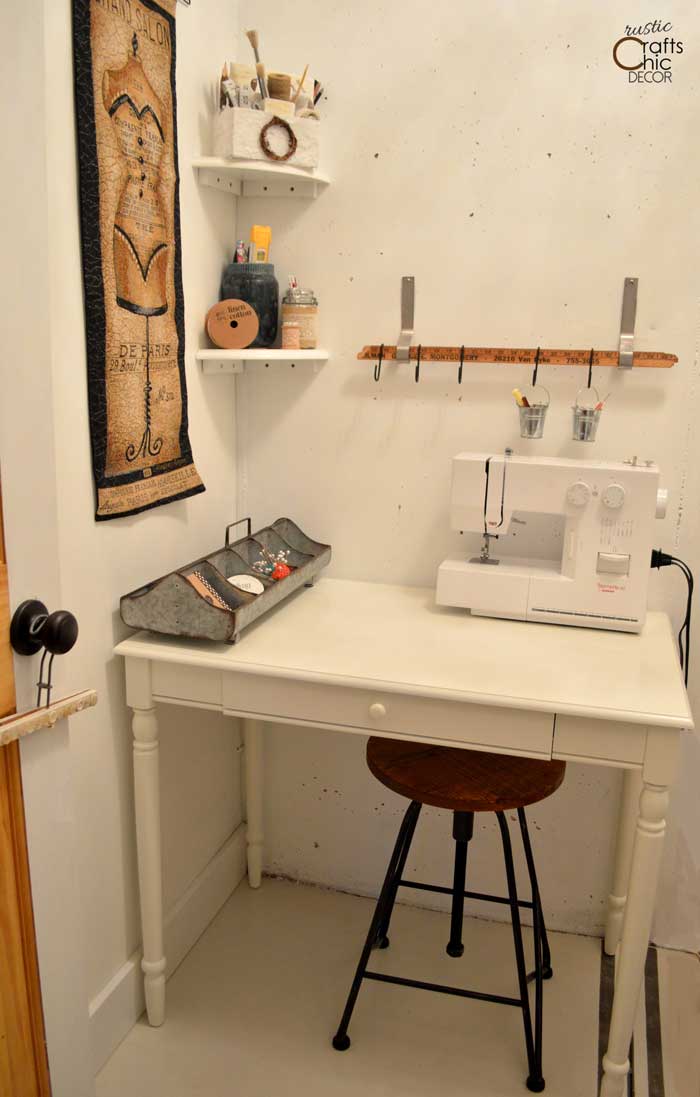
This isn’t one of my typical cabin decor ideas but it is where a lot of the DIY projects happen! I kept this room very chic and girly. The finishes are still pretty rustic though. I use a lot of rustic vintage pieces for organizing and decorating. One of the walls is concrete and the others are plywood. All of the floors in our basement are concrete. Most of them are stained, giving them a tile look. However, in this craft room, I painted the floor and added a stencil for a more fun look.
The Second Floor Garage Space
I recently had to add a little bit about our garage to this cabin tour. We didn’t have the garage from the start but added it a few years later. Instead of building just a garage, we built one with additional living space on the second floor.
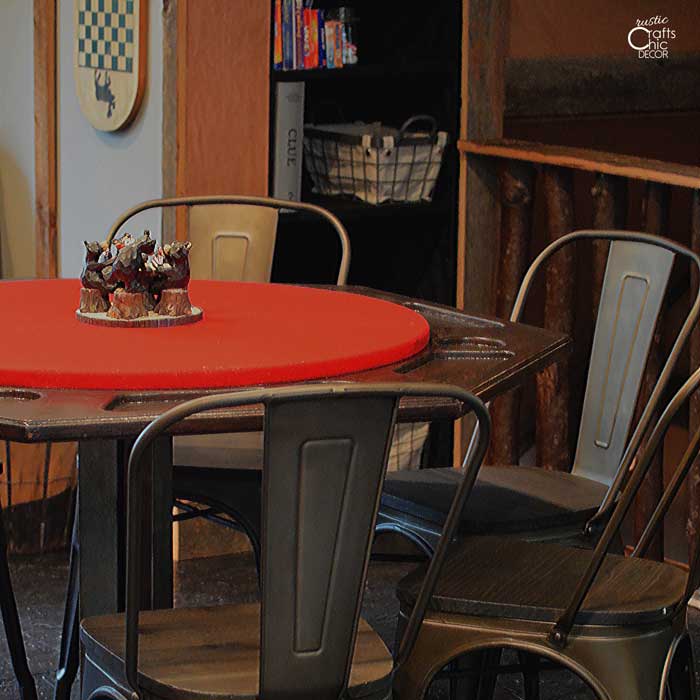
Since our kitchen table only seats four, we needed a larger table and area for playing cards with a group. I picked up this game table for $20 and then refinished it to fit in with our decor. The wood top needed restaining and I painted the base with a metallic paint to match the chairs. Before the middle of the table was a textured brown vinyl. I covered that with a fun red flannel. I was so excited to work on that project that I dug right in and never took a before picture. I bought these farmhouse chairs from Amazon and they work perfectly with the table.
For more cabin decor ideas, you can check out my post on inspirational cabin decor. There you will find more rustic cabin decor from other cabins. I will also be adding more to this cabin tour as we make changes.
I really like the lamp shade that has a moose at the top. Do you sell these items?
Currently I am not selling. But, if I get back into it, I will let you know!
I love everything except the animal heads on the wall.
Love seeing the progression of the cabin and decorating ideas.
We too are building our cabin and just completed our 5th summer working on it with 1 more to completion.
Much satisfaction and pride in building as a couple or family and to build with materials out of the forest around us.
We built in Montana.
That’s fantastic! It will definitely be a special place especially with all the love and effort that goes into it.