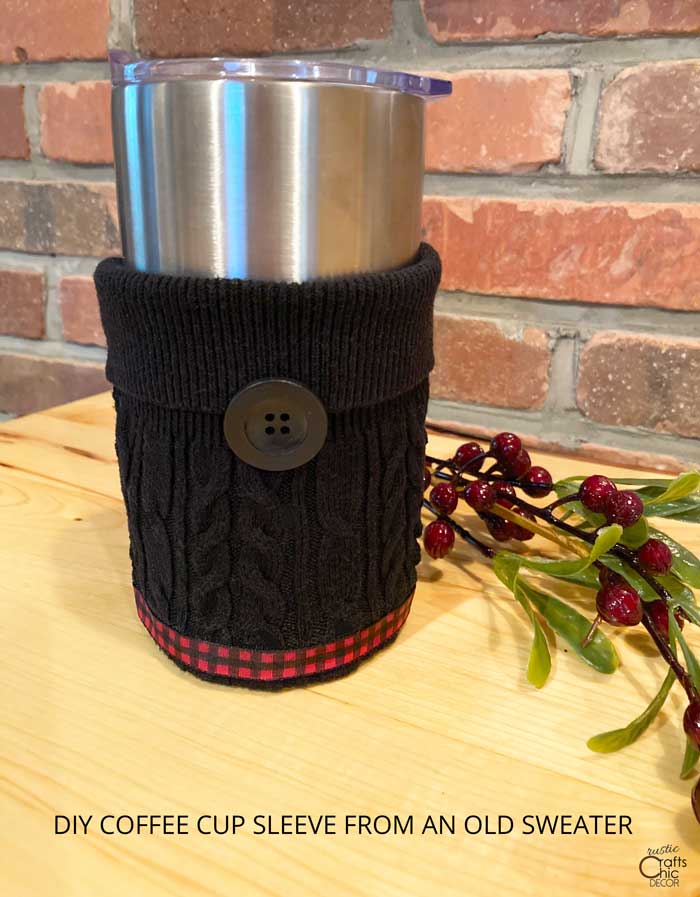
When you have places to go and things to do it is so comforting to bring a mug of coffee with you. Of course it has to be the right size mug, without a handle, to fit in the car’s cup holder! Then, you don’t want it to be too hot on the hands so you need something to wrap it with. That brings me to this DIY coffee sleeve that is perfect for wrapping travel mugs. And if you order a coffee from the local barista, you can use it for those disposable cups too. Custom coffee sleeves are much more fun and cozy to use than the paper sleeves given at coffee shops. This luxury is what makes them great gift items.
This homemade coffee cup cozy is also super budget friendly because it is made from an old sweater. Because you can recycle an old sweater, the project is both budget friendly and green. A sweater that has shrunk, is stained, or is stretched out can be given a new life. Just use the good parts of the sweater. The cuffs may be in perfect condition making them ideal for a DIY coffee sleeve.
If you like the idea of using an old sweater for this coffee cup cozy, you will want to check out how you can recycle more clothes in projects. You’ll think twice before throwing anything out! It’s surprising the kind of home decorations you can make from an old shirt, pants, or sweater!
This post contains recommended product links. If you make a purchase through one of the links, I will earn a small commission at no cost to you.
How To Make A DIY Coffee Cup Sleeve
Since no two sweaters are alike, I’m going to show you a couple different methods for getting the sweater sleeve to fit well over a cup or travel mug. The first method is the easiest and should work with the majority of sweaters. However, if you have a loose woven more baggy sweater, there is still a good way to tighten up the bottom.
DIY Coffee Sleeve: Method One
Materials Needed
- an old sweater – just the sleeve
- ribbon – around a half an inch wide or less
- fabric glue – I like quick drying
- large button – purchase new or use a button off another old piece of clothing
Instructions
Start with a sweater sleeve to make a coffee sleeve. I’m using a short sleeve sweater which still has sleeves long enough to cover a coffee travel mug.
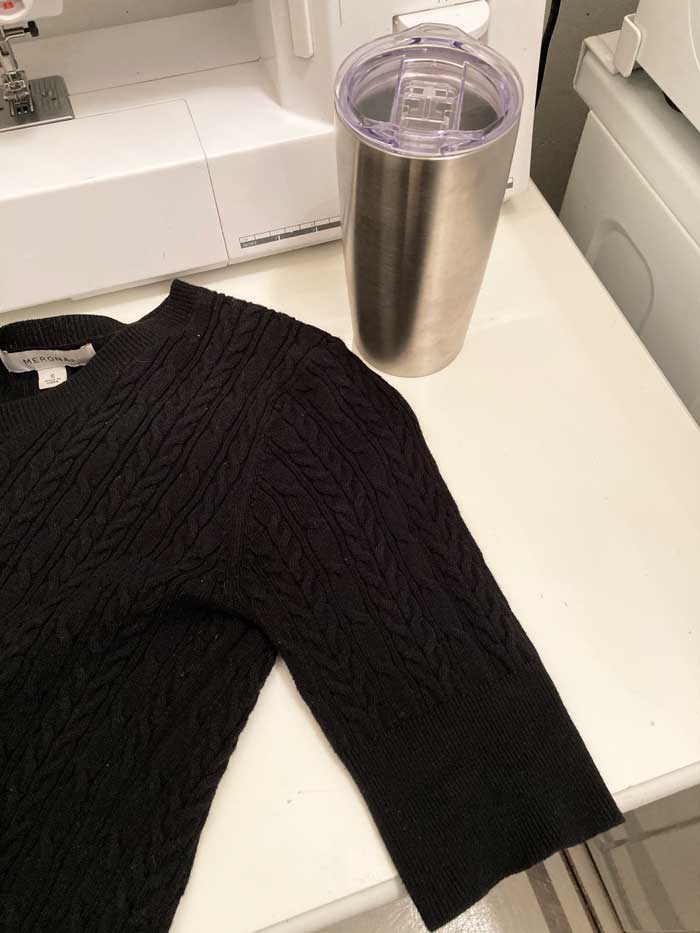
In order to determine how much length I needed to cut off the sleeve, I slipped the sleeve over the travel mug for size. Since my sleeve was so short, I really could have just cut the whole sleeve off where I could make a straight line. However, since most sweaters are long sleeve, this is the procedure I would use.
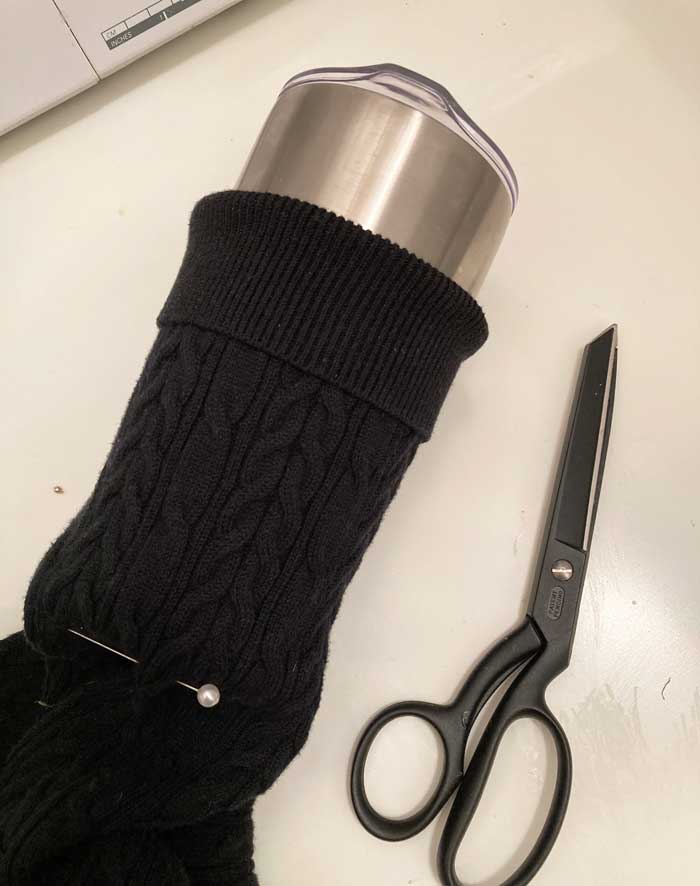
This is a real non professional way of taking a measurement. I just pinned where I wanted the bottom of the coffee sleeve to be, slipped it off the mug, and cut about a half inch below the pin. It didn’t matter too much if my edge wasn’t cut perfectly straight. I would be hemming it anyway.
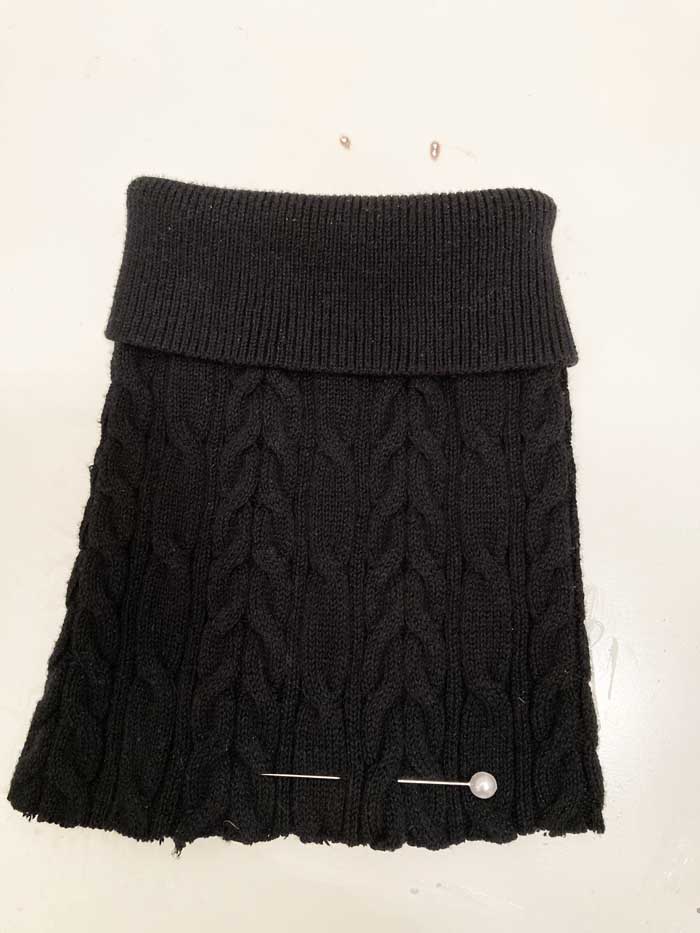
Once cut, it’s just a matter of folding the edge under and sewing a hem. I used my machine, since it’s always out and ready, but you can also hand sew or use fabric glue.
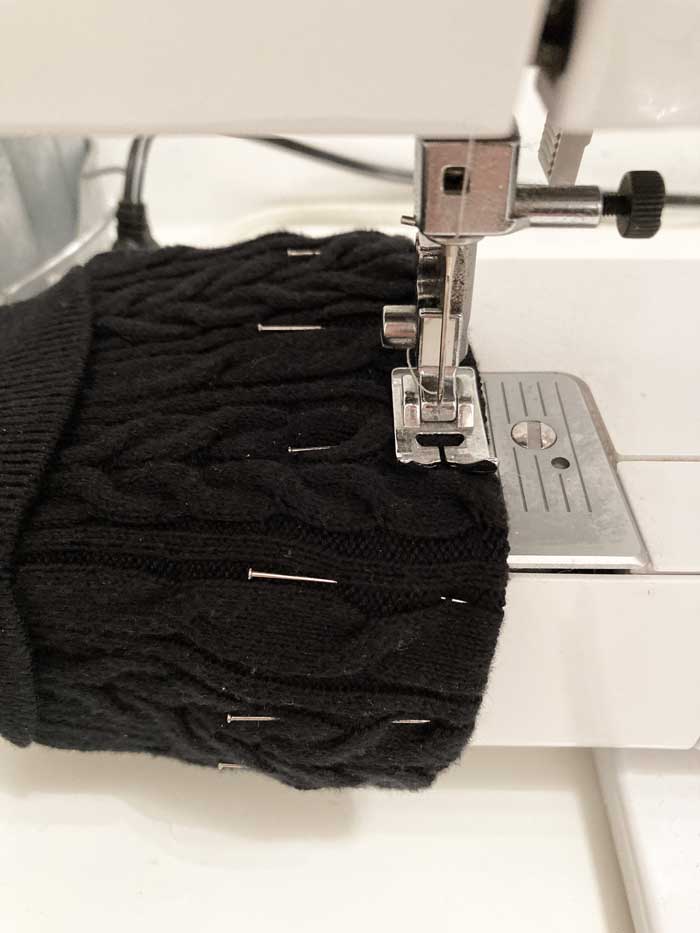
I folded the edge under and pinned the fabric in place. Then, I just sewed a straight stitch to secure the hem. Use a long stitch without a lot of tension so that the sweater doesn’t stretch too much at the hem.
I didn’t worry about changing my thread color to black since I would be applying ribbon over the seam anyway. Plus, I didn’t want to take the time messing around with a silly detail like that.
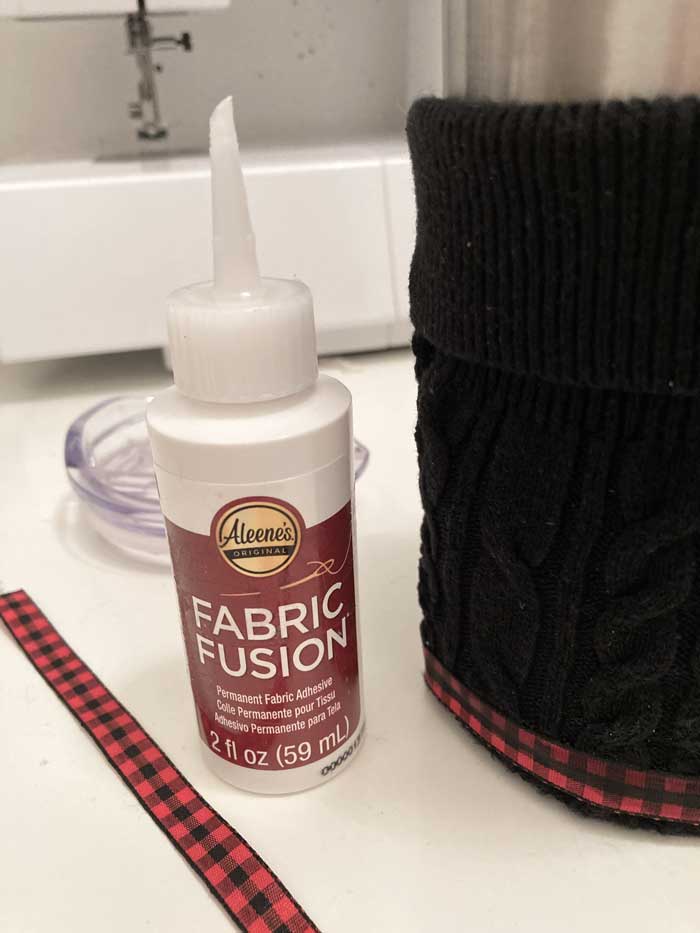
Once the hem was in placed, I slipped the coffee sleeve over the mug. It fit just right! If the sweater sleeve is too loose, you can flip it inside out and run a stitch lengthwise to bring it in a bit.
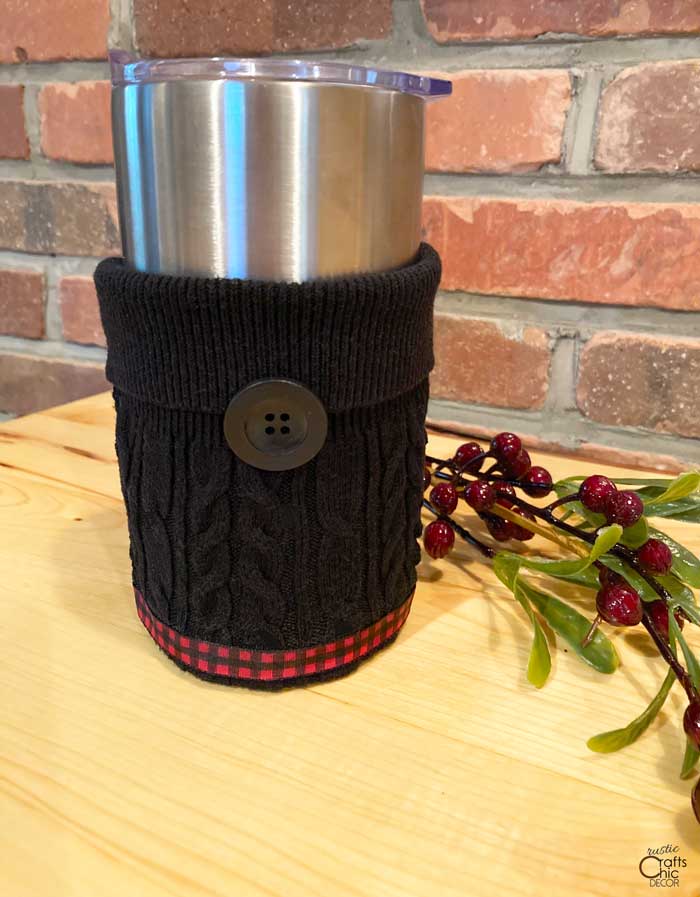
To cover the stitch and to add a little embellishment, I then glued a length of ribbon around the bottom to cover the seam. I used my favorite pattern of red and black buffalo check.
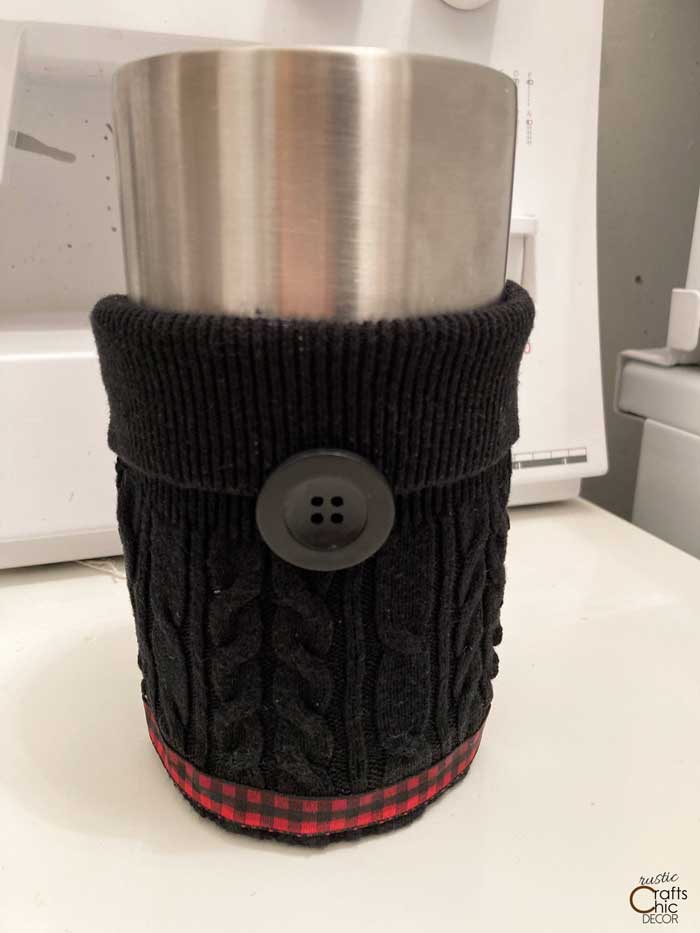
The final step was to glue a button at the top. That is all there is too it. Besides sweater sleeves, you could also try using a sock for this project.
DIY Coffee Cup Cozy: Method Two
Follow these easy steps to make a custom coffee sleeve with a loose knit sweater.

Before beginning, realize that the weave of your sweater fabric will determine the need for how to finish off the bottom. This sweater has a loose weave so I am showing you how to get rid of that extra bagginess at the bottom. A tighter weave wool sweater may only require a hem at the bottom and then you can use method number one.
Instructions
1.Cut the end of a sweater sleeve off of an old sweater about four or five inches long, depending on how you are going to use the sleeve. Four inches is good for a tall coffee cup. Five is good for grande and up and also for a drink thermos. I cut mine at five inches for a grande size but it also easily adjusts to a tall size by making a cuff.
2. Measure the bottom of your desired cup and cut a piece of elastic or binding that fits around the bottom of the cup just right, do not pull tight. Pin the elastic in place and sew with one stitch across the middle. This is just to give it some extra stability, it won’t be stretchy.
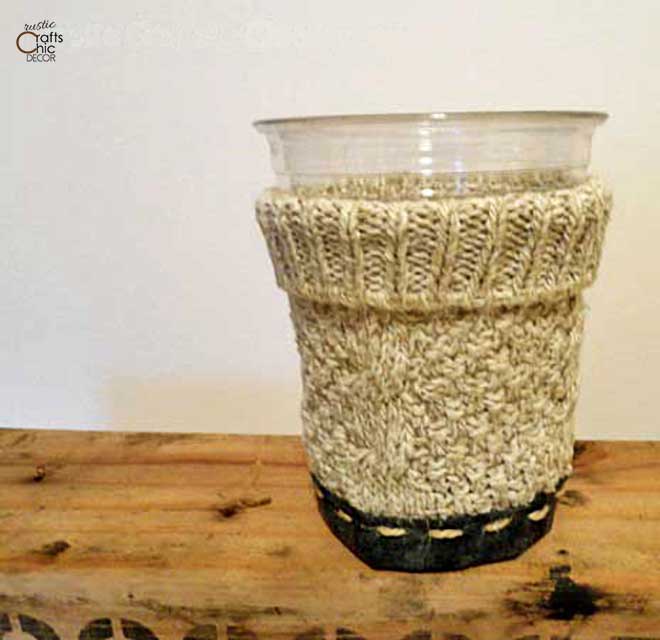
3. To finish off the bottom, you can either sew in a ribbon around the edge or do like I did and sew in a finished strip of fabric. I attached the fabric with a wide running stitch using twine and an embroidery needle.
4. The finished product works well for custom coffee sleeves. Again, this craft project is a great way to use recycled materials whether it be old stretched out or shrunken sweaters or socks that may be missing a mate. There is now no need to throw out these items that aren’t even salvageable for charity! Turn these materials into great looking and fun handmade gifts for yourself or someone you love.
Finished Coffee Cup Cozy
And that’s it for this DIY coffee cup cozy! Use it at full size for travel mugs or fold the edge down for shorter cups.
If you are making a coffee cup cozy to give as a gift, you may want to include a special coffee cup or travel mug to go along with the cozy. Below are some of my picks for mugs, without handles, that do well with the sleeves.
