Are you interested in starting your own blog or website but have no idea where to start? With all of the blogging platforms, hosting providers, and costs, it can seem mind boggling. I will help narrow this all down for you in nice easy steps. You will learn everything you need to know on how to start a blog and keep it running smoothly.
Starting a blog is really a lot more simple than what you might think. You don’t even have to know any coding skills.
This post contains affiliate links. For more information, see my disclosure.
One of the reasons that you may want to start a blog is to help promote your craft business. This is a very good idea and starting a WordPress blog makes it easy to do that.
Things To Consider Before Choosing A Blog Platform
Because there are options to go with a free blogging platform versus one that is self hosted, I’ll touch on that first. However, it’s important to know that a self hosted blog only costs a few dollars a month. With the low cost and huge benefits, I recommend going the self hosted route if you are serious about your blogging.
The Option To Use A Free Blogging Platform
If you just want to get your feet wet and see how you will like blogging, a free blogging platform like WordPress.com or Blogger are great places to start. All you do is sign up and follow the directions for creating your first blog post. It’s the easiest way to start blogging immediately but you have much less control over how your blog functions than with creating a self hosted blog. Also, the url or web address of you blog will have the name WordPress or Blogger added to it. This is fine for beginners but does look less professional. Think about how you want to be perceived, especially for a business website.
WordPress.com Versus WordPress.org
You may have heard of WordPress before but did you know that there are two very different platforms? WordPress.com is free to use, for their basic plan, but has some significant limitations. Unless you pay for a more premium plan, you don’t have many options to customize. And, if you have to pay for a premium plan to get any abilities to customize, you might as well pay the low cost of self hosting and get everything you need at your fingertips. However, the free plan is really simple to use so for the first time blogger it may be a good option. Just be sure to think of your goals for the blog and look ahead to what you may want in the future. It may be simpler to just start out with your own hosted blog on WordPress.org.
Another important thing to keep in mind is that although a self hosted blog costs a few dollars a month, you do have the opportunity to make money, with ads, on your own blog. With a free WordPress.com blog, you are not able to place ads on your site. This is a huge disadvantage since a lot of money can be made from advertising. It far outweighs any costs that may be associated with running a blog.
Since a self hosted blog allows you complete control and it’s one of the best and most popular blogging platforms used, I am giving a step by step tutorial for starting a self hosted WordPress.org blog. You don’t even need to worry about how you are going to get WordPress, it can be done automatically depending on the hosting provider that you choose.
Steps For How To Start A Blog
First Choose A Hosting Provider
There are several hosting providers that you can choose from but they don’t all offer the same things. For the beginner blogger especially, Bluehost makes setting up a WordPress blog super easy. Not only is WordPress automatically installed, but you can also pick and register a domain name for free. Because of this, I am basing my instructions on using Bluehost as the hosting provider.
Step One – Get Your Hosting Plan Started
Click here to go to Bluehost. You will see the following screen.
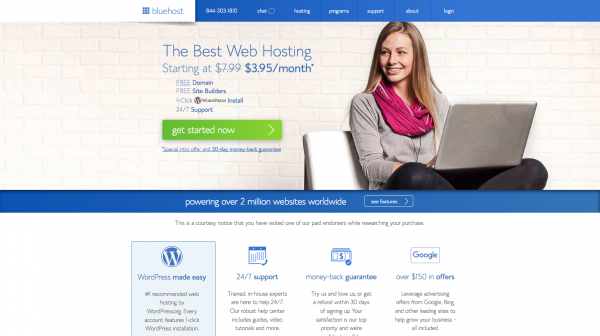
Click “get started now”.
Step Two – Pick A Plan
There are a variety of plans to choose from. One of the three shared plans, shown below, are good for blogging. The basic plan is probably enough for a single blog. If you want to have more than one blog site, then choose the plus or choice plus.
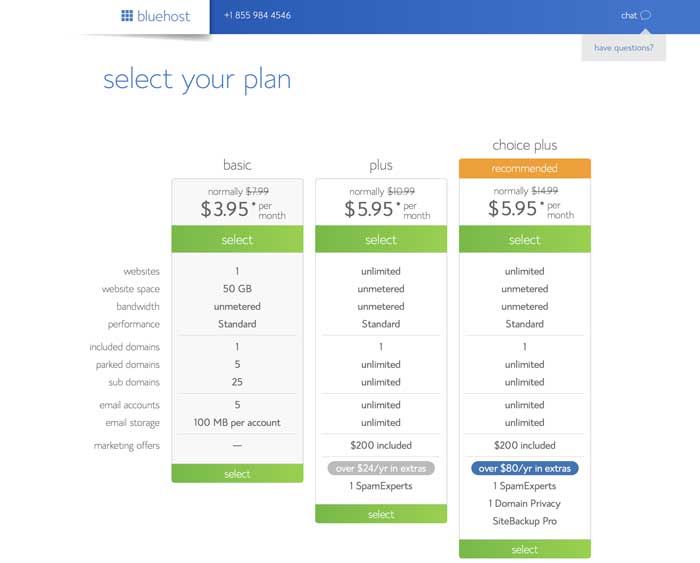
Click “select” in the box of your desired plan.
Step 3 – Choose A Domain Name
Once you select you plan, you will be taken to the screen for choosing your free domain name. By the way, this is another awesome perk of using Bluehost. When I started my first blog, through another hosting provider, I had to purchase the domain name as well. Although purchasing a domain is only about $12.00 a year, you can think of it as saving another dollar from your already low monthly hosting cost. If you have already purchased a domain name somewhere else, you will enter that in the second box.
How To Choose A Domain Name – Before choosing a domain name, there are a couple of things to keep in mind. Does the name explain what your blog is about? It will be easier for readers to remember your name if it goes along with what your content is about. For example, a blog about saving money might have a name like Frugal Living instead of Patty’s Pockets. Also, try not to use words with difficult or multiple spellings which just add confusion. The shorter and simpler the better.
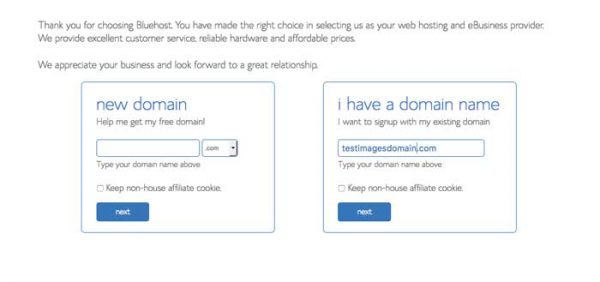
Enter your desired domain name and click “next”.
Step 4 – Enter Your Account Information
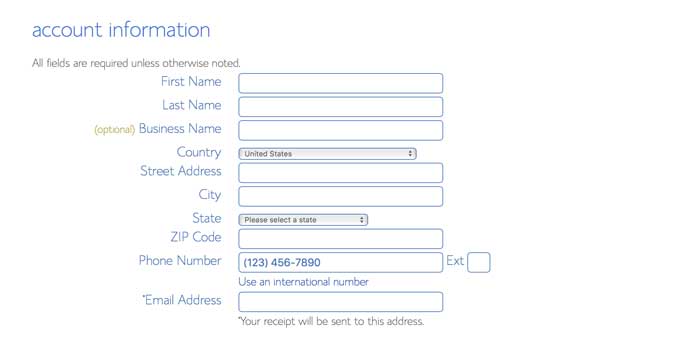
After entering account information, you will be directed to the summary page. Since the monthly cost is so low, they would like you to pay by the year. You can choose to pay for 1,2, or 3 years at a time. However, if for some reason you are not satisfied with your service, there is a 30 day money back guarantee. Plus, the longer the term, the bigger the discount. You can also choose additional services if you want to. Just check the boxes for what you would like. Of course, you don’t have to choose any.
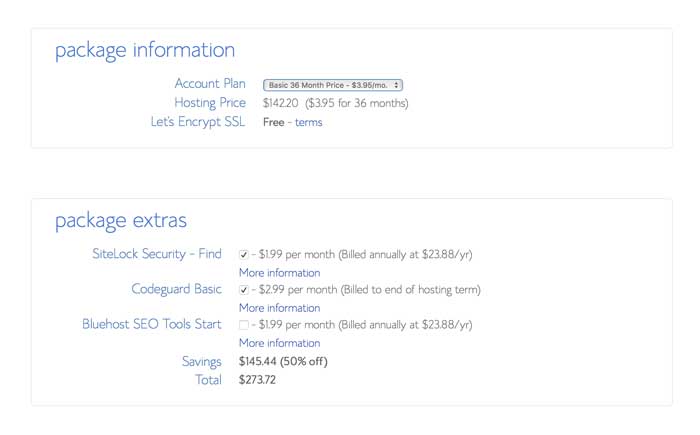
Once you choose the length of payment and any package extras, press enter to get to the credit card page.
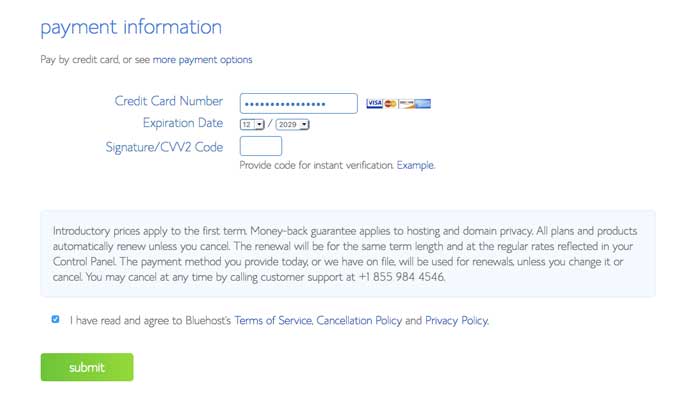
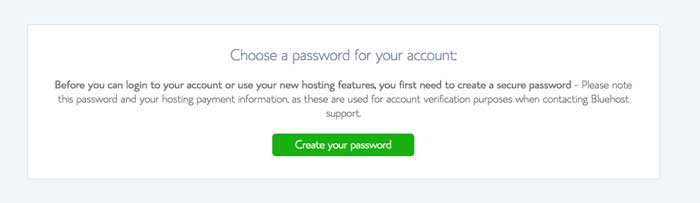
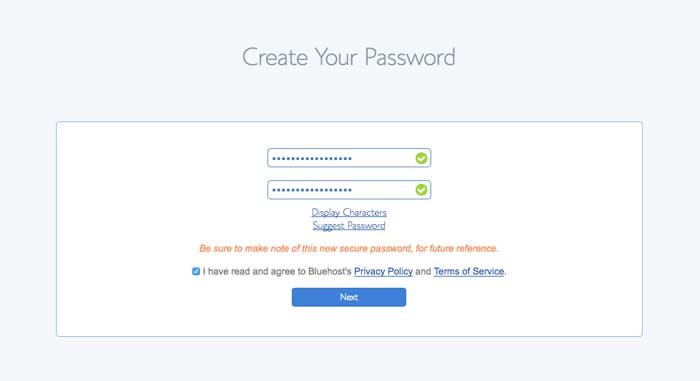
Step 5 – Create A Password
After submitting payment information, the create password screen will appear. Choose a password and then write it down somewhere so that you won’t forget! The more characters and symbols that you use, the better.
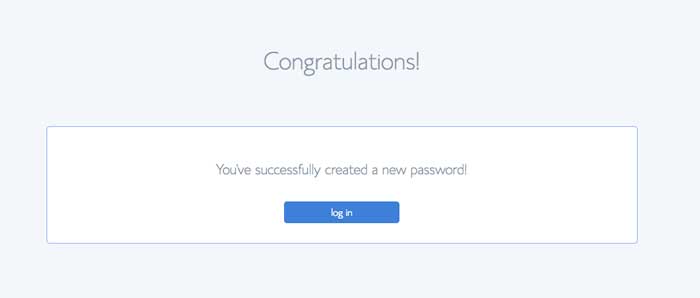
Now you are logged in and ready to start your blog! Once you need to log out, you get back in by going to your WordPress administration link. This will be something like, www.myblog.com/wp-admin. Just substitute your own domain link before the slash.
Now! How To Start A Blog
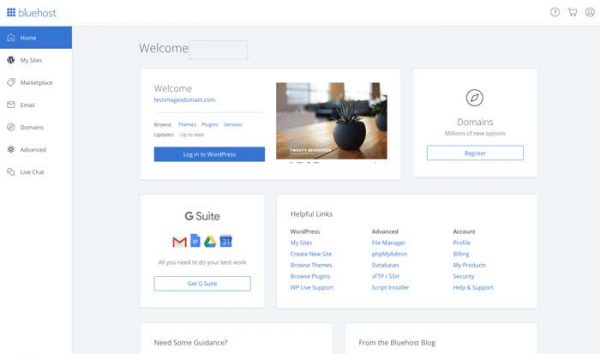
What I like about Bluehost, is the ease of getting a blog started. Unlike providers that have you install WordPress yourself from what is called a Cpanel, WordPress is automatically installed with the plan. This means you just need to choose the basic look that you want for your blog. This is done by choosing a theme. The nice thing is that if you decide later that you want a different theme, it’s super easy to change.
Step 6 – Choose A WordPress Theme
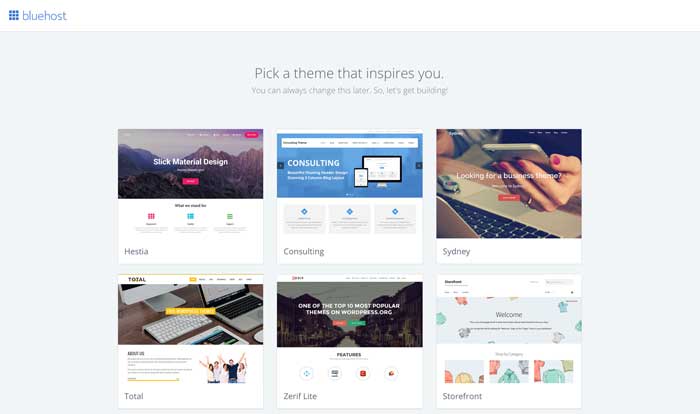
To start, pick a WordPress theme that is the basic layout that you are going for. You can always change the theme later and also add customizations to make it your very own style. There are lots of great free themes to choose from. You can also purchase themes with more bells and whistles such as ongoing support. However, it is not necessary to purchase a theme, especially at first.
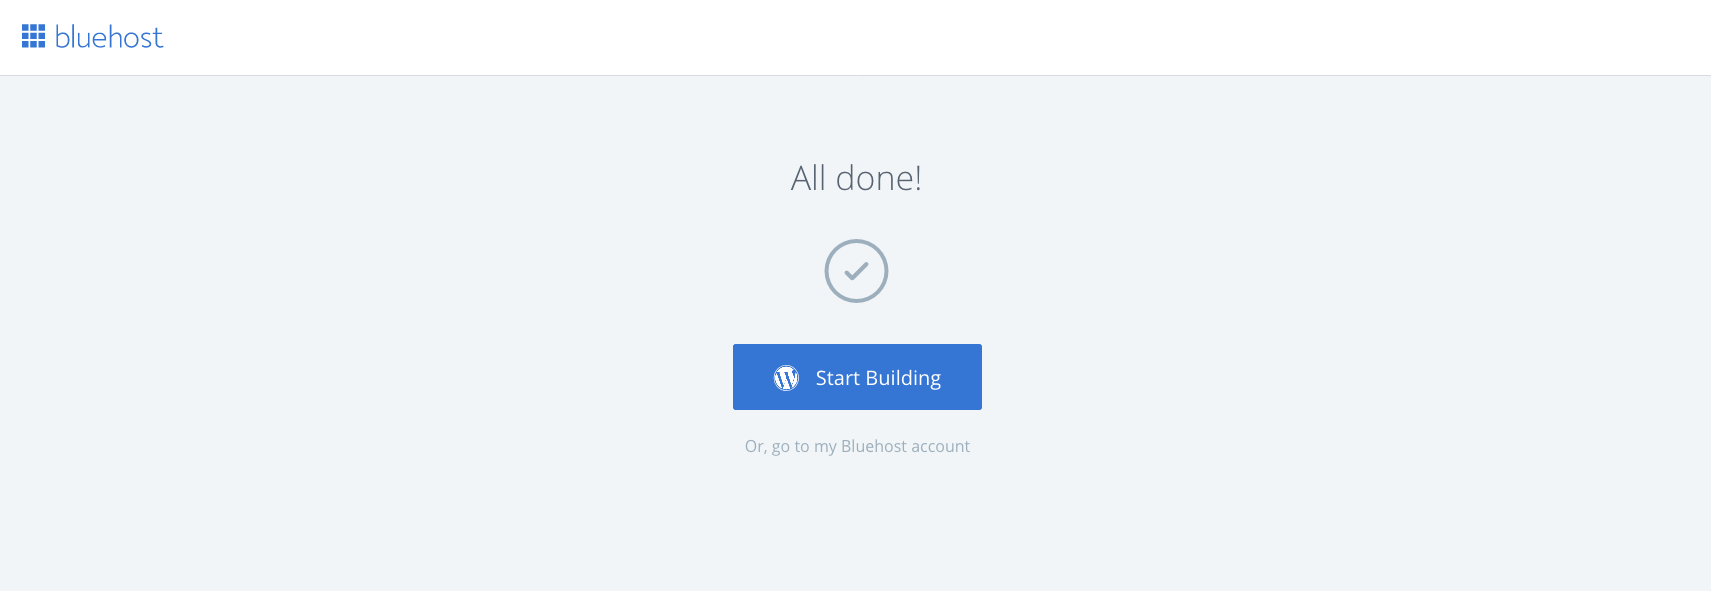
Step 7 – Start Building Your Blog
Before writing your first blog post, you might want to customize the look of your theme first. The easiest change to make is to change the header image to one of your own images.

The left sidebar has categories to click on for adding content, like posts or pages You can also change the appearance by clicking the Appearance tab. This is where you can make changes to the header, add widgets, or choose a new theme. Depending on the theme you choose, you can have widgets in the sidebar, header and/or footer. There is also a tab for adding plugins. Plugins add more functionality to your blog and there are hundreds to choose from. To get you started, I highly recommend these five essential plugins.
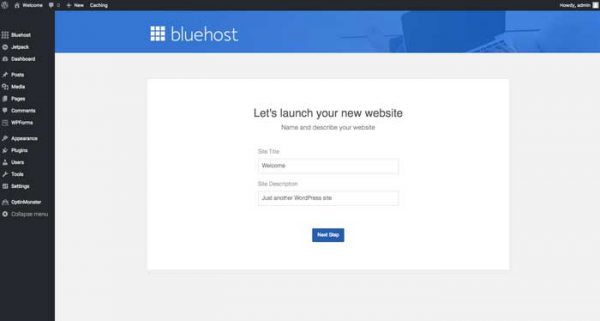
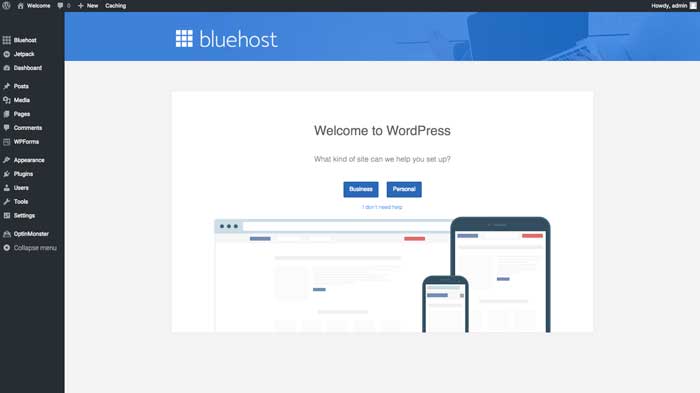
When you are ready to launch your blog, you will be given a screen to enter in your site title and description. Your site title should be the same as your domain name. Or, at least close to the same.
Step 8 – Login To WordPress
Your blog is now live! Login with the password that you created in step 5. It may take a little while to start getting traffic but don’t get discouraged. It will happen! Just keep writing blog posts with good content. To help you start gaining traffic faster, check out these five easy steps for boosting blog traffic.
Make sure to also check out these five important tips for bloggers.