By now, you have probably seen several rustic craft projects that use old book pages. This is great if you have a lot of old books that you want to dispose of. However, it’s not so great if you don’t have the books or don’t want to destroy the ones you have. Luckily, book page crafts don’t always require an actual book page. There is a way to make your own book pages. In fact, this might be a game changer for you. I’ll show you how to age paper and create realistic old book pages. Besides for book pages, these aged papers can be used for other paper crafts such as scrapbooking or gift cards.
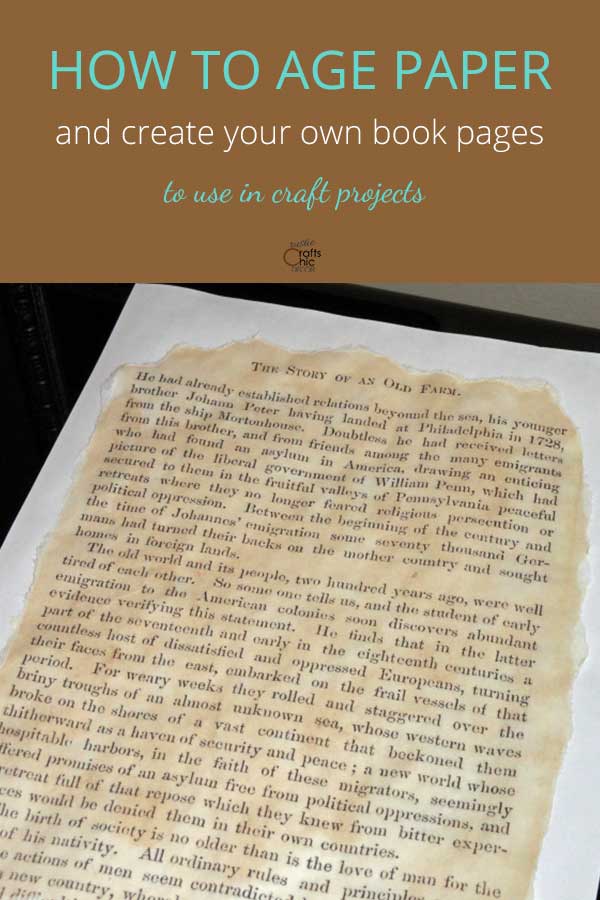
How To Make Your Own Old Book Pages
Photocopy A Vintage Book Page
I particularly like the look of aged book pages versus brand spanking new. Unless I have a vintage book that is half way destroyed anyway, I will not want to tear any of the pages out. However, I still want to use old book pages in some of my craft projects. Luckily, I have found a way to get past this little problem and it is really very simple.
The first technique is barely a technique and definitely the most simple. The only requirements are that you already own a book with yellowed pages and you also have a copier that you can make colored copies on. Just make sure to have the printer settings on color before you make your copy.
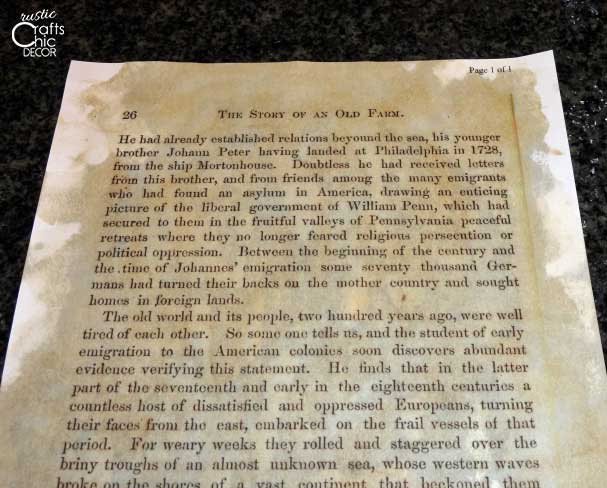
Here is an example of a copy that I took from a yellowed page of an old book.
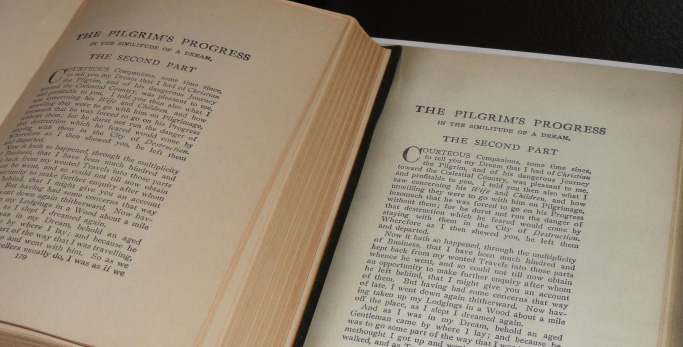
The copy is just a little bit lighter but it definitely has the aged look to it. You can’t get any easier than that. However, if you don’t have any old books or any books at all, you can still get some book pages and age them yourself. And, if you just want to age paper without it being a book page, you can do so easily with the next technique.
How To Age Paper With Tea Bags
What You’ll Need
- tea bag
- white paper
Aging your own paper is a simple technique that you can apply to a basic sheet of white paper. To make white paper look old, you have to get the color to be somewhat yellowed or brown. You can then go further by adding ripped edges or a little crinkling to the paper. Since I wanted to create my own aged book page, I started by printing off a book page copy that I found online. If you are wanting a specific book page for your craft project, this is a convenient way to get just what you want without the actual book.
I googled book page and then clicked on images and came up with several images of different book pages. I printed off this one.
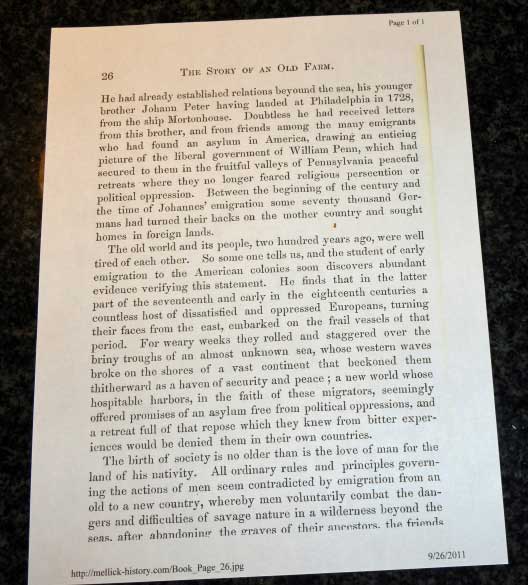
My copy printed off with a line running down the edge. This is not a problem since I will be ripping the edges later. The copy is actually already a little bit aged but I am going to show you how to age it some more. Start by making yourself a hot cup of tea with a tea bag.
Put your paper into a rectangular shaped plastic container. Once the tea is steeped, take out the tea bag and rub it all over the paper. If you don’t have a tea bag, just use a little of your leftover morning coffee. You can apply the coffee with a cotton ball or pad in a similar way to the tea bag. The coffee may give a slightly darker stain.
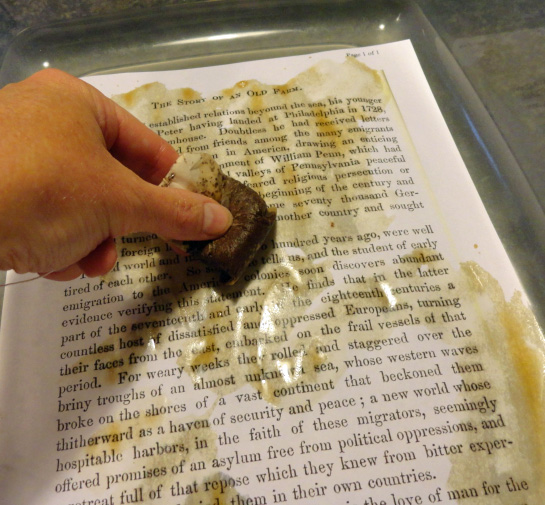
Once you cover the entire paper, take it out of the plastic container and lay it out flat to dry.
You can use a blow dryer to speed up the drying process but it will end up with a more crinkled texture. I did it this way for this demonstration but normally like to dry it flat and wait patiently. When it is dry it will have a nice yellowed and aged look.
At this point, you can tear the edges or add some crinkling if you want. I ripped the edges for my project.
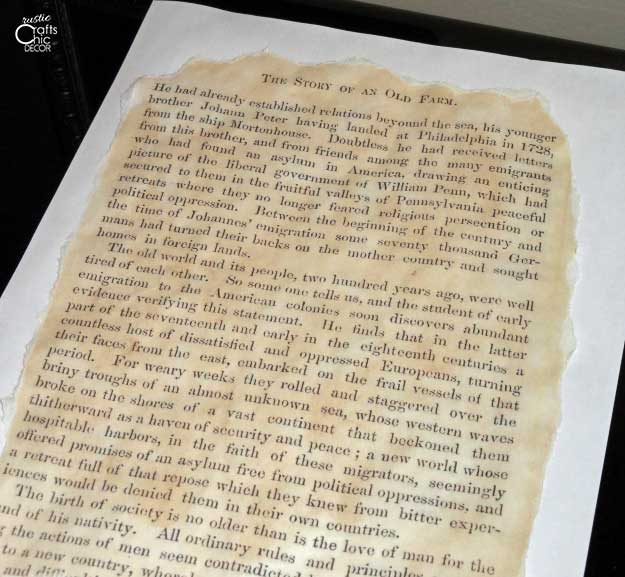
It’s now ready to use in your book page crafts or any paper craft that you want the look of aged paper. Doesn’t it look like a vintage book page? A plain aged paper would be an option that is fantastic for doing some hand lettering on.
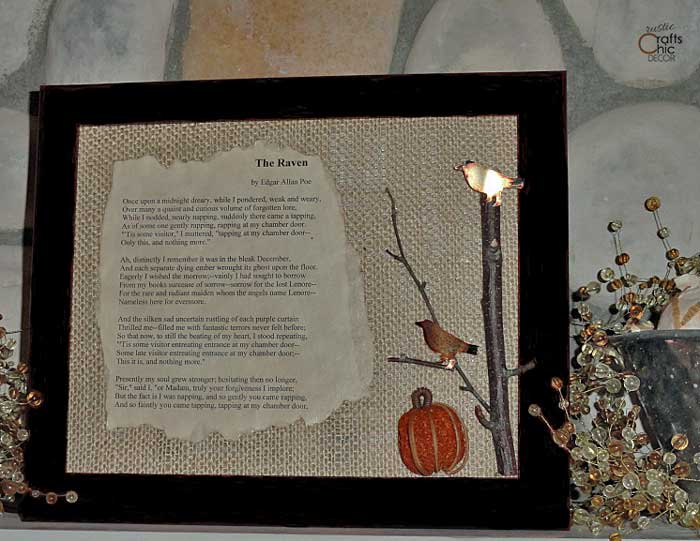
Here is an example of a page that I used in a project after the paper dried flat. Since this was for a Halloween craft, I found a page to print of The Raven by Edgar Allen Poe. That’s what’s so great about printing off your own book page copies to age. You can make your projects super customized.
Don’t you love a simple technique that you can use for so many different projects?

I tried doing this with watercolor instead of tea, and the ink was running from the water. It looked really cheap so I decided to pre-paint the paper, then flatten it under heavy weights and let dry, then I used that in my printer. After I cut it to size I then added some more watercolor around the edges but was careful not to touch the ink.
I love the idea you gave, because I love books and I don’t want to destroy them for projects. Thank you so much.
You’re welcome Diane! It is a good alternative to actual book pages!
Great idea to save books for book crafting! Just a thought tea and coffee have acid so maybe not a good idea for aging pages. Perhaps using Distressed ink pads to color may work and are acid free.
Nora
I love it.! I too cannot bring myself to destroy ANY OF MY BOOKS! BUT I love crafting too. I have used the tea aging and it works great. So happy to hear their is another artist who does not like to destroy their books. I often wonder what will happen to my books when I am gone.i know my children do not have the same sense as I towards my books! Kudos for preserving!
Thanks Loretta! It’s definitely great to have other options!
I was at a thrift store today and bought a trashy romance novel for .25 just so I could try something like this. The pages have a lovely edge to them.
how would you prevent the pages from warping?
😂😂😂I feel ur pain
Love this. Had an old Poe book that was water damaged, but this is an excellent idea to recycle the pages.