
Have you ever gotten tired of buying new things when you already have so much stuff that is no longer being used? I am constantly looking for ways to reuse some of what I already have so I don’t keep piling on. It’s also kind of a fun challenge to see how creative I can get while giving new life to an old item. My latest challenge was putting an old red toolbox to use. After a little bit of thought, I decided to make it into a DIY jewelry box.
I had a red toolbox that I used at Christmas time to showcase some of my fabric trees. But, after Christmas, I no longer had a use for it. I also wanted to slim down on my Christmas decor and really didn’t want to store the box until next year.
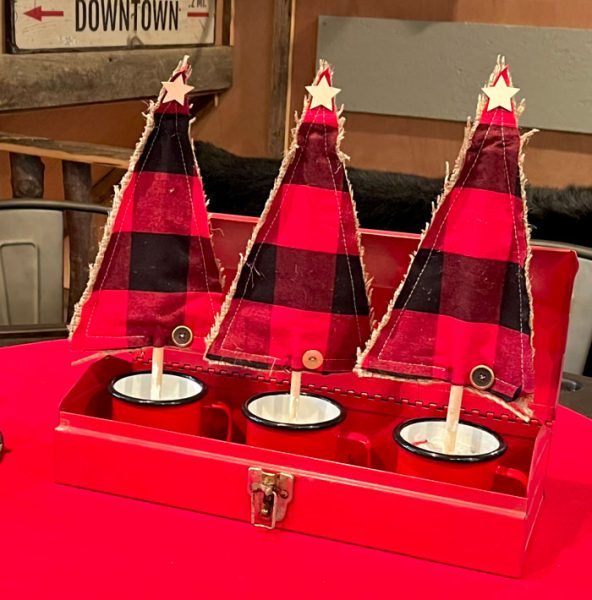
Even though we no longer needed the box for tools and I didn’t want to reuse it for Christmas, I did have another idea. It would be great to use it to store jewelry! I just needed to give it a little makeover first.
DIY Jewelry Box
I decided to paint it pink using a soft shade of pink chalk paint.
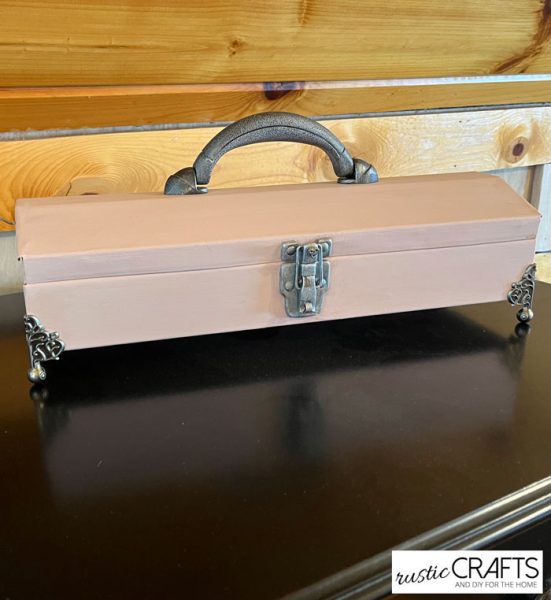
It only took a couple of coats of chalk paint to cover the red. I then applied a couple of coats of clear wax and buffed it out once the wax was cured. For the hardware and handle, I used an acrylic metallic paint in silver to give it some glamour.
I wanted the jewelry box to be raised a little bit, so I bought some decorative silver feet for it to stand on. Since the box is metal, I used E6000 craft glue to secure the feet to the box. After that, I began to work on the inside.
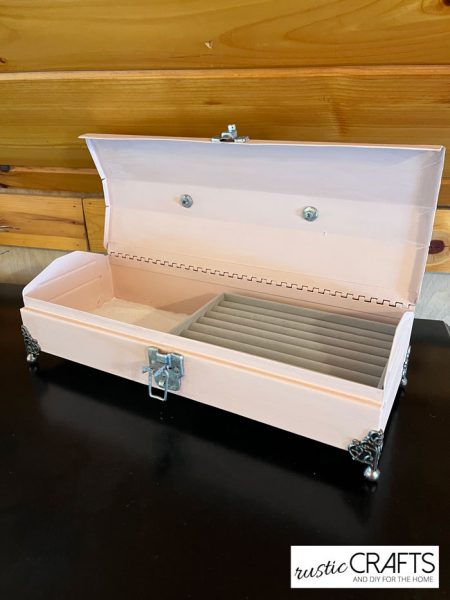
I had painted the inside the same as the outside, but it needed a little something extra. I decided to line the bottom of the box with a soft white felt. Then, I purchased some jewelry trays to stack on the inside.
I’m pretty happy with the transformation and am glad I could give new life to the toolbox. My DIY jewelry box is exactly what I needed and I also saved myself some money in the process.