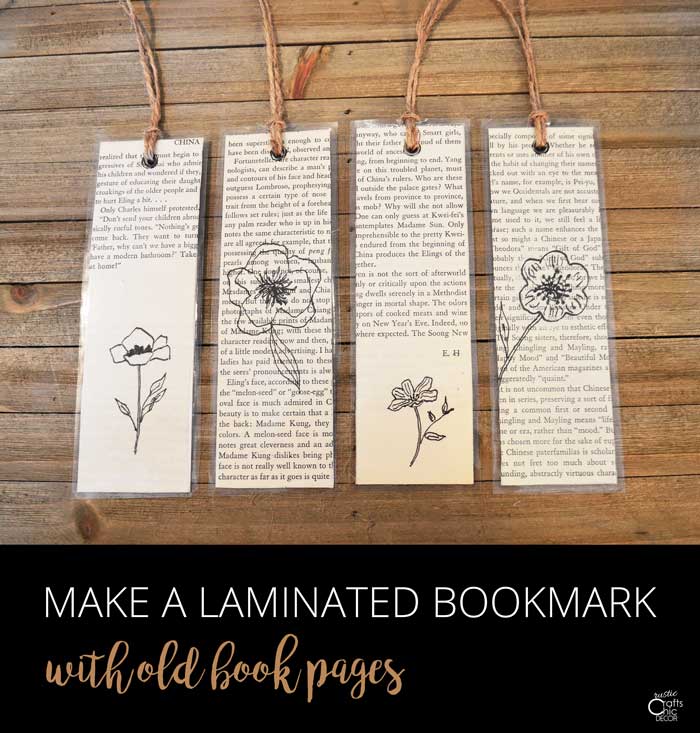
If you are a book lover like me, you probably have a need for a few bookmarks. And, if you love books, you just might want your bookmarks to be made from old book pages. There are so many fun book page crafts but I think this is one of the most appropriate. Not only do I recycle old book pages but I also use old paint chip cards as my base. The only cost I have into these bookmarks are the laminating sheets used to laminate them. I’ll show you how to create a bookmark in just a few easy steps.
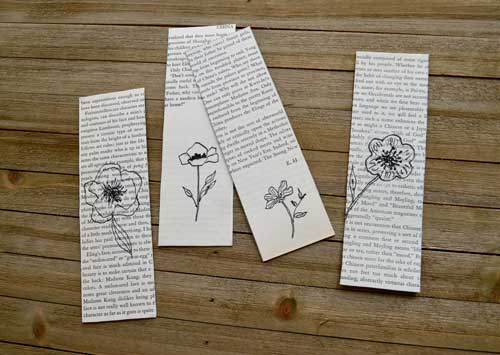
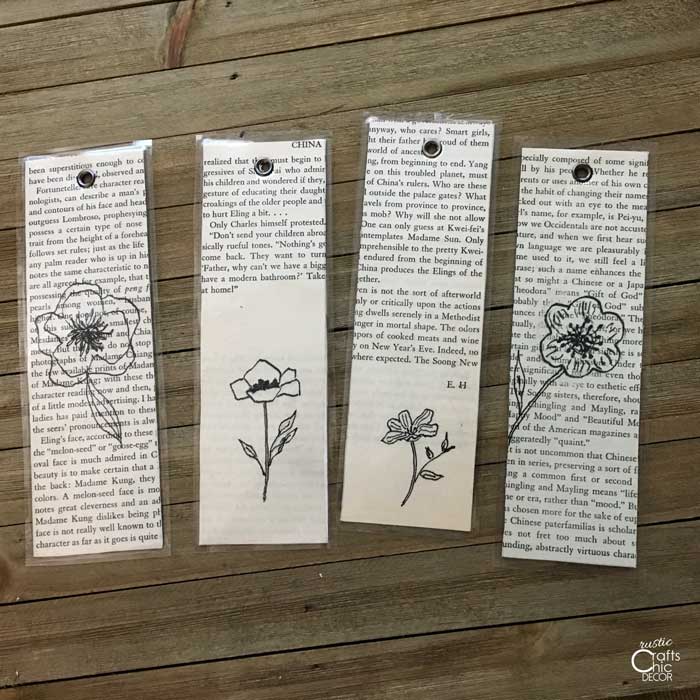
If you like to sketch, you might also want to do a little drawing on top of the book page. It adds a little creative style to make them unique. I simply drew a variety of different flowers on my book pages. To make the drawings stand out, I used ink instead of pencil.
How To Make A Bookmark
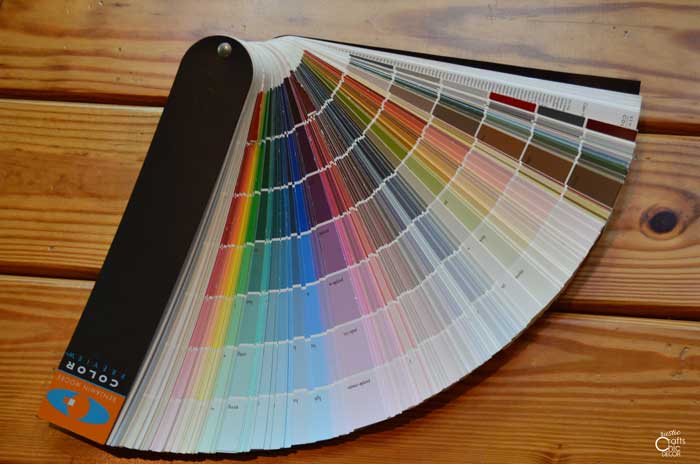
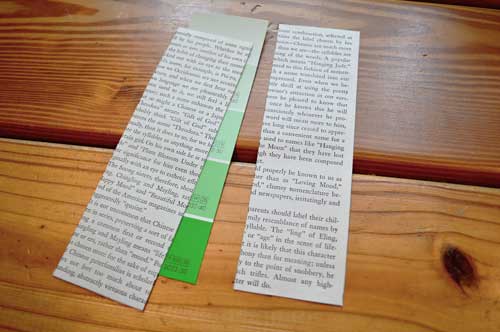
To start, you will need card stock cut into 2 inch by 7 inch sections. In my case, I had a whole ring of paint chip cards that I could use. Because I still like to look at my paint chips for different projects, I only used the colors I was sure I wouldn’t ever use. Individual paint chip cards, from a home improvement store, could also work for this.
Once you have your card stock base or paint chip, you are ready to create a shabby chic bookmark.
Create Your Own Bookmark
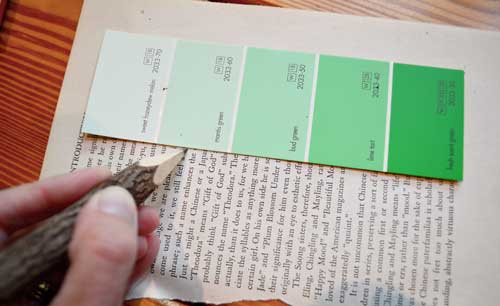
- Trace Book Page To Fit The Card Stock
I find that the easiest way to cut your book pages is to trace around the card stock rectangle. Then, just cut on the lines. You will need two pieces, one for the front of the bookmark and one for the back.

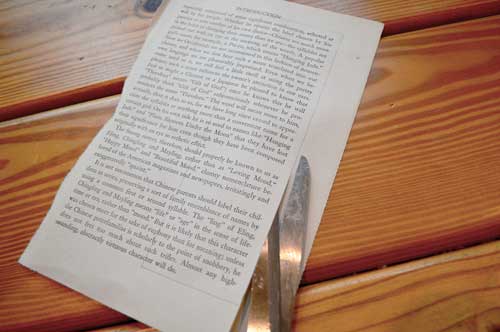
- Cut Out The Book Page
I used scissors for cutting and it worked fine. I’ll probably use my paper cutter if I decide to make several at a time.
- Glue Book Pages To Card Stock
Using a glue stick, apply the book page sections to the front and back of the card stock.
- Sketch Out A Design On Book Pages
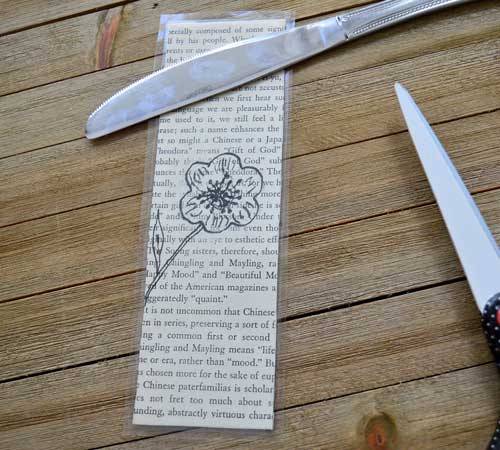
Once the book pages are glued to the card stock, then sketch out a design on top of the front book page. I drew flowers which are fairly easy to do. You could also stencil something. Use a pen for more contrast.
Now that you have your book marks made, you can easily laminate them to keep your designs protected.
How To Laminate Bookmarks
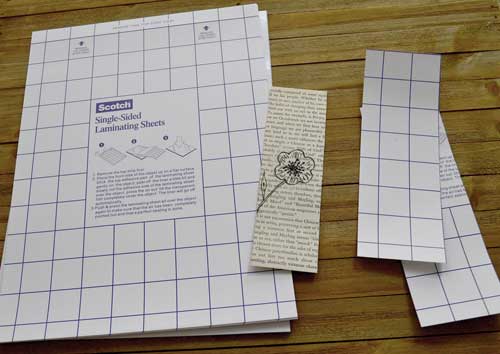
It is super easy to laminate the bookmarks using laminating sheets. There is no need for heat. Just press a sheet over the front and back and it’s done. First you need to cut out two sections of laminating sheets that are larger than your bookmark.
Peel the backing off of one sheet and lay your bookmark front side down on top of the sheet.
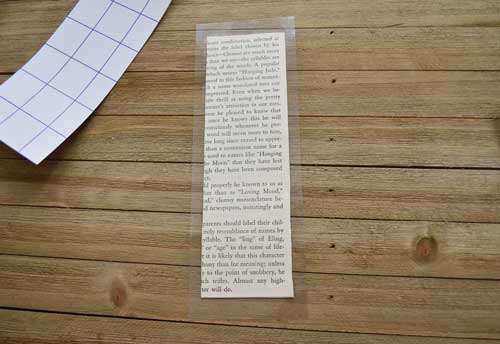
Take the second laminating sheet and peel the backing off. Then place it sticky side down on top of your bookmark which should be the back side. Use a bone tool or the flat side of a butter knife to press the sheets together and smooth out any bubbles.
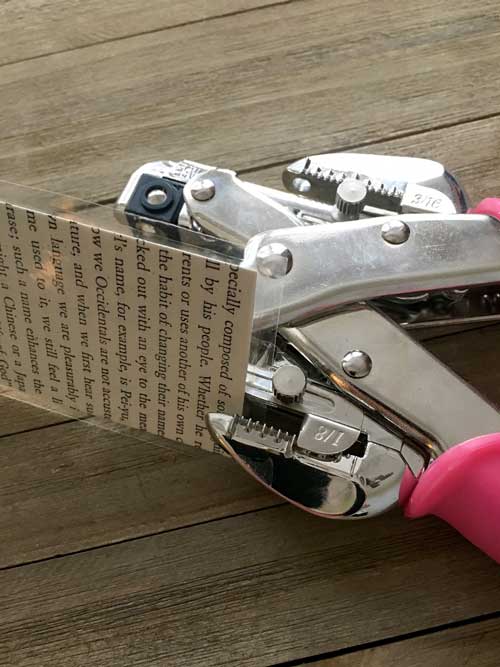
One the sheets are smoothly pressed together, you can trim up the edges a little if you need to. I like to cut the laminating sheets about a half inch larger all the way around. Then once the sheets are smooth, I trim to between 1/8 and 1/4 inch.
Finish Touches
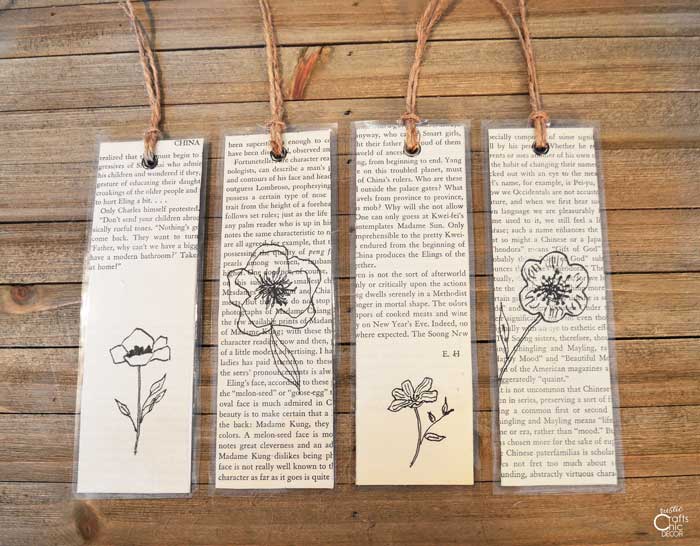
Once your bookmark is complete and laminated, you may want to do one more step. I like to punch a hole, insert an eyelet, and then tie a section of twine to the upper end.
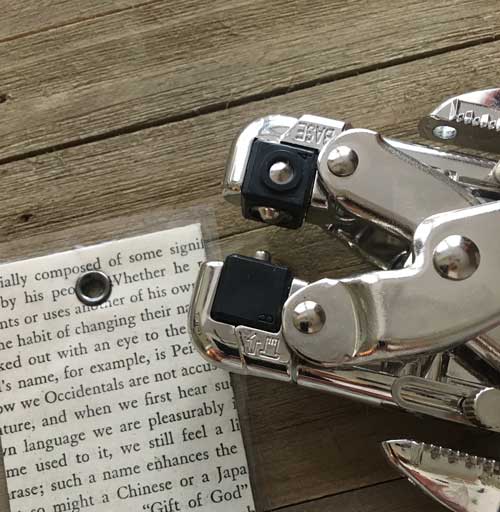
To make the holes with eyelets, you will need to use a tool called a crop-a-dile. It makes punching holes and inserting eyelets so easy. First, punch a hole using the side puncher. Then, insert an eyelet to the top of the tool and press it on. So simple!
The tool has a guide for how deep you want to punch your hole. Just adjust the depth and insert the bookmark. Press the handles together and you have a hole.
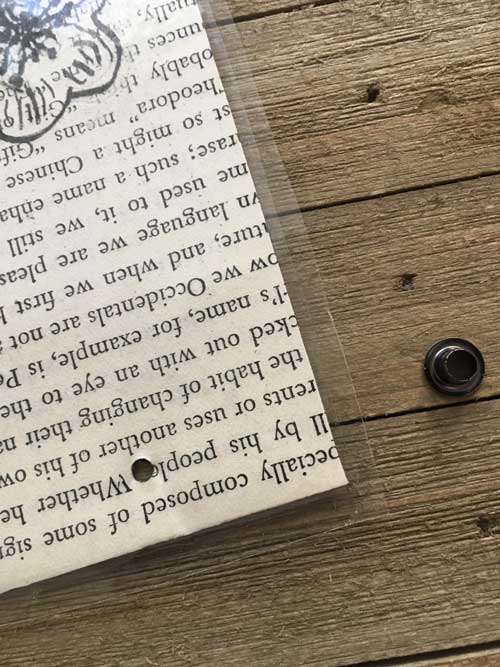
The hole is actually smaller than the eyelet insert but when the eyelet is lined up with the hole it goes in perfectly when pressed.
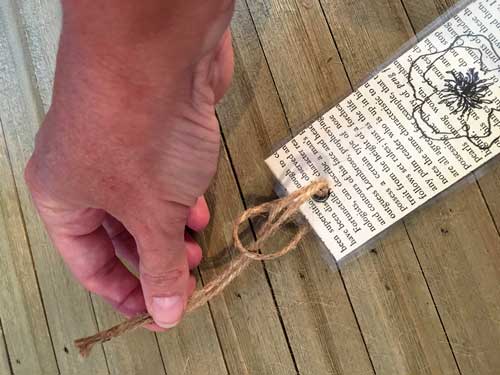
All you have left to do is tie some twine or ribbon to the end! Cut about an eight inch section of twine. Fold it in half and insert the two ends through the eyelet. Insert from the back. When there is about a one inch loop left of the twine, insert the two ends through the loop and pull tight. Cut the two ends to your desired length.
Although I used twine for the end, you could also use ribbon or an embroidery thread tassel.
And that’s how to create a bookmark! If you like the idea of making bookmarks with old book pages but don’t want to destroy your books, there is another option. See my post on creating your own aged book pages to use in crafts. They look authentic and would be perfect to use in making these bookmarks.
I love making bookmarks 🙂 probably one of my favorite types of projects, even though I have way more than I’ll ever need LOL
I know what you mean!