Since Christmas trees are such a popular Christmas craft to make, I of course had to put my own twist on one. I’ll show you how to make a branch Christmas tree that is both rustic and chic. The birch branches make up the rustic part while the shiny beads add a little chic.
It doesn’t take a lot of time to put this tree together. If you are good with a glue gun and can twist wire, then you are golden! The hardest part might be stopping at just one. I might make a whole forest of these Christmas trees for a fun display in various heights. Instead of using all clear beads, I might want to experiment with some colored beads as well. Or, a variety of different colored pots might be fun as well!
First, I will show you how to make a branch Christmas tree and then you can decide where to go from there. So, go gather up some birch branches or other decorative branches to get started. If you can’t come by any naturally, you can buy them from various suppliers.
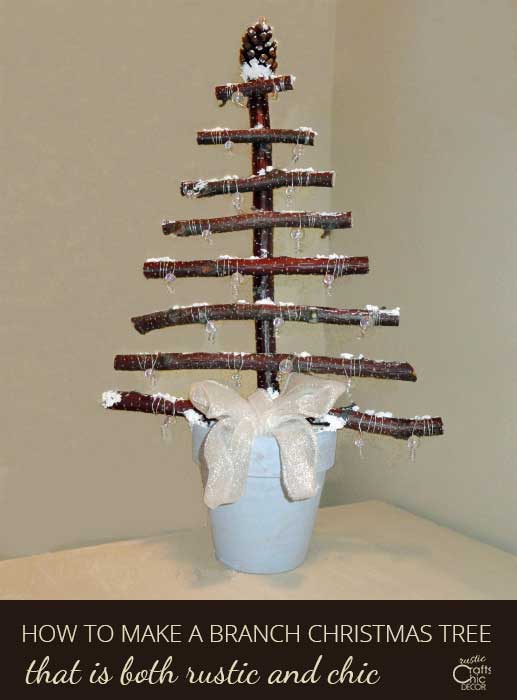
How To Make A Branch Christmas Tree
Supplies Needed
- birch branches
- small flower pot
- Styrofoam ball
- tacky glue
- artificial evergreen clippings
- hot glue
- pruning shears
- pine cone
- snow tex
- paint brush or putty knife
- blissful blue acrylic paint or any color for the flower pot
- glamour dust
- white sparkly bow
- various sizes of clear glass beads
- 26 gauge silver wire
- needle nose pliers
Step By Step Instructions
Construct The Base To Work With
1. With a pruning shears, cut one branch to be your center stem. Cut it to the height you want your tree plus a couple of inches for inserting into the Styrofoam in your pot. Cut more branches to lay across your center stem at gradually shorter lengths to form your tree.
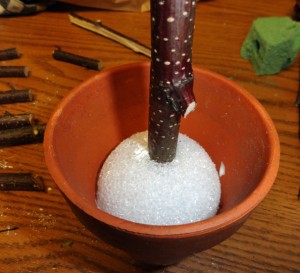
2. Drizzle tacky glue over the bottom of your Styrofoam ball and insert it into the bottom of your flower pot. Next, insert your center branch into the center of the ball. Remove the branch and squeeze some tacky glue into the hole. Re-insert the branch back into the hole.
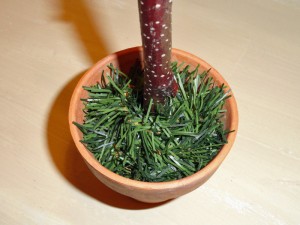
3. Cover the top of the Styro-foam with tacky glue and press artificial evergreen clippings onto the glue to fill the pot.
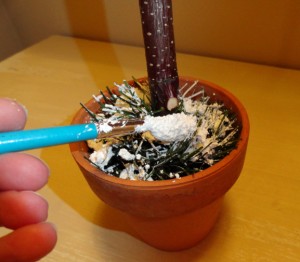
4. Cover the top of the evergreens with snow tex. This is not only decorative but also works to hold everything in place nicely.
5. With your glue gun, start gluing on your branches starting from the bottom up. Try to keep the branches evenly spaced. Add a small pine cone to the very top. Now the fun begins! Just like a real tree is fun to decorate, a small tree is too!
Adding The Finishing Touches
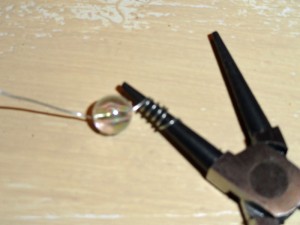
6. Using a needle nose pliers, wrap one end of a six to seven inch section of wire around the nose about five times. Add a bead.
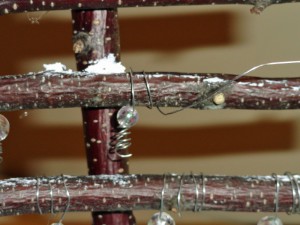
7. Wrap the other end of the wire around the tree branch a few times. Clip off any access wire with a wire snip. Continue adding beads throughout the whole tree. When you are finished, apply some snow-tex to your branches making sure to cover the tops of your wire to secure them in place. Also, cover any areas where hot glue may be showing.
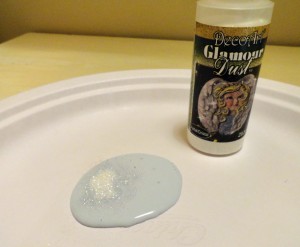
8. Add some glamour dust to your paint to apply to your flower pot. I like to do this to add just a slight texture and subtle glisten in certain light. If you want more sparkle, first paint your pot with just the acrylic paint. Then, mix your glamour dust with a glossy varnish and apply that over the paint. You will have a much more intense sparkle and shine.
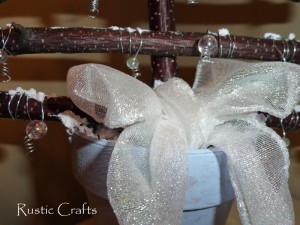
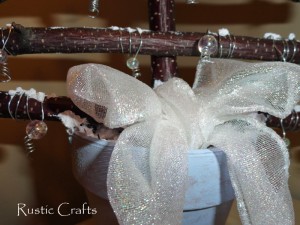
9. Finally, make a bow out of some sparkly white ribbon and glue it in to the bottom of your flower pot. I used E6000 craft glue for this but tacky glue would work too.
And that is how you make a Christmas tree with birch branches! Now, how many are you going to make?
Finished Tree
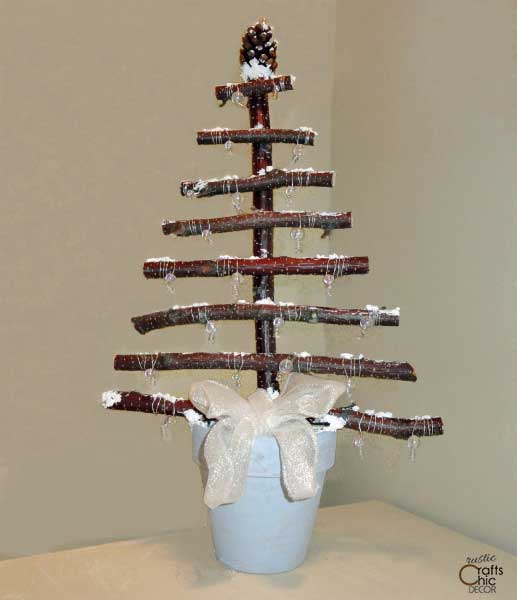
Here are a few close ups for how to make a branch Christmas tree.
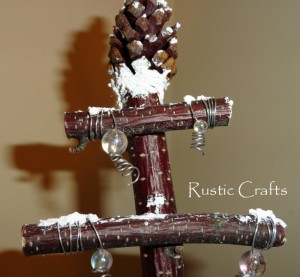
Because I didn’t want the seam to show where the top of the center branch and the pine cone meet, it was a good spot to place some snow tex.
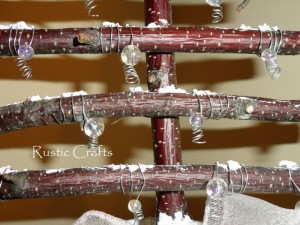
Since twisted wire adds some reflective shine, I attached the beads to the branches with several wire twists.
And, I added a sparkly bow to the top of the flower pot to add some extra chic at the base.
The finished tree now has enough sparkle. Because the beads are clear, they remind me of ice on the tree.

Way cute!
Thanks again for partying with us at Show & Share!
Hello! I’m following from the Finding New Friends Weekend Blog Hop – Week 30! I hope you had a fun and safe Halloween! I’m following through Google Friend Connect, Facebook, Twitter, etc. if applicable!
It would be great if you followed me back!
Much Love,
Courtney