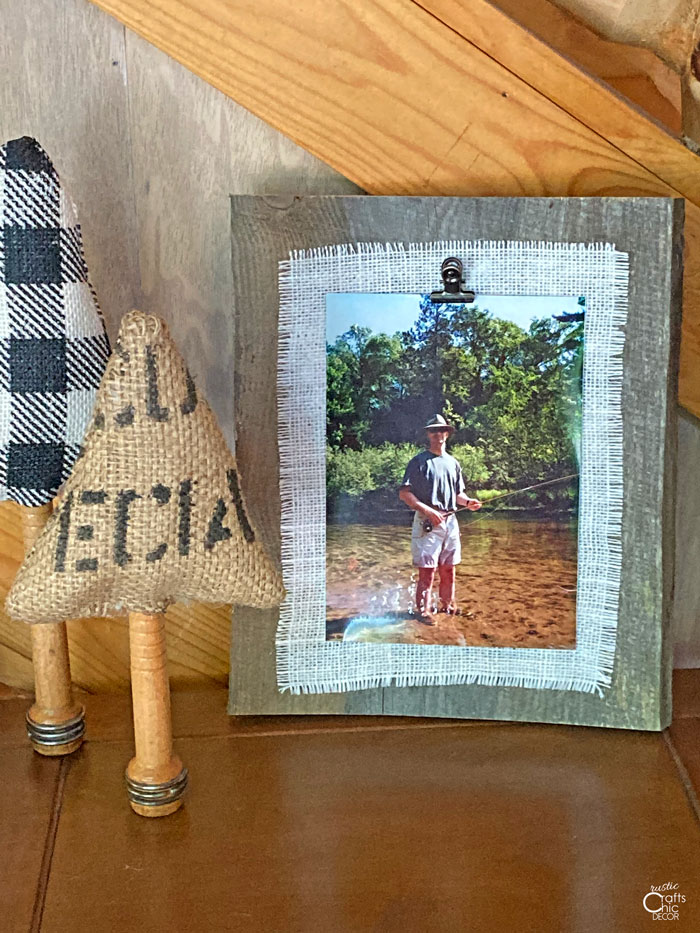
I remember the days of having boxes and boxes full of family pictures. That was when my camera was film and I had to get the film developed to see the photos. Now, with digital cameras and phones, it’s easy to store the photos until you are ready to print one to frame. Because I tend to frame less, I like to use frames that are more unique and make a decorative statement on their own. That’s where handmade picture frames can really reflect your style. In fact, a DIY rustic picture frame can be one of the easiest styles to put together.
Some of the most creative picture frames look nothing like a traditional photo frame. Even so, they display pictures perfectly and often enhance the photo itself. I’m going to show you how to make a rustic picture frame out of scrap wood and burlap. It’s a simple idea that is perfect for a rustic setting. Because I use a thicker wood, the frame naturally sits on it’s own. Although you could also put it on an easel or add hanger for the wall.
Besides creating your own style, making your own picture frame can also be very inexpensive. For this project, I used scrap wood and other supplies that I already had on hand. I love shopping in my own house. Not only are the prices good but I clear up a lot of excess inventory as well! Here is my idea for a DIY rustic picture frame.
Reclaimed Wood Picture Frame
This post contains recommended product links. If you make a purchase through one of the links, I may earn a small commission at no cost to you.
Whenever my husband and I do a project, we end up keeping some of the leftover wood. I’ll admit that I don’t like seeing a stack of unused wood taking up space in our garage. However, time and time again it has come in very handy. For this project, I am actually using the weathered cedar from an old tree blind. My husband had taken apart the blind but saved the good pieces of wood.
Since the cedar had been outside, it has a nice weathered patina. The boards also have a slight bend to them, giving them a unique look for a frame. My plan was to create a frame that was a rustic chic or farmhouse style so I definitely had to add some burlap. I chose white burlap for a clean farmhouse look.
Instruction For Rustic Frame
1. Cut Board To Size
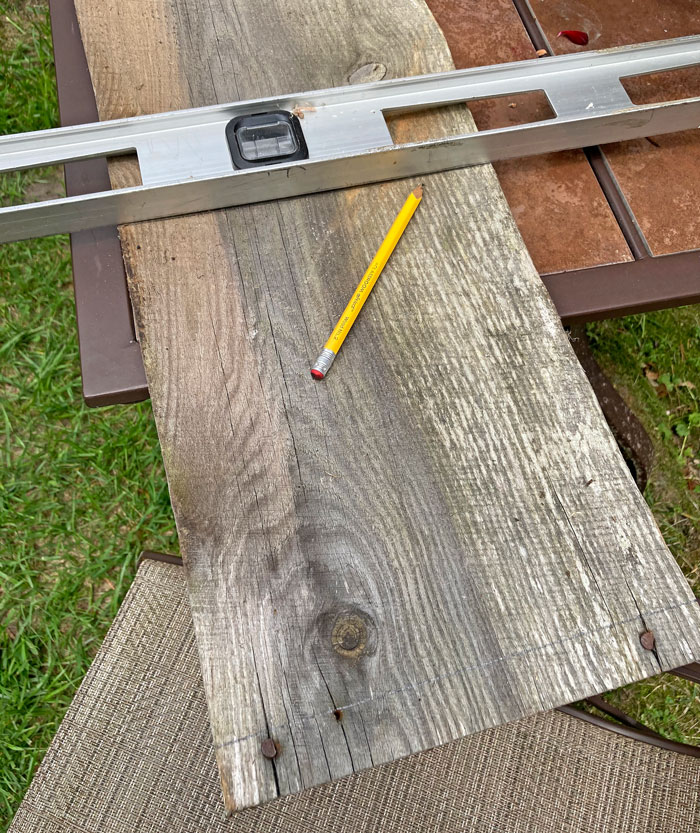
Depending on the width of your board and the length you will need for a particular photo, cut your board to size with a chop saw or other saw. My board was 8 3/4 inches wide and I made it 10 1/2 inches long. This is a good size to display a 5×7 photo. If you don’t have any scrap wood, you can also purchase new wood from the a home improvement or lumber store. A lot of times, you can even get the wood cut to size. Then, just weather the wood yourself for a more rustic look.
2. Cut Burlap To Fit Inside Wood
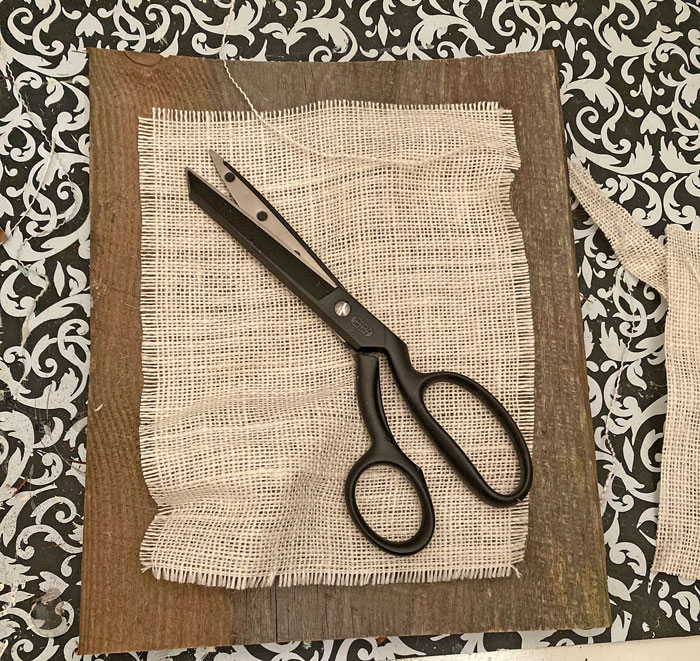
Cut a section of burlap to fit inside the wood. Keep in mind the amount of wood that you want showing and the size of your picture. Then, remove two to three strands of burlap to give the piece some fraying.
3. Adhere The Burlap To The Wood
Using Mod Podge in a matte finish, first apply the Mod Podge to the area of the wood that the burlap will cover. Any craft paint brush will work fine for spreading the decoupage. I recommend using a matte finish for a nice natural look. You can also buy Mod Podge in a gloss finish so read your label carefully.
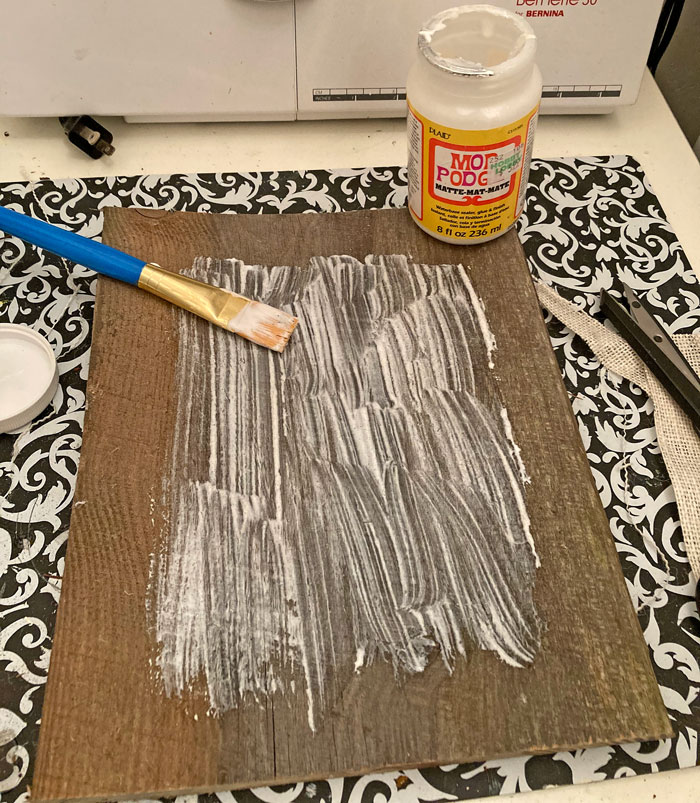
Smooth the burlap over the Mod Podge to set in place. You will now have to cover the burlap with another layer of the Mod Podge.
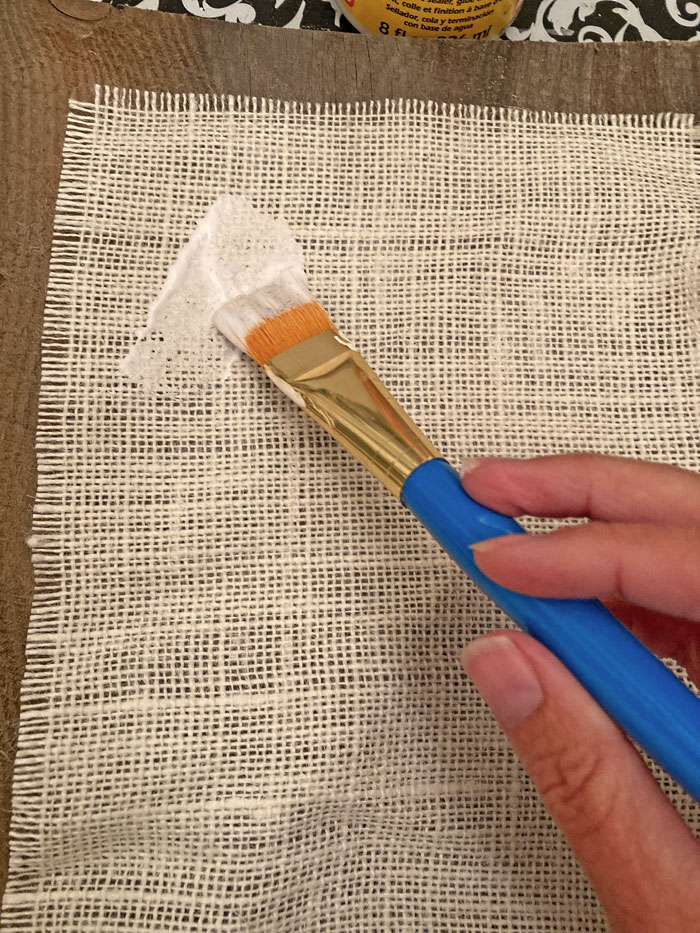
I didn’t bother ironing my burlap even though it was wrinkled from being bunched in a basket. This step of applying Mod Podge takes care of all the wrinkles! Once I had the entire burlap covered, I set the board aside to start drying.
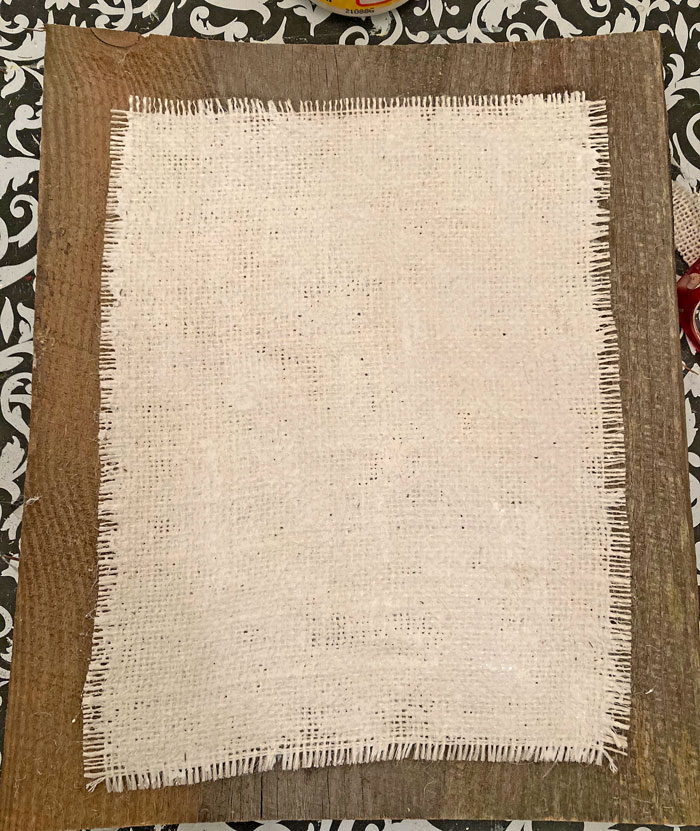
4. Attach A Clip For Hanging Photo
If you are like me, you like to change out photos frequently. This last step makes that easy to do. Simply attach a clip to the burlap part of the board for clipping a photo. When you are ready for a new photo, it is easy to swap out.
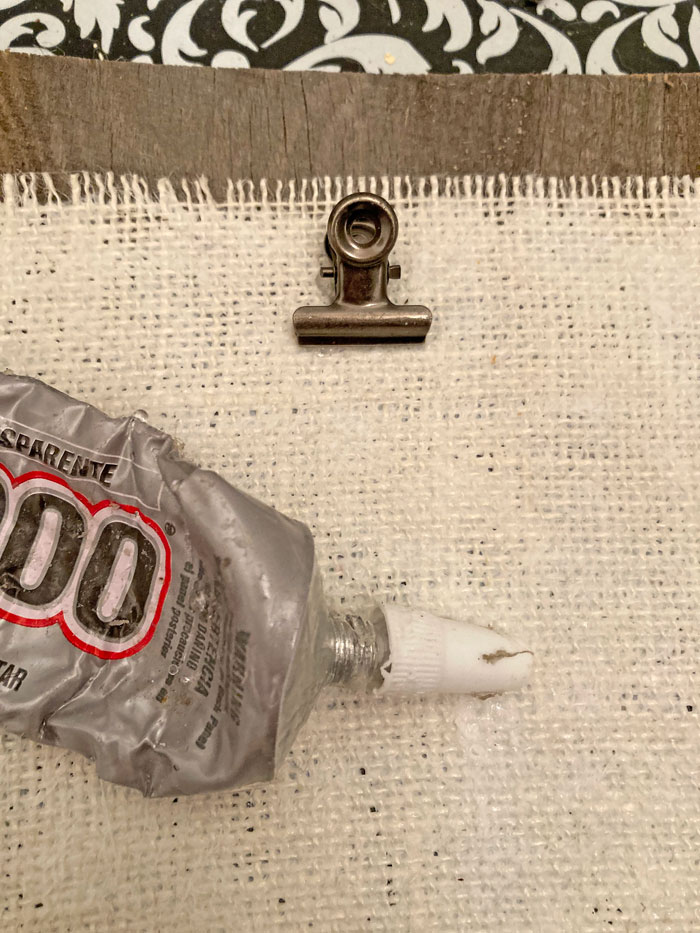
Since Mod Podge in itself is an adhesive, you don’t need to wait for the burlap to be completely dry to glue on the clip. I like to use a strong adhesive for most of my craft projects. However, it is especially necessary when you need to handle the part that is glued. Because the clip could be handled frequently, I highly recommend E6000 craft glue. I have never been disappointed with it.
After gluing on the clip, set the frame aside to dry completely.
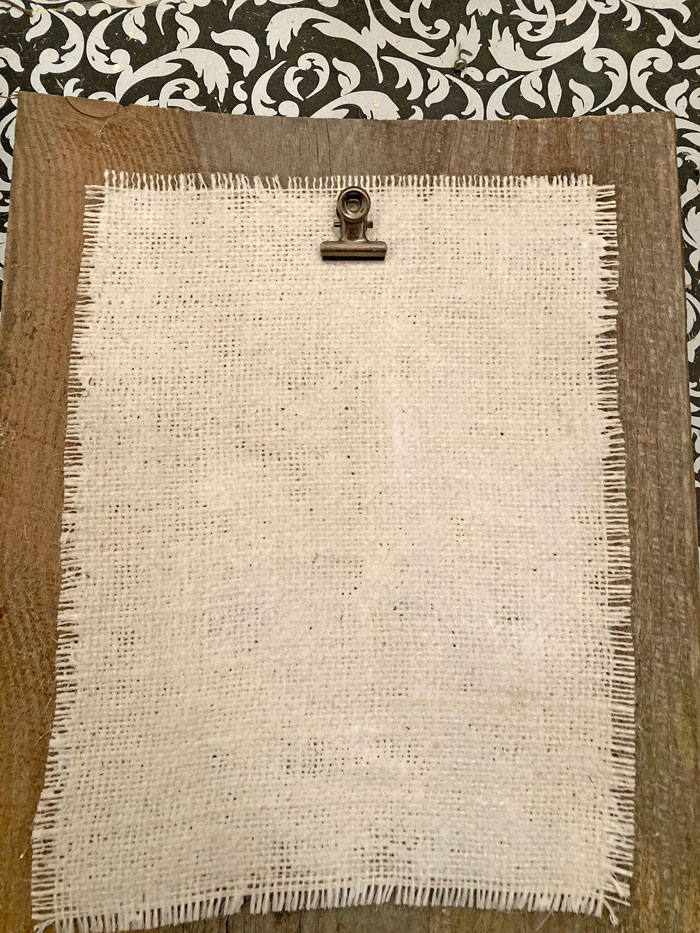
All that is left to do is attach a favorite photo and your DIY rustic picture frame is complete!
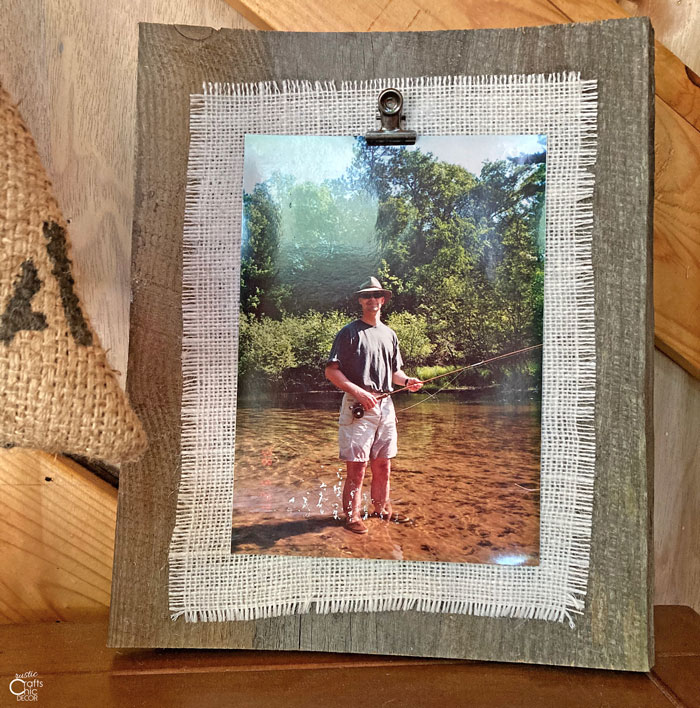
Since my wood has some warp or bend to it, it is best suited as a table top frame. If you want one for the wall, make sure that the wood sits flat. This project shows that even warped boards can be used for a decorative project.
