Burlap Fabric provided me with the main materials I used in this craft project. The opinions I shared about using these materials are my own, and Burlap Fabric did not tell me what to say or how to say it.
I love the look of burlap coffee bags! The graphics on these bags are what I like the best. So, when Burlap Fabric contacted me about using some of their product in a craft project, I was pleased to see they offered authentic used burlap coffee bags. I figured I could make some placemats lined with plain white burlap, which they also offered.
How To Clean Burlap Coffee Bags:
Before I could start making the placemats, I had to do some prep work. Since the burlap coffee bags were authentic and used, they were dirty! This is to be expected and can be remedied with a little hand washing. You don’t want to just throw a coffee sack into your washing machine. If you do, the ink from the graphics will fade. I washed one bag at a time, in a deep sink, with a tablespoon of laundry detergent. Then, I spent a lot of time rinsing. To get the excess water out, I then placed the bag on the spin cycle of my washer. For the sake of time, I dried mine on low heat in the dryer. The dryer lint trap will collect a lot of burlap fibers! You could also place the coffee bag inside a pillow case tied shut with a rubber band. Then while drying, the pillow case will hold any loose fibers. The last preparation step was to ironit flat using a hot iron and a little spray starch.
How To Make A Placemat
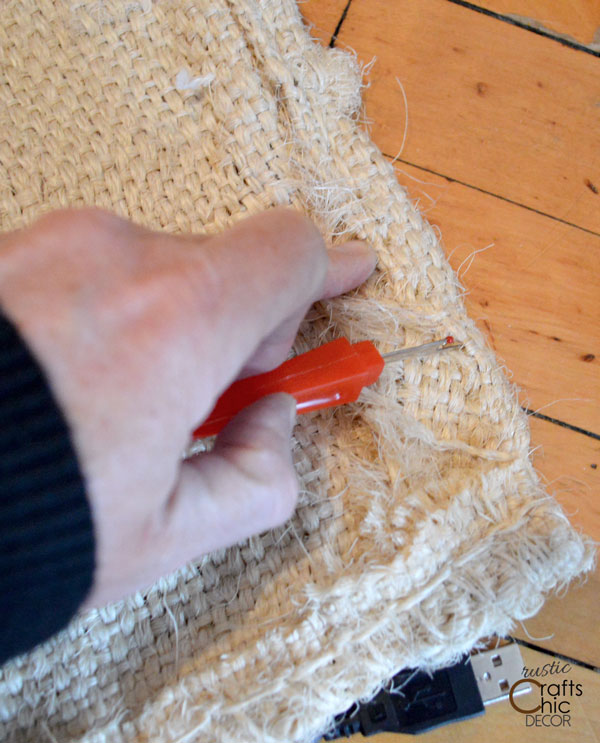
1. Start by cutting a coffee bag in half to have the two sections of fabric to work with. I cut the back off of a bag just inside the side seam in case I wanted that seam left on for a different type of project, like the hot pad project at the end of this post. I had also used a seam ripper to open up the top fold of the bag to get the most out of the fabric.
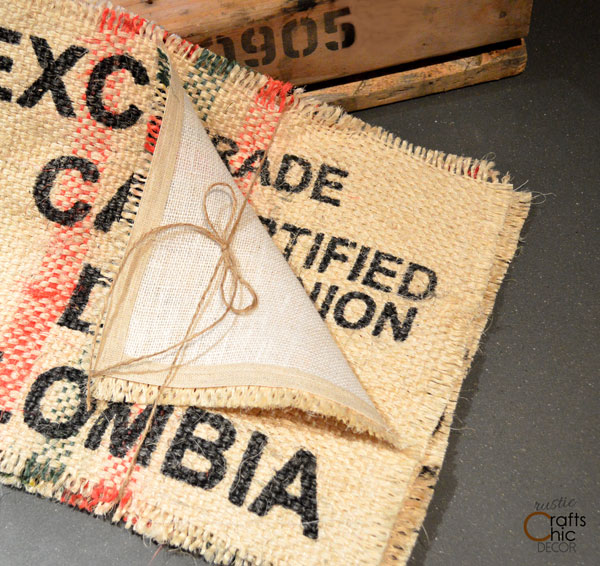
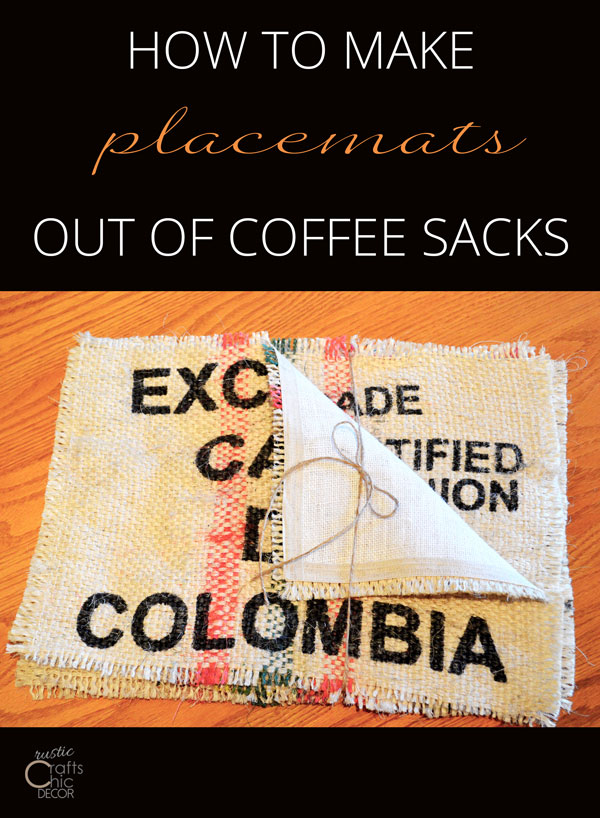
2. Next, I chose where I wanted the pattern of my placemat to be, from the coffee sack, and cut a rectangle 13 inches wide by 17 inches long. I then cut a rectangular piece from my white burlap at 12 1/2 inches wide by 16 1/2 inches long.
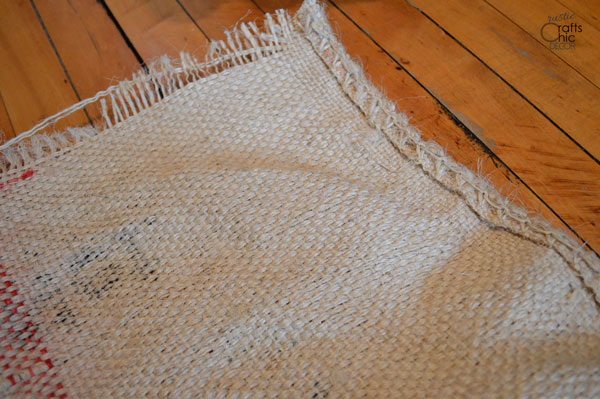
3. From each of the edges of the coffee sack rectangle, I unraveled approximately 1/4 inch by pulling single strands from the edges.
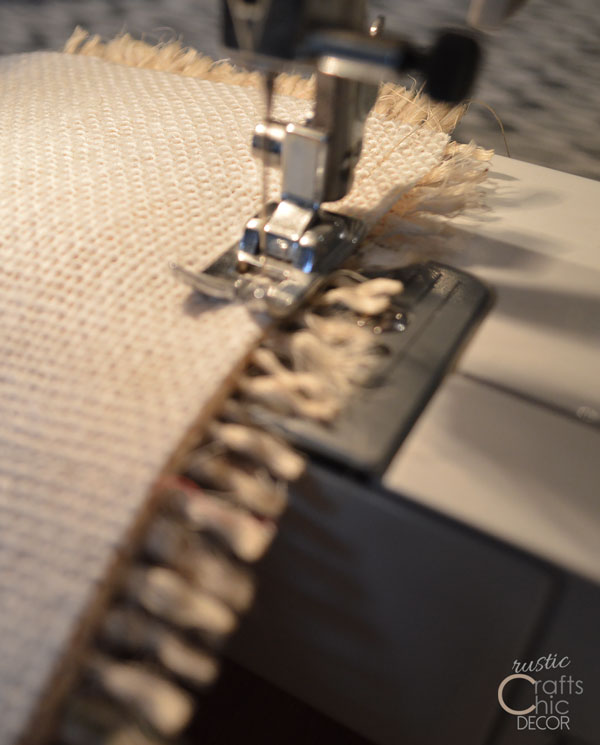
4. To keep more strands from unraveling and to adhere the white burlap to the coffee sack, I simple sewed the two together with an 1/4 inch seam allowance, back to back.
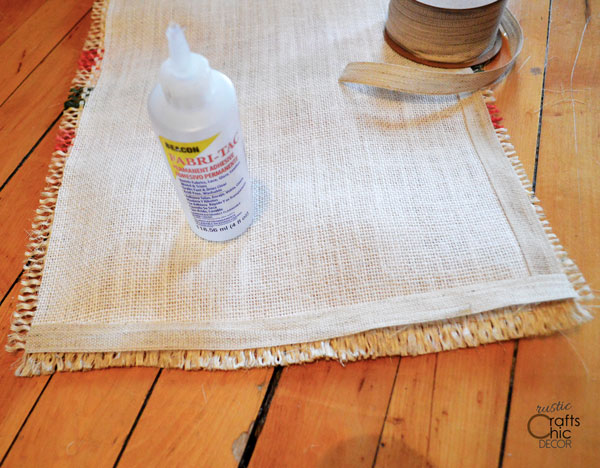
5. I wasn’t worried about that raw edge because I am cleaning that up with some linen ribbon and fabric glue! It was easy to cut out the lengths of ribbon to match the lengths of the placemat sides. Then I just glued them in place, overlapping in the corners.
The Finished Product
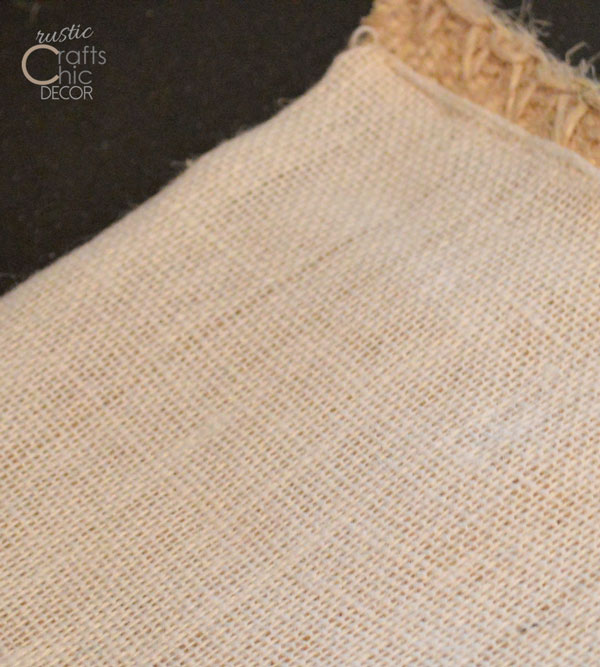
I was able to get four placemats out of one coffee bag. So, a set of twelve will only take three bags. The colors, in the sacks I chose, will be especially fun at Christmas with the red and green. I am super happy with the thickness of this burlap as it is perfect for placemats. For weight, it wasn’t really even necessary to line the back with the white burlap. However, I still wanted to do it for the softness. The coffee bags have a bit of a rough texture and I didn’t want to take a chance of getting any scratches on my maple dining table. They probably wouldn’t scratch but I do like the softness of the white burlap fabric and the added security it gives.
What To Do With Coffee Bag Fabric Scraps:
When I was finished cutting out my fabric for the placemats, I had some scrap fabric left over. Since I didn’t want to waste these small pieces, I came up with a couple of quick small projects.
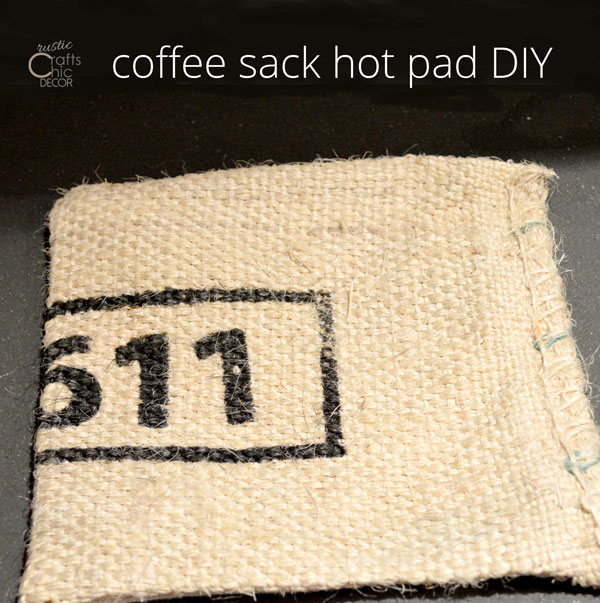
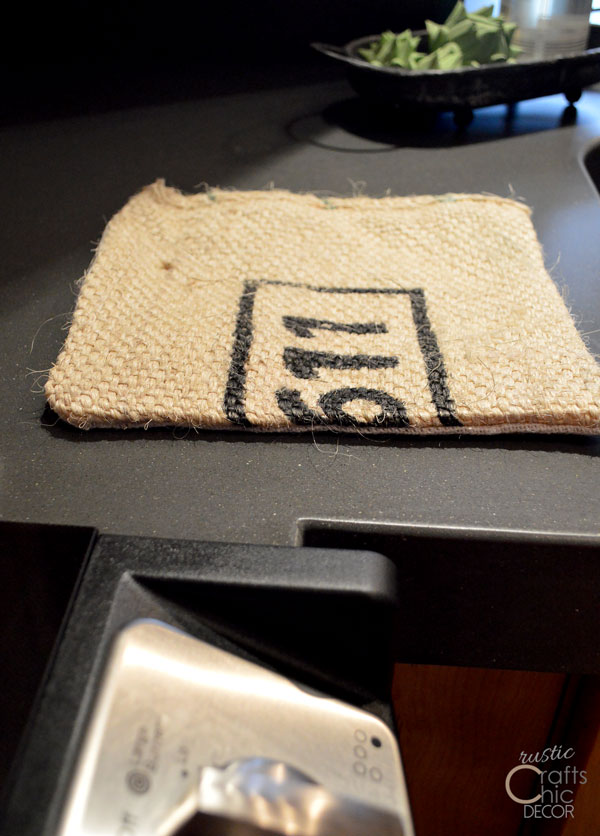
My first idea was to make a simple hot pad. When I saw how nice the coffee bags stood up to a very hot iron, I thought wa-la! This burlap is so thick, it would be perfect for a hot pad. And, if I was going to line it too that would just be another layer of protection.
I just sewed a square of coffee sack together with a square of white burlap, right sides together – just like a pillow leaving one side open. Then, I turned it inside out and pressed the linen edge under and sewed in place. Here is the example where I left that thick side seam in place for looks.
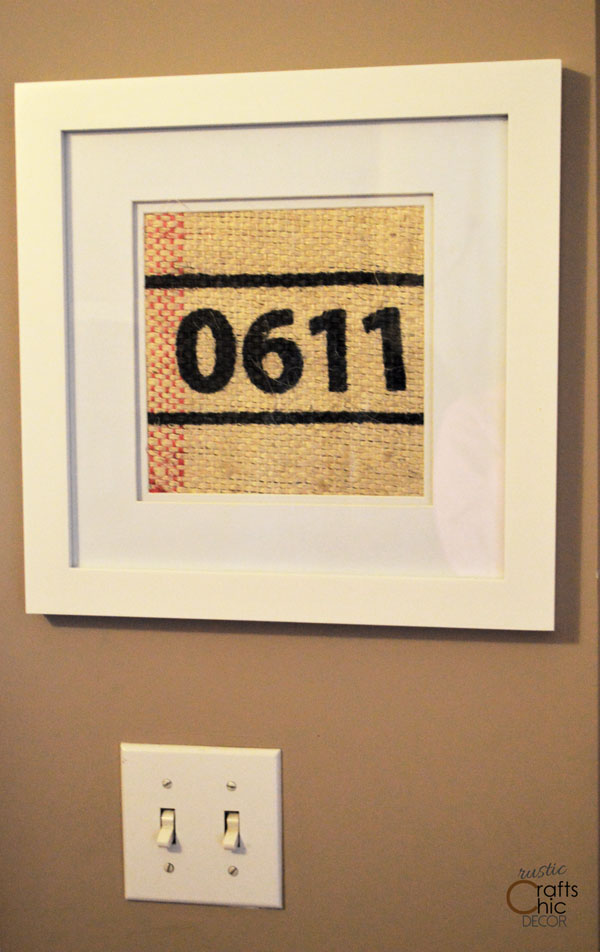
Probably the easiest way to use up a scrap, and maybe the most obvious, is simply to frame a piece. Just cut out a piece from your favorite graphic. It’s a creative way to get some unique wall art.
I have some ideas for more burlap crafts so stay tuned for what I have coming up!

