Because I think every door should be adorned with a pretty wreath, I found a creative way to make my own. This tutorial is both quick and easy. In fact, it is fairly mindless so you can make a wreath while watching TV or talking to friends. I’ll show you how to make a rag wreath using a couple of different kinds of burlap. The look goes especially well with a farmhouse style home. However, depending on the fabric you choose, the style can fit any home or season.
Because I wanted a couple of different wreaths, I made one with a black and white buffalo check burlap and the other with white burlap. I also used two different types of wire wreath forms. The technique is a little bit different depending on which type of wire wreath form you use. However, the basic concept is the same. I’ll start with the most popular wire wreath form and then go on to the second tutorial.
White Burlap Wreath Tutorial
This post contains recommended product links. If you make a purchase through one of the links, I will earn a small commission at no cost to you.
I love a neutral chic wreath that can be used anywhere and for any season. Since I had a lot of white burlap left over from a placemat project, I used some of that up on this wreath. For a very slight two tone look, I added in some natural linen ribbon as an accent. Here is how I did it.
Materials Needed
How To Make A Burlap Rag Wreath
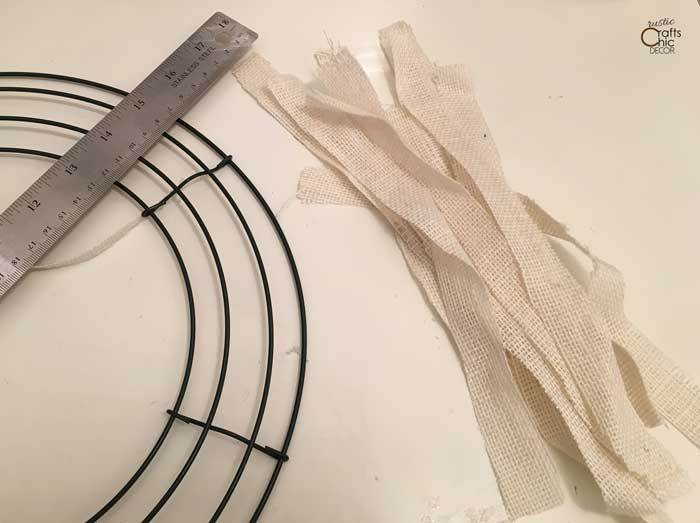
- Cut Burlap Into Thin Strips
For a twelve inch wreath, you will need approximately 80 strips of burlap that are one inch by ten inches long. With a pencil and a ruler, draw out your lines onto your burlap and cut. You could also use burlap ribbon that is one inch wide but you won’t get the rustic look of the frayed ends.

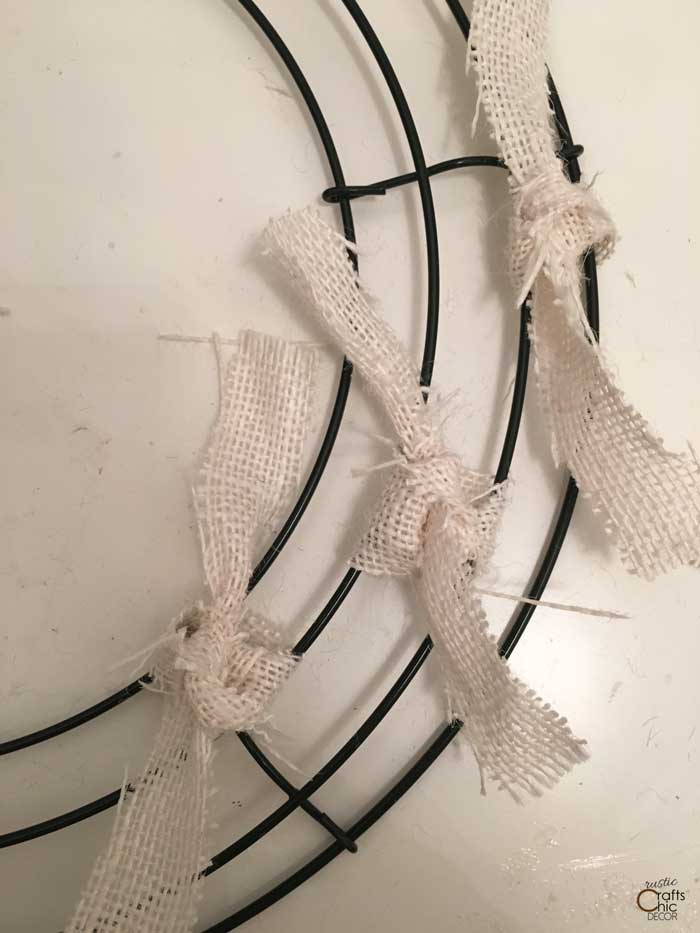
- Tie Burlap Strips To Wire Wreath Form
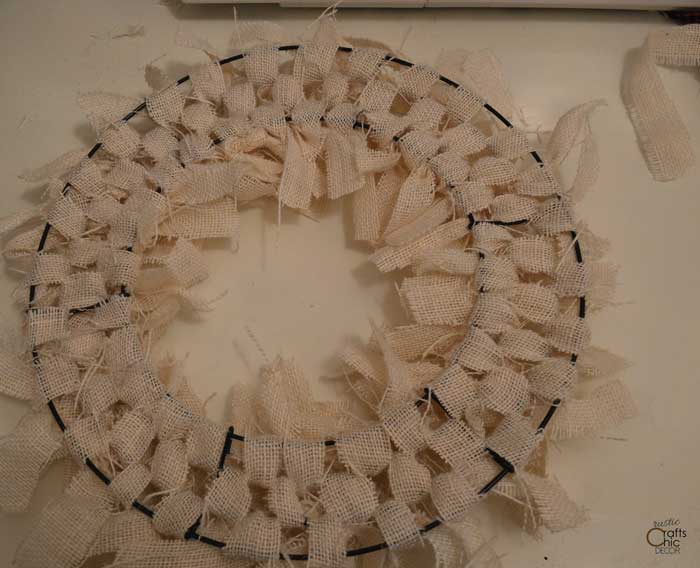
Each strip will be tied around two of the wires at a time. Starting with the two wires at the outer edge, tie on one strip. Next, tie a strip around the two inner wires. Finally, tie a burlap strip around the two middle wires. Keep repeating this pattern until all of your strips are used up or the wreath frame is completely full.
- Keep Pushing The Knots Together To Fully Cover The Wire Form
As you go, slide your tied burlap strips together so that they butt up tight against the cross piece of wire for each section. Here is the back side of the finished wreath so that you can see the pattern.
- Fill In Wire Gaps With Ribbon Tied To Just One Wire
Once you have all of the burlap strips tied on, you will notice there are still some areas where the wire shows from the back. At these gaps, tie on a section of natural linen ribbon. Since the ribbon will be tied onto just one wire, it doesn’t have to be as long. My ribbon was 5/8 inch wide and I cut it into eight inch lengths.

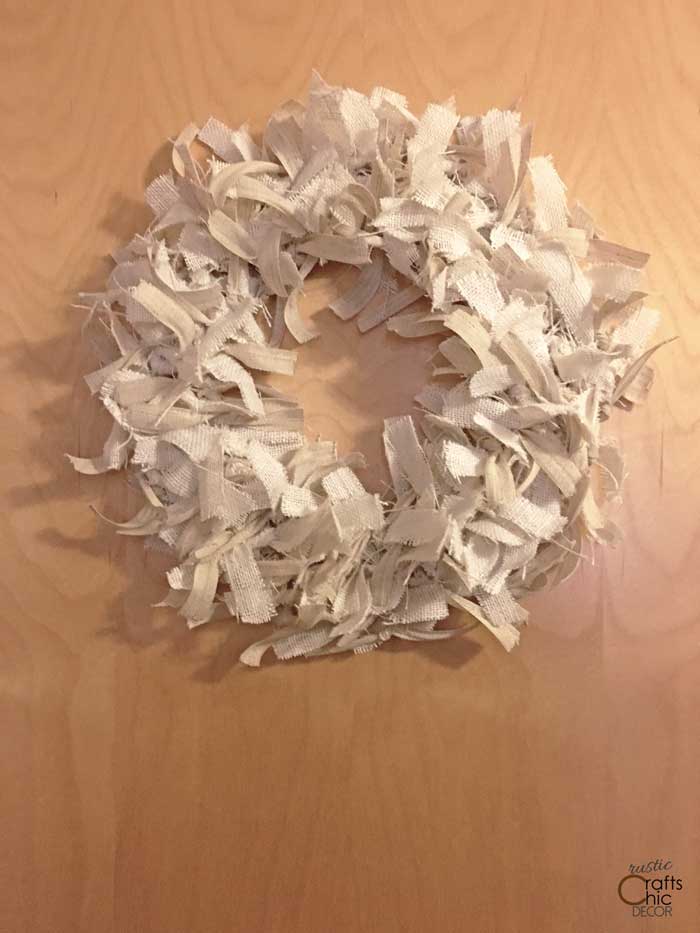
Finished White Burlap Rag Wreath
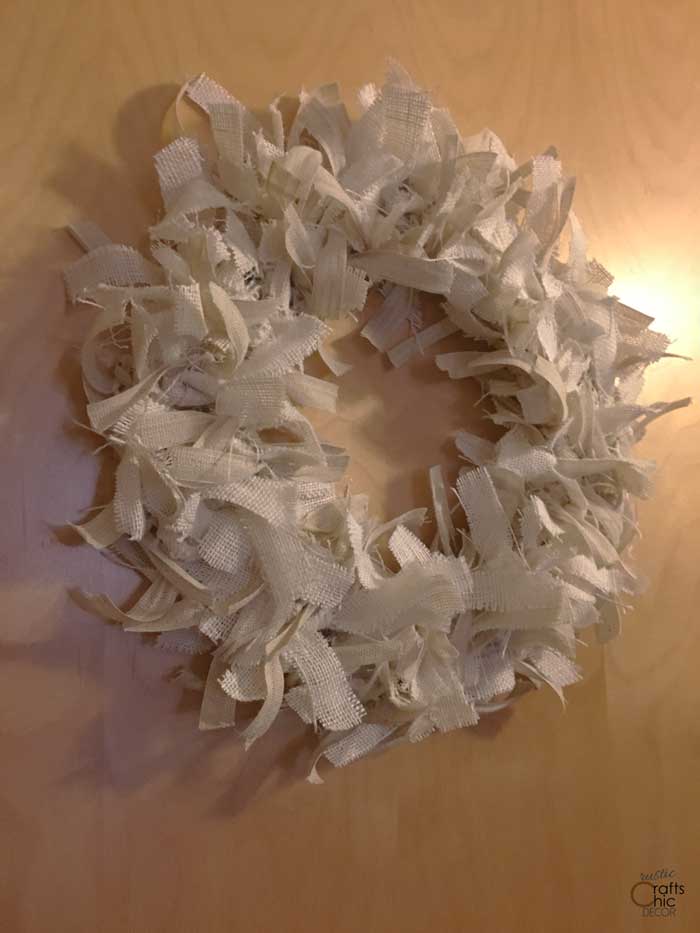
With the added ribbon, the wreath has a slight two tone color. The differences in texture also give a plain colored wreath a little more interest. You could easily add some burlap flowers or other embellishments to the wreath as an option.
Additional Holiday Embellishments
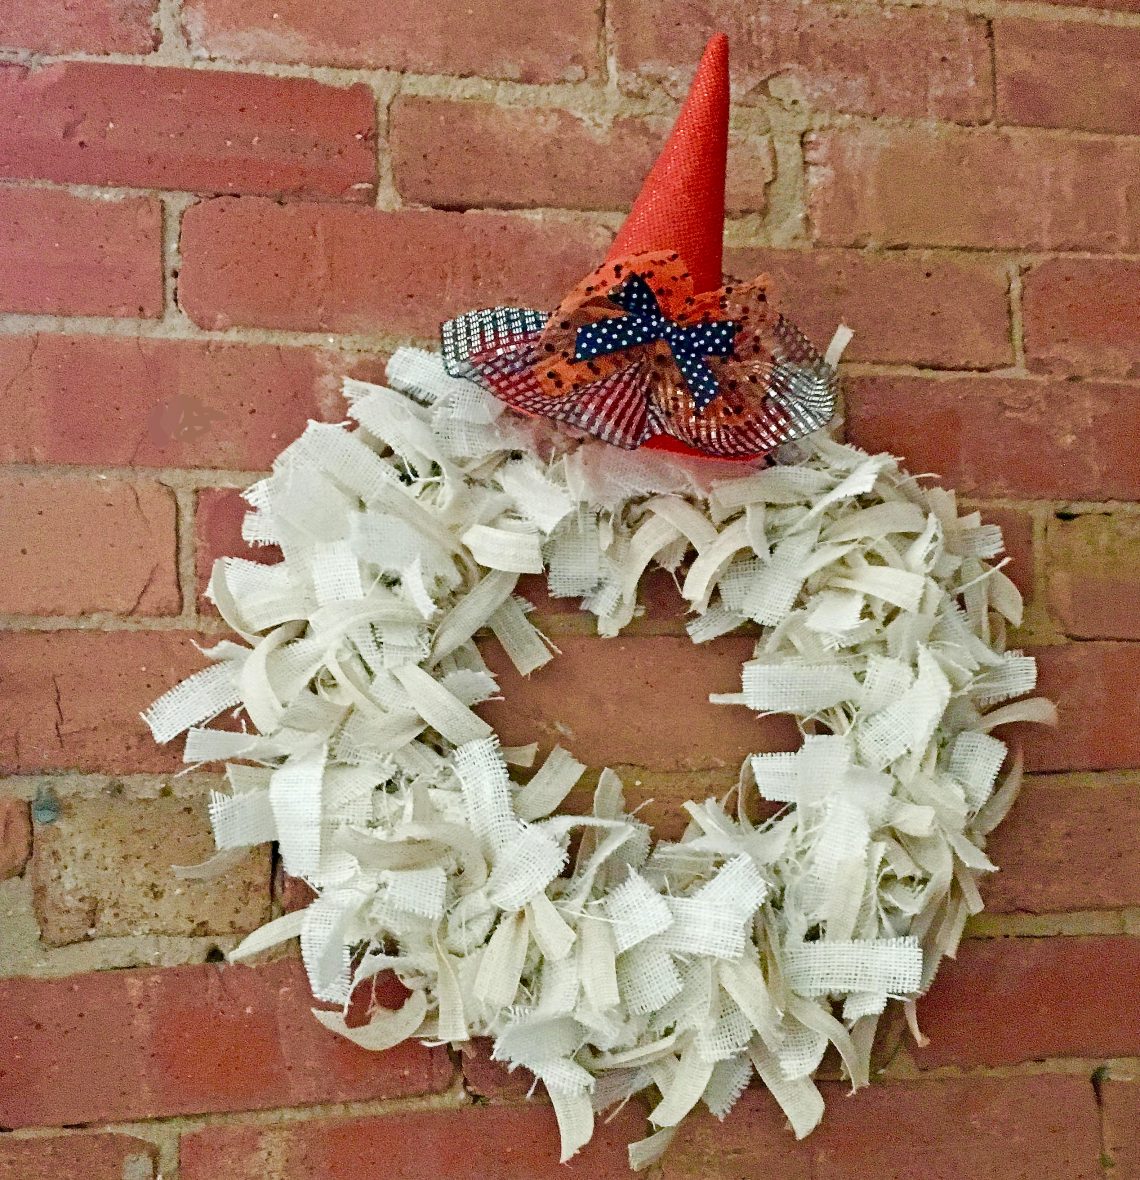
The holidays are a time that I like to have the ability to change up a neutral wreath. It’s definitely easier than making a whole new one!
For instance, I easily changed this wreath to Halloween decor by adding a recycled Halloween headband. It doesn’t get much easier than that.
I found this headband and decided it would be a great addition to my wreath decor.
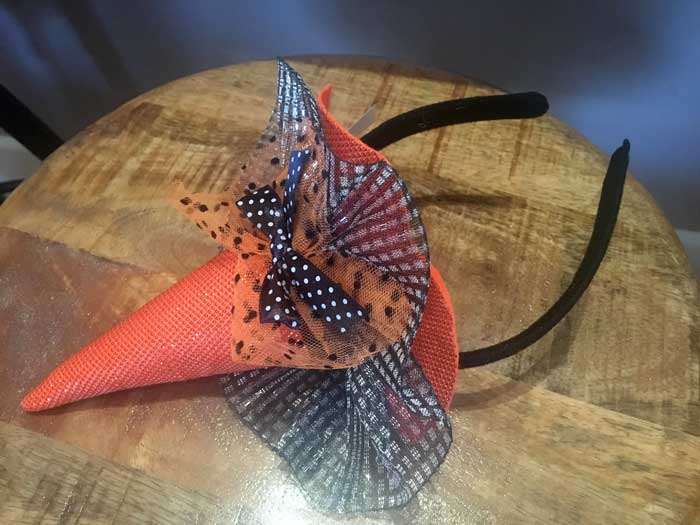
All I had to do was trim down the headband part with heavy duty scissors. Then, I just tucked it into the tied burlap pieces.
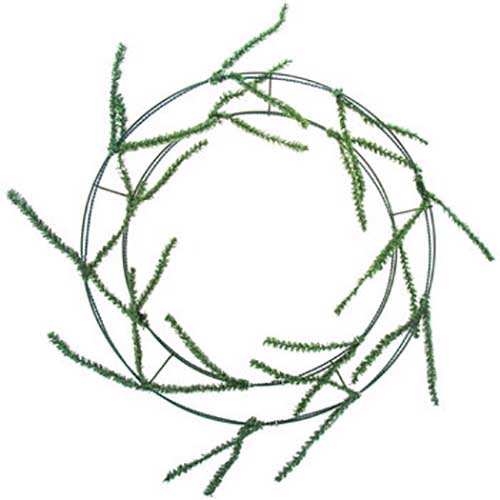
Two Wire Wreath Form Technique
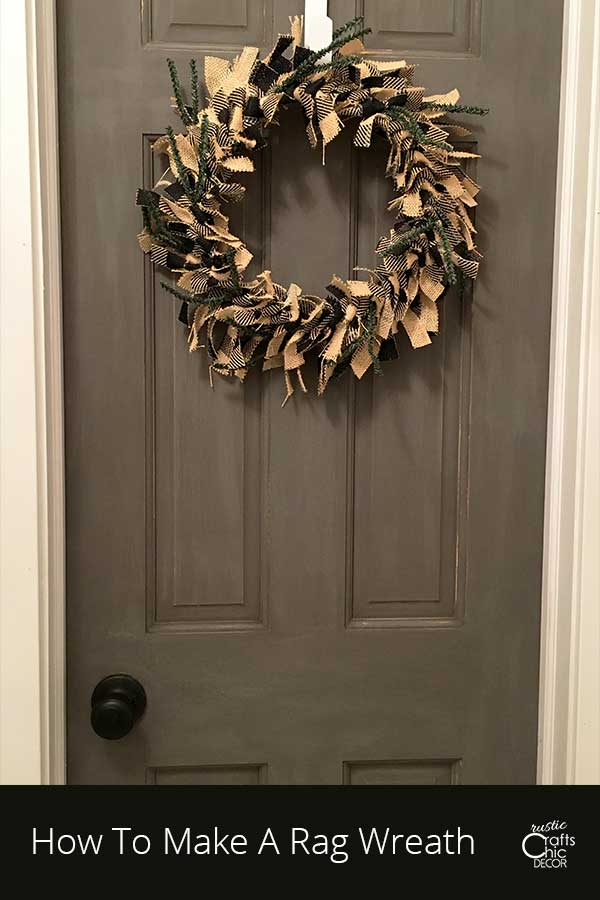
Because I found a wire wreath form with evergreen ties on it, I wanted to try the burlap ties on that as well. There are only two wires, at varying heights, on this one.
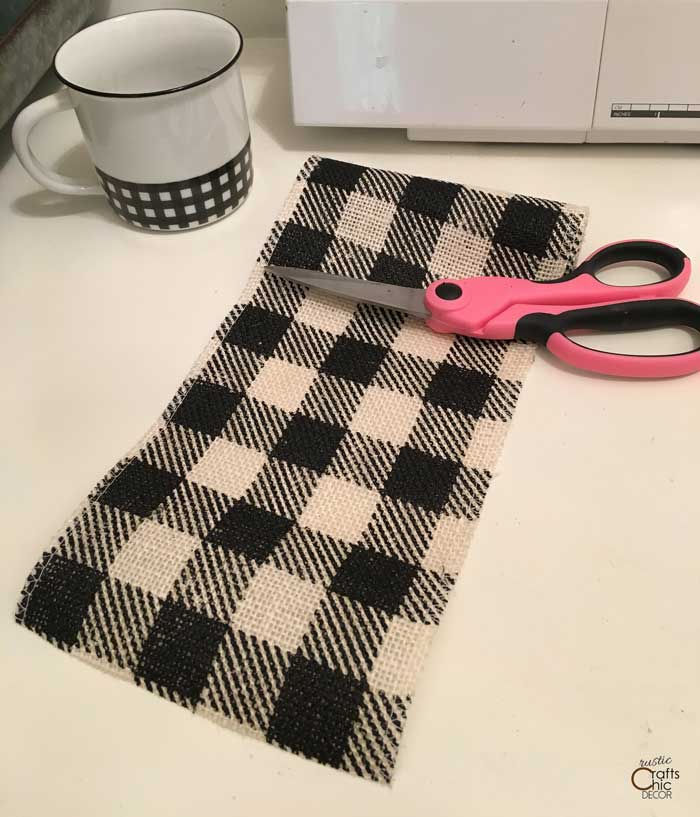
Because there are only two wires, I tied each strip of my burlap around one wire. I filled both wires with as much burlap as I could squeeze in. Since burlap is a more thick and stiffer fabric, it filled in nicely. This time I used a patterned burlap. I love black and white buffalo check for a semi neutral design. When it is mixed with the evergreen, it makes a nice Christmas wreath as well.
Instead of using a yard of burlap, I purchased a wide burlap roll. The nice thing about buffalo check is that it’s super easy to cut the strips. I simply cut along the one inch squares. My strips for this wreath were one inch by eight inches.
With the variations in the checks, you get a nice contrasting design with the wreath.
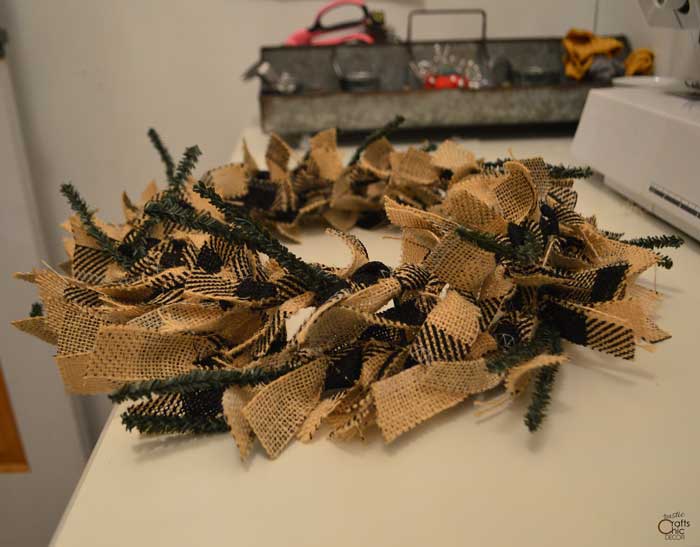
From the side, you can see that there is nice depth with the wires being at different heights.

I had this hanging outside for awhile but then moved it to one of my doors inside my craft room.
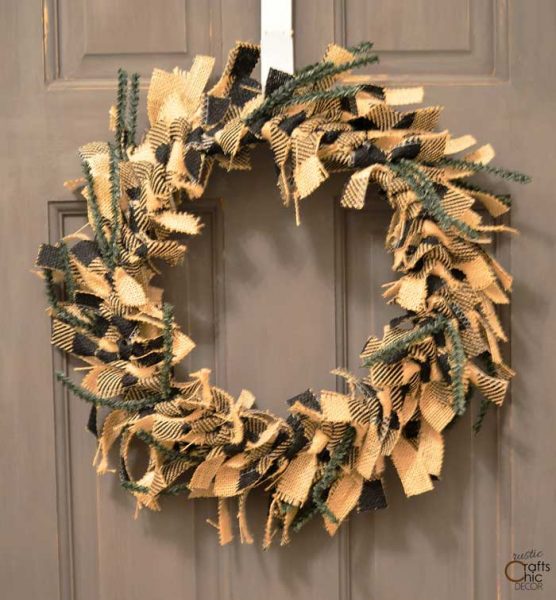
Making these wreaths are seriously addicting. Once the burlap is cut into strips, it’s so relaxing to sit and tie. Now that you know how to make a rag wreath, do you think you will want to give it try?