One of the things that I really like about Fall is putting on a pair of jeans with a nice cozy sweater. It feels so good, after a hot summer, to get cuddly again. So, why not add a little warmth to some of our Fall Decor as well? Sweater pumpkins are fun and easy to make using old sweaters that can no longer be worn. It’s a great way to recycle and get cozy pumpkins at the same time.
I’ve used old sweaters before in craft projects. The most traditional way was to make them into pillows. However, I have also used them to update the look of some of my decor. For instance, I covered a glass mason jar with a sweater for the Winter holidays and made it into a candle holder.
My idea to make sweater pumpkins came from the fact that I found some orange plastic pumpkins at Joann. They were on sale for 50% off. Since I liked the price, I bought some with the intention of updating them in some way. I could have just painted them but I also wanted to add some warm texture for Fall. That’s when I decided to wrap them in a sweater. Because I like more neutral colors for Fall decorating, I used a cream color sweater that my husband hadn’t worn in years.
DIY Sweater Pumpkins
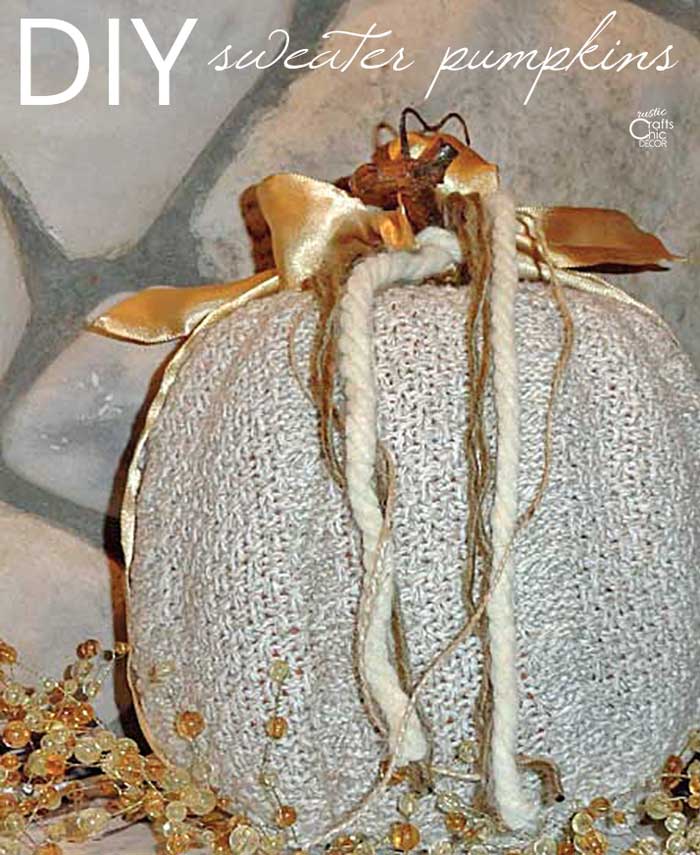
Besides using a sweater, to give my pumpkin a new chic look, I added several embellishments to the top. Here is what you would need to create a similar look.
Materials Used
- plastic craft pumpkin
- old sweater
- yarn, twine, and ribbon
- Elmers spray adhesive
Instructions
Cover a plastic pumpkin with an old sweater to give a new updated look for Fall.
- Cut Sweater Into Workable Pieces
I measured the height of my pumpkin from stem to just where it would tuck under the bottom. Then, I also took a measurement of the diameter of the pumpkin. I was able to cut a piece from my sweater that would fit the entire pumpkin. However, to make it easier to work with, I then cut the length in half. I cut another small square to use on the bottom side of the pumpkin.
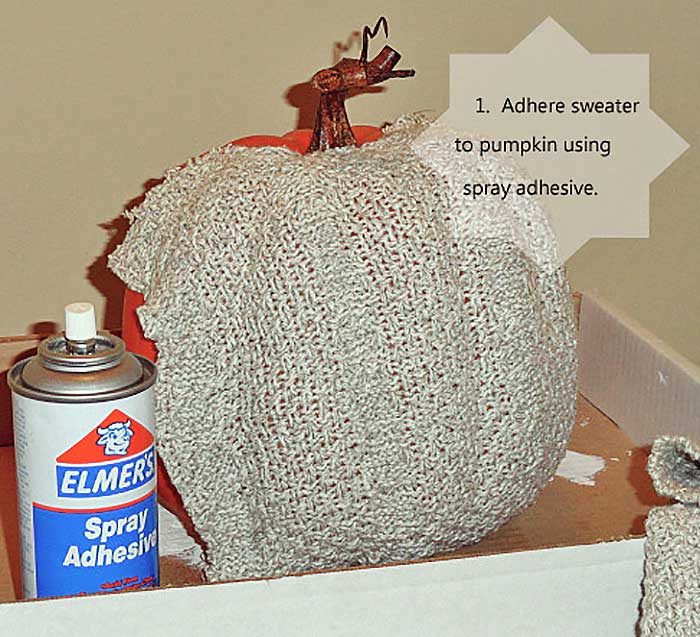
***Tip – for small pumpkins, try using a sweater sleeve to fit around it. - Adhere Fabric To Pumpkin
Spray half of the pumpkin with spray adhesive and then apply the sweater, pressing in at creases. Repeat with other half. Depending on the size of your pumpkin, and how quickly you can work, you could do this all in one piece. It’s just a matter of having one or two seams at the end, which will be covered. Once the pumpkin is covered, flip it over and apply the square to the bottom over the edges that are tucked underneath.

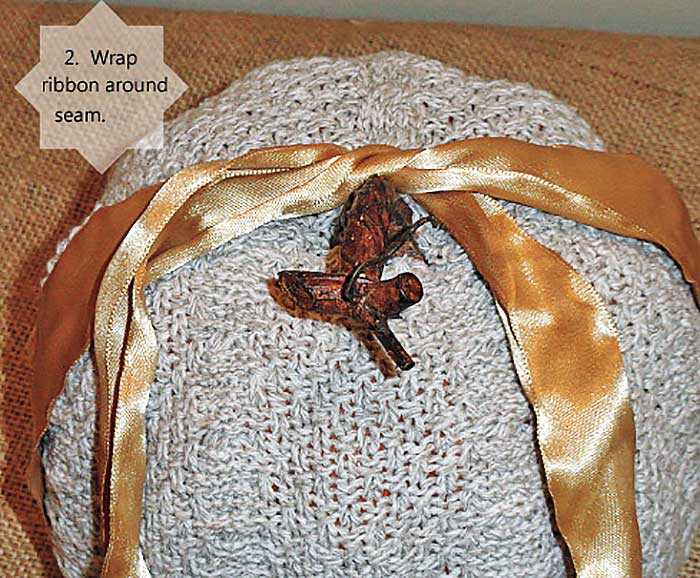
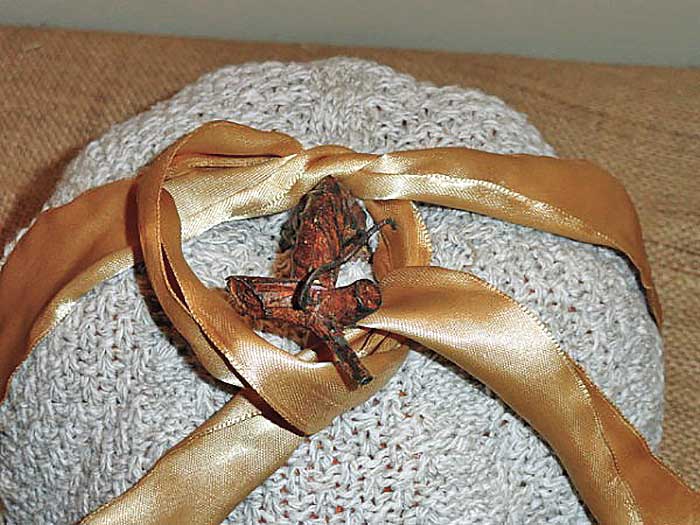
- Hide The Seam With Ribbon
To hide the seam, I simply wrapped a satin ribbon around the pumpkin and secured it with a knot around the stem. I could have left it as is but added more texture by tying on some yarn and jute string.
Finished Fall Sweater Pumpkin
Awh how sweet and simple! Thank you SO much for the inspiration and for linking up at crafty scrappy happy! I love the look! I will for sure have to keep this in mind!!!
Jaime
Hey! That’s great! It’s definitely a fun look. Good luck with yours! 🙂
Great minds think alike! I am currently working on a sweater covered pumpkin! I hope mine turns out as cute as yours did!