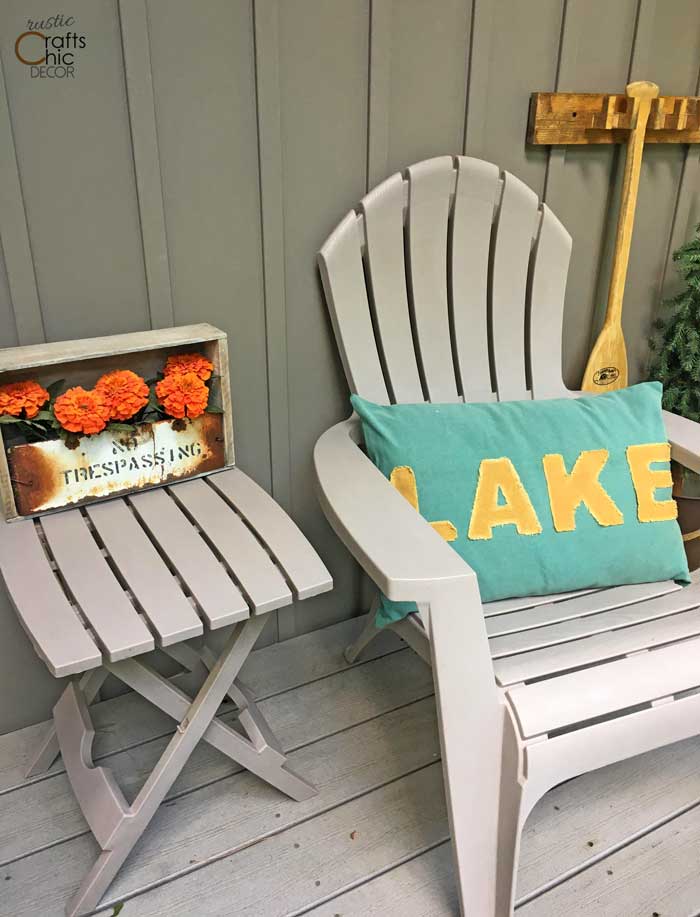
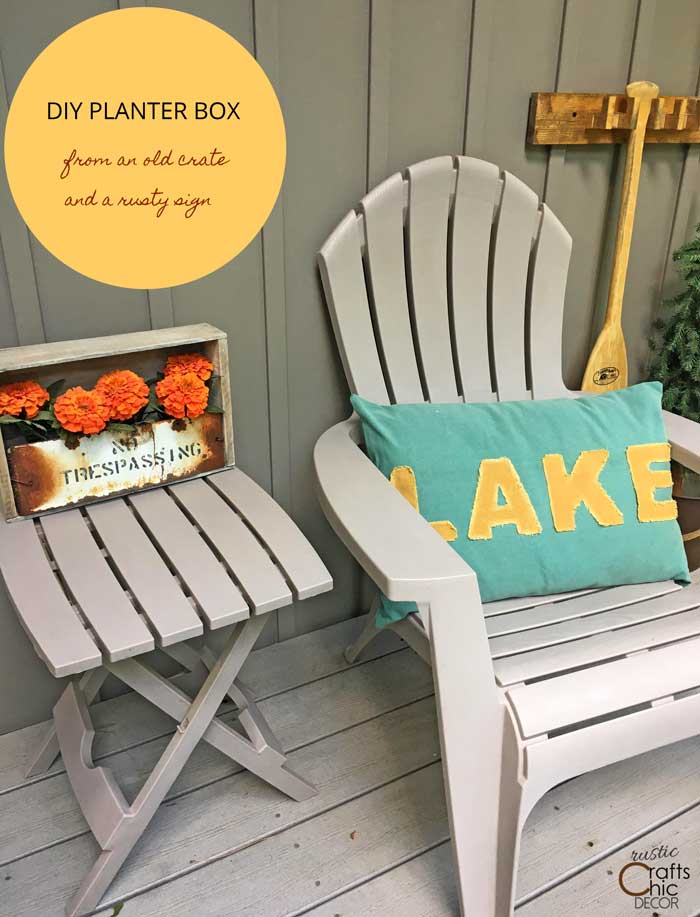
One old crate plus one rusty old sign equals a unique planter box for fun rustic decor. Who would have thought that you could make a decorative item out of such things? Although it is pretty popular to use a crate as a planter box, it’s not popular to incorporate a rusty old sign. That is exactly what I did with this unique DIY planter box.
I love having containers for flowers. Whether they hang on the wall or just sit on a table, a place for flowers brightens a room. I especially like putting flowers in something rustic since the contrast highlights the beauty of the flowers. For this DIY planter box, I have the intention of using it with artificial flowers. However, it can easily be a planter for real flowers later.

What I Did For A Unique Planter Box
1. Fixed The Crates Appearance

My crate wasn’t very pretty. It didn’t possess great graphics or a pleasant finish. It was dirty, smelly, and it had been used to hold cod fillets. But, it was the size I wanted and the structure was in tact. I guess it deserved a little makeover. To start, I actually had to use a sander to get all of the grime off. Then I wiped it clean with a rag and a mixture of bleach and water. Although clean, it still wasn’t pretty to look at – even in a rustic way. I was going to have to cover it up a bit.

Because I still wanted to see some of the grain of the wood, I didn’t want to paint over it with a solid paint color. Instead, I used a white wash paint and applied it with a wet brush. This way you can see the tint of the wood color showing through but with a much more even tone.
2. Added My Rustic Sign

The sign that I wanted to use to enclose my flower box was just a tad too short to meet the sides of the crate. There are a couple of things I could have done. First of all, I could have cut a thin board to fit across my crate, nailed it to the sides of the crate, and then nailed or glued the sign to the board. I also could have just nailed a couple of thick branches across the crate and then nailed or glued the sign to the branches.
Since I was off by such a small amount, I opted to just attach a birch branch to each side of the sign by connecting through a hole on each side of the sign and twisting it in place with a thick wire. When I went to insert the sign, there was a little give as I was pushing it in place and then it acted like a tension rod. There was no moving it!
Filled The DIY Planter Box With Flowers
To add the flowers, I just inserted foam blocks into the bottom edge of the crate that was acting as my base. I used tacky glue to hold the foam in place. Then, I just stuck the flower picks into the foam. If I decide to switch the planter box to hold real plants or flowers, I can just insert small pots behind the sign.