A monogram, in some form, is a popular item to have in home decor. Whether it be the family monogram, with just the initial of the last name, or a single person monogram, it adds some personalization to the decor. That’s why I wanted to make one for my office. My DIY monogram is super easy and recycles an old picture frame.
I was on a chalkboard kick a while ago and busted out several different chalkboards in fun vintage frames of all sizes. I did this mainly to make various signs to decorate my house and I also sold some. The one that I posted about previously was my large vintage chalkboard that I put over our bed in the master bedroom.
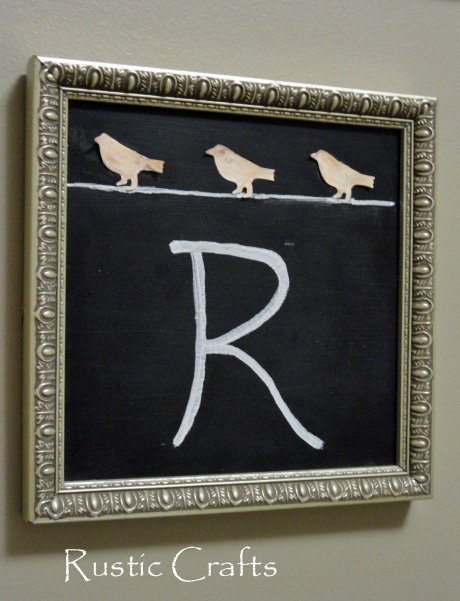
Because I had a small square frame to do something with, I decided to make that a chalkboard as well. However, because the frame was so small, I decided to just make a DIY monogram sign with it. I used a chalk marker to hand write my monogram.
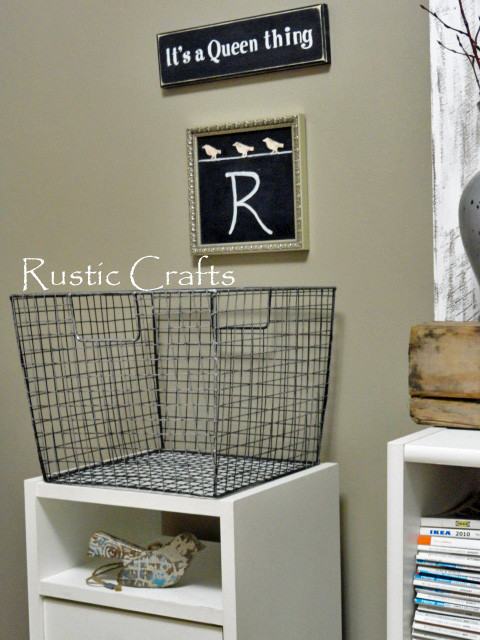
With small signs, it’s usually good to group them so they don’t get overwhelmed. I hung my monogram and Queen sign together since they are both personalizations in a way. My husband always calls me queen, which is the main reason for that sign.
How To Make A Chalkboard Monogram Sign
1. Paint The Glass With Chalkboard Paint
First, I took the glass out of the picture frame and painted it with about three coats of brush on black chalkboard paint. When the paint had cured for a full 24 hours, I then reinserted the glass into the frame.
2. Use A Chalk Marker To Create Design
I used a chalk marker to hand write my initial and then used a ruler to draw a straight line across the top to act as the “wire” for the birds. **Tip – I just read that you can use Mr Clean Magic Eraser to erase chalk marker from a chalk board with ease.
3. Add Optional Embellishments
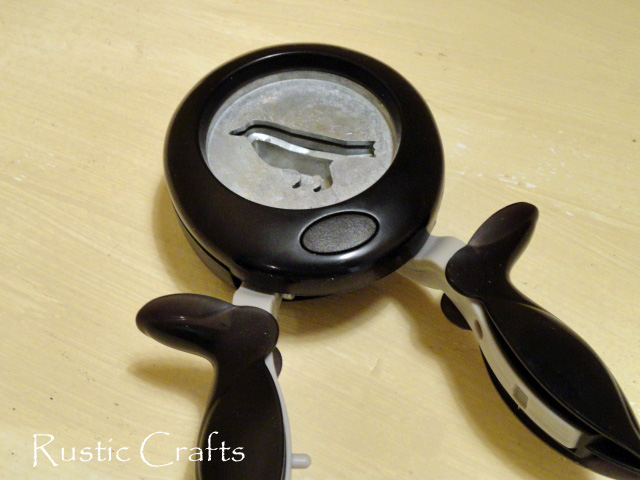
 I used this bird punch that I had purchased from Jo-ann to cut out my birds from the tin of a coke can. First I cut the top and bottom off the can with tin snips and then just cut the side of the cylinder straight through with sharp scissors. I flattened the tin real good before inserting it into the punch and it worked like a charm!
Next, I painted the birds with acrylic paint and attached them to my frame when they were dry. I used E6000 craft glue but any good tacky glue would probably work just fine.


Hi Renee. The first thing I thought of with the float was legs. Use maybe 3 or four to create a leg for some statue-like bird sculpture maybe? Herons have kinda knobby legs and stand quite tall.
Cool idea Michele! I may have to get a few more 🙂
Silly me thought the R was for Ravens, lol.
Yikes on your boat float thingy. The only idea thats coming thru my thick brain is a body part. I’ve seen some awesome mixed media type dolls lately. Like China Doll heads with coffee pot or clock bodies.
If I can refind the links, I’ll bring them back to you.
Hey! That’s a great thought Tee! Or, maybe I could make it into some primitive looking owl with the float as the main body part…I love birds! You’ve got me thinking!
The bird punch is a really neat tool. I’ve never seen one of those before. I’m not sure what to do with the float, though!
Hi Kim! When I bought the float, I had no idea what I would do with it which is why I only bought one. I felt like, and still do, something would come to me because it is just so rustic. However, it’s just not happening yet! One of these days, a light bulb will go off though!