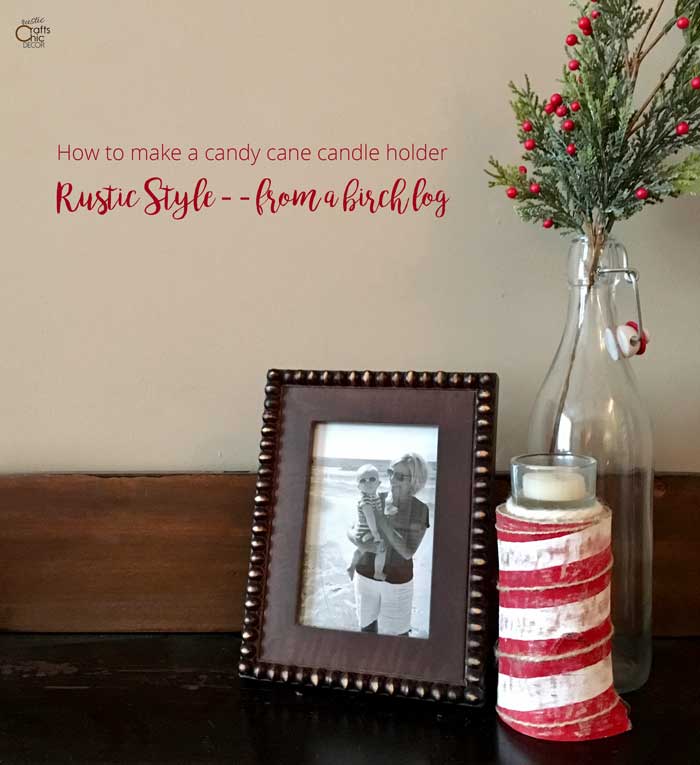
You may have seen DIY candy cane candle holders made out of actual candy canes. They are pretty popular and make a festive addition to any display. This project is not like that. It is still super festive but it isn’t made from candy canes. My candy cane candle holder is made from a birch log.
As you may realize, I like to incorporate birch logs or birch bark into many of my decorating and craft projects. When I need birch bark, I simply peel it from one of my logs. However, this leaves a naked log. Sometimes I still like to make candle holders or birdhouses from my bare logs for a different look. But, I also had the idea to paint some of them for Christmas decorating.
I could have painted the logs a solid color, with a little sparkle added, for a Christmas candle holder. However, I decided to go with a festive pattern. A candy cane stick! It’s real easy to paint and I added a little distressing to make it look more rustic.
DIY Candy Cane Candle Holder Instructions

Materials Needed For Project
- birch log with loose bark peeled off
- red and white acrylic paints
- glamour dust
- angled paint brushes
- spray acrylic sealer
- twine
- fabric measuring tape
- masking tape
- sand paper
- E6000 craft glue
Step by Step Instructions
Create Your Guide Lines

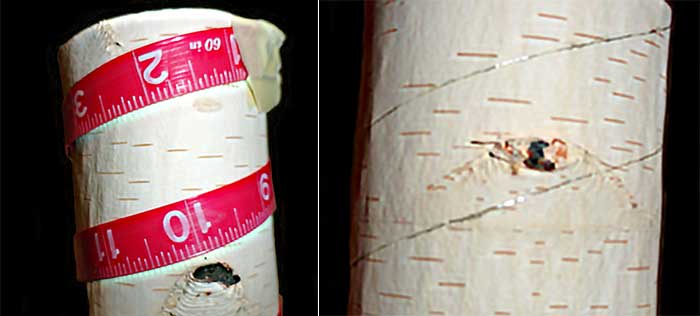
1. Use your fabric measuring tape as a guide for drawing your paint lines. Tape one end, with your masking tape, to the top of the log and begin wrapping the measuring tape around the log all the way to the bottom. Hold it tightly in place while you pencil in your line at the top of the measuring tape. When you are finished, take the tape off the end and slide your measuring tape down the distance of width that you want your red stripe to be. Tape the measuring tape end in place once again and repeat the steps. You now have your paint line guides for your stripe.
Paint The Log
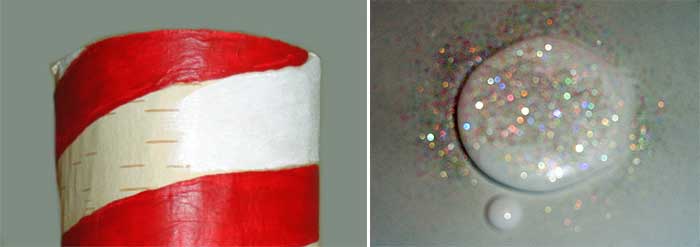
2. Use a good angled paint brush to paint your red stripe all the way around the log. I painted on two coats to get a nice dark bright color.

3. Originally, I thought that I might leave the white stripe just the natural birch color. However, I thought it was looking more like a nautical light house than a yummy candy cane so I decided to add some white paint. First though, I mixed a little glamour dust into the white paint. This gives a very subtle glimmer that catches the light beautifully. Kind of like the sheen from a real candy stick. You can find a bottle of glamour dust by the acrylic paints in the same type of bottle.
Now, carefully paint your white stripe between the red stripes. You could paint the whole log white in the beginning and just worry about painting in the lines for the red stripe to make it easier. I probably would have done this if it had been my original plan.
Finishing Details For Candy Cane Candle Holder
4. To give the painted log a more rustic look, I decided to do some distressing. All you need to do is lightly sand over the paint until you get your desired look.
5. Once the painting and distressing was done, I wanted to add one more tiny stripe. However, there was no way I was going to paint a tiny stripe. It was much easier to use a section of twin and some tacky glue. Starting at the top, apply a little glue to the end of the twine and adhere to the log in the middle of the white stripe. Begin winding the ribbon around the log, applying more glue as you go. When you get to the bottom, cut off the remaining twine.
6. Now, simply glue a glass tea light holder to the top of the log using E6000 craft glue. I also wrapped a small section of thick white yarn around the base of the glass to soften the look just a bit.

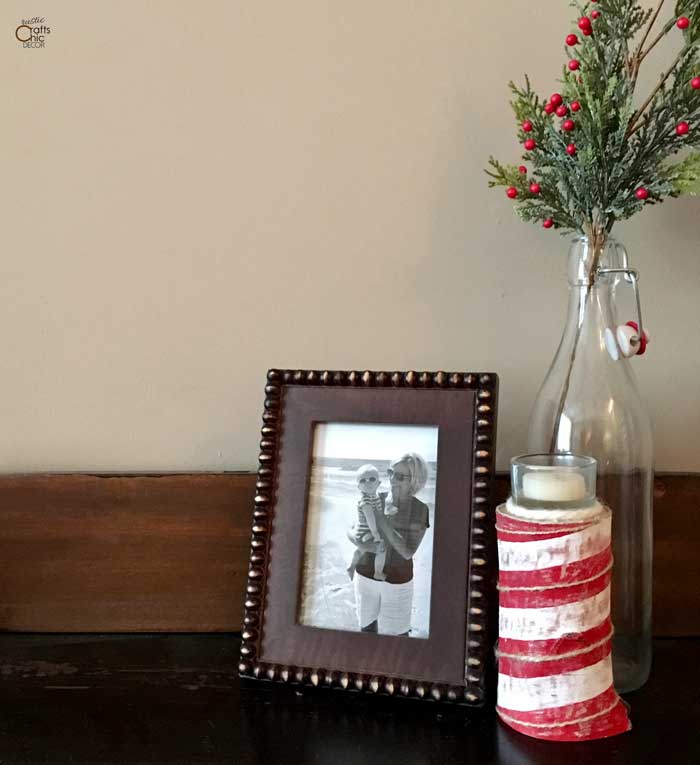
With the added twine and distressing, your DIY candy cane candle holder should now look a bit more rustic. One more Christmas craft checked off!
