I love cooking with fresh herbs and have always thought about making my own herb garden. It’s really so easy that I don’t know why I didn’t do it sooner. Maybe it’s because most plants, that I’m in charge of, have a very short life expectancy! I’m determined to turn over a new leaf though and handle these herbs with tender loving care. Instead of using a traditional planter box, I ended up planting these is some tin cans.
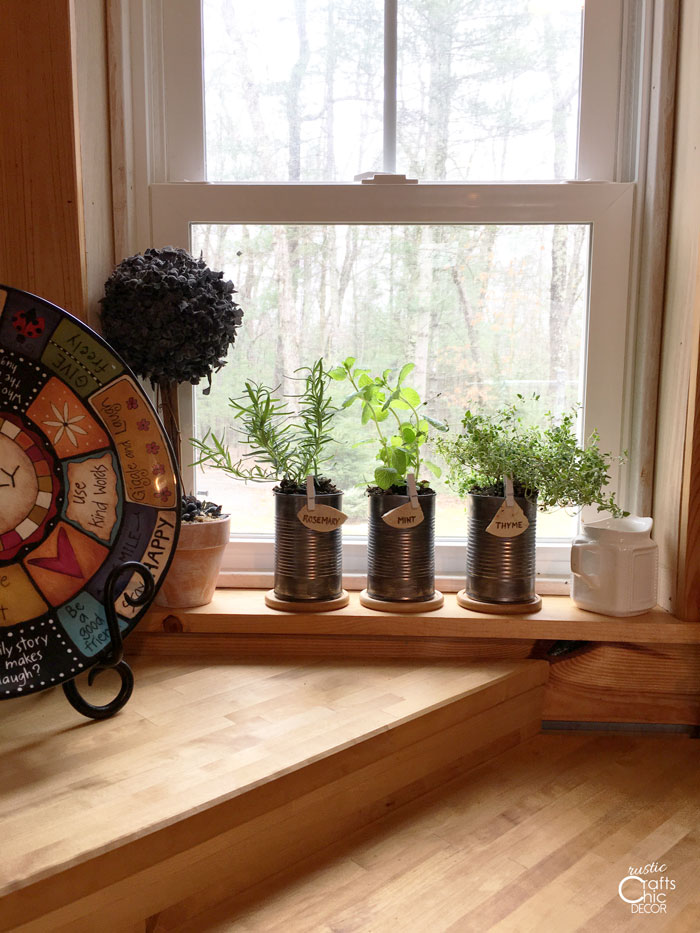
Whenever I can upcycle trash items, I am a happy girl. Empty tin cans are one of those items that I continually accumulate. I have used them to make storage tins for my craft room. That is probably one of the most functional ways to use tin cans. However, I have also covered a tin can with birch bark to make a festive Christmas centerpiece.
When thinking of planter ideas for my herbs, it didn’t take long to come up with the tin can idea. They are the perfect size for small plants. And, I had an idea for making them look rustic for my cabin kitchen. If you like rustic decorating, you might enjoy this easy DIY indoor herb garden idea.
My DIY Indoor Herb Garden
This post contains recommended product links. If you make a purchase though one of these links, I will earn a small commission at no cost to you.
How To Make The Cans Look Rustic
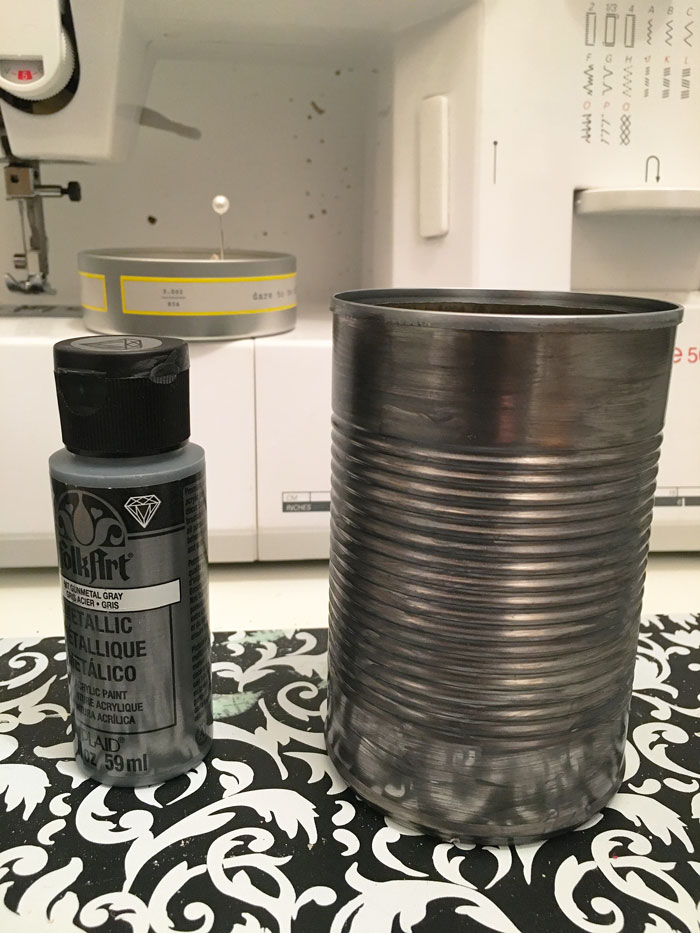
Since I love the look of rustic galvanized metal, my first order of business was to turn that shiny silver into the look of rustic metal. I have given previous projects a look of galvanized metal by using a process with a couple of steps. However, since I was already working with tin, I just needed to lightly paint over it with gunmetal gray acrylic paint.
Thin coats allow some of the shinier metal to still show through in parts. All I did was put two thin coats of the paint on my can. After that, it had the look that I was going for.
Create A Way For Drainage
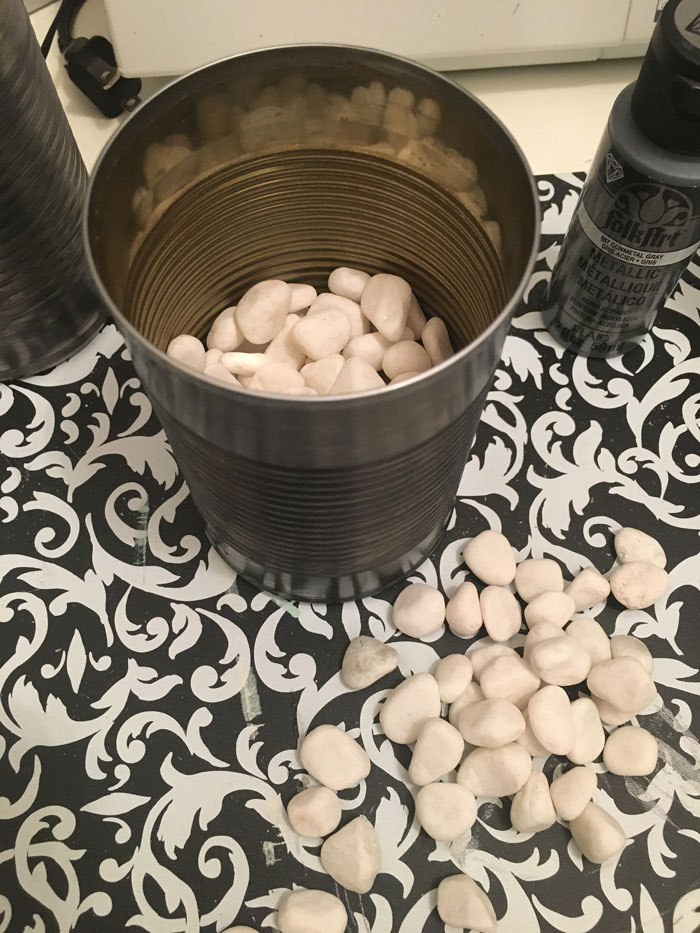
It is important that you have a way for excess water to drain. In thinking about that, it’s also important to not over water! I need to repeat that at least ten times… There are a couple of ways to do this. You could drill a hole in the bottom of the can. However, then you will need some kind of dish or tray to set the cans in.
The other option is to layer pebbles or sand at the bottom of the can for drainage. This is what I did. My pebbles came up maybe an inch from the bottom of the can. This left me with plenty of room for the soil.
At this point you can either add potting soil with seeds or transplant a purchased plant. Since I wanted to start using my herbs right away, I purchased three herb plants from the grocery store. A lot of stores sell these right in the produce section. I planted thyme, rosemary, and mint. The main herb I was looking for was chives but didn’t find it. I will definitely be adding that one soon though!
Create Plant Markers Or Labels
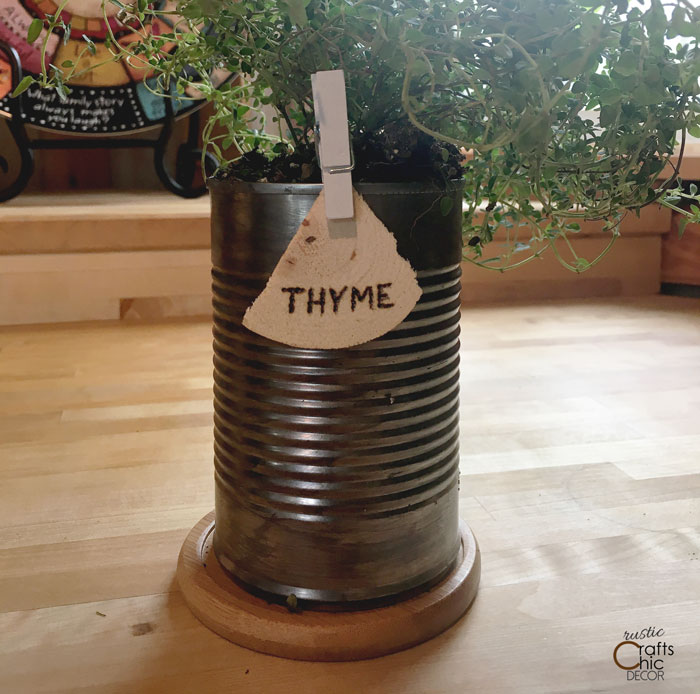
Unless you are really familiar with different types of plants look like, it’s a good idea to make labels for your herbs. It doesn’t matter what you use for your labels as long as you can read what they are. I had some scrap wood shavings that I thought would be fun to use. They were all different shapes and sizes which I feel adds a little uniqueness to the design.
I love to use my wood burner whenever I can, so of course I used that for writing on my wood. Before I started the wood burner, I wrote out my letters in pencil. This ensured that the placement of my words would fit before I burned them in.
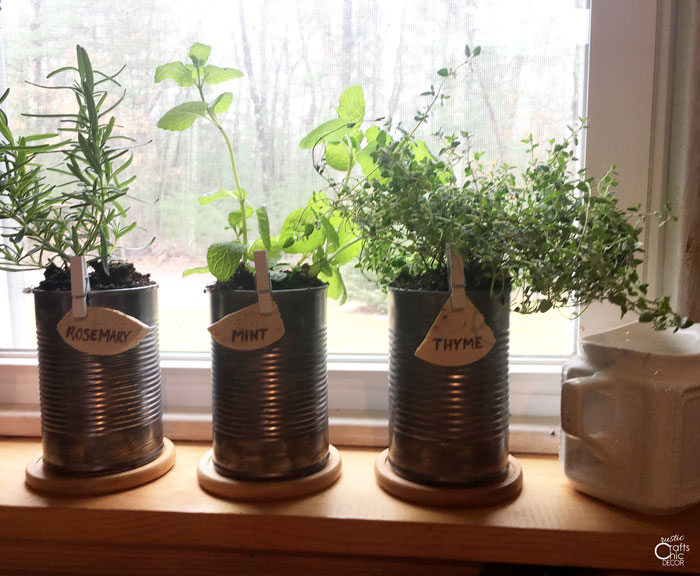
Once I was done with the labels, I used small craft clothespins to clip them to the top of the cans. Then, I set each of the cans on a round coaster and lined them up on my windowsill.
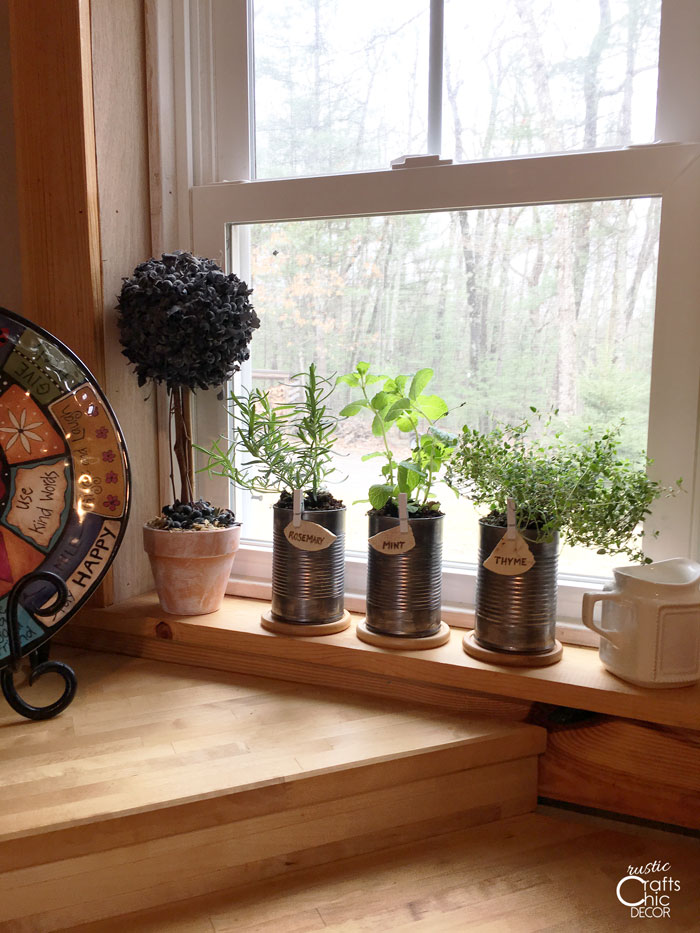
The best window to place an indoor herb garden is one that faces south since they need a lot of sun. Now all I have to do is give them a little water whenever the soil gets dry at one inch down. I have an old creamer ready and waiting to do the job.
