Because I have painted our stair risers and stained our stair treads, I feel like I have some good pointers that I can share. I’ll show you how to paint and stain stairs to get the best results using the best products for the job.
We have been in our cabin for nearly two years now and it has taken this long to finish our two staircases. It is probably because the process takes a while and we are usually needing to use the stairs when we are there! Well, I finally took a few days, by myself, to tackle the job. Painting and staining stairs is probably the most time consuming way I could have picked to finish our stairs but I am so happy with the results!
I arrived at our cabin on a Thursday afternoon all fresh, happy and relaxed. In fact, two deer greeted me in the yard. It was going to be a relaxing weekend…..NOT!
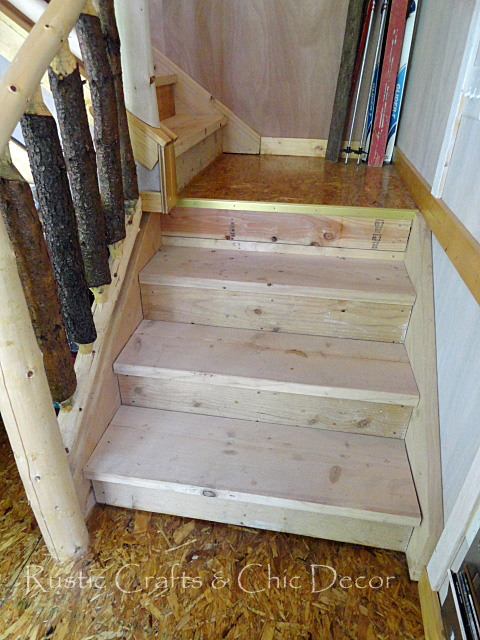
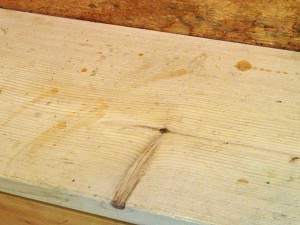
Before I could even start the actual work, I had to do some prep work. After almost two years of using stairs, that were untreated in any way, they were a bit dirty. Along with the dirt, there were stain drips (from other projects), black shoe tracks on the risers (must be from the building project…..kind of hard to step on a riser), and even caulking drips from who knows what!
Here are a couple before pictures:

and a close-up of one of the steps…..
Allow me a detailed explanation of my prep work….I would like a little pity party….
- Swept stairs
- Sanded stairs lightly by hand
- Swept stairs
- Cleaned stairs with spray cleaner and rag
- Repeat for second staircase
How To Paint And Stain Stairs
Staining The Treads
Once I was done cleaning and sanding the stair treads, I was ready to start staining the treads. It’s important to start with clean smooth treads for the finish to be smooth. Because I wanted to eliminate at least one step in the staining process, I used Minwax Polyshades in Honey Pine. It is a stain and polyurethane combo which is really nice. You just have to be sure to stir it really well continually. The consistency is thicker than just a stain which makes it less drippy. It was easy to apply with a foam brush. I did the first coat on Thursday night and the second coat on Friday morning. So far so good!
Because the stair treads were going to get lots of use and abuse, I still had another step. I’ll get to this after the painting of the risers.
Painting The Risers
Once the stair treads were dry, I was able to begin painting the risers. Since they had stains and shoe marks, I applied Kilz water based primer first. I love the stuff! Because it was water base, it dried in just one hour and it also was virtually odorless. Plus, it covered those nasty stains!
The time consuming part of the painting was cutting in to meet the stained tread. Where the was a gap between the riser and tread, I also wanted to be able to get a brush in between the two. So……I used a tiny paint brush to carefully cut in my line for the base coat and first coat of paint. This made me realize I had muscles in places I didn’t even realize…I was walking like a granny at the end of the night…more pity please!
For the actual paint I used Benjamin Moore’s Satin Impervo in white. This is a great durable paint that is highly washable. It is also water based so it will not yellow. I applied two coats of paint after the primer and didn’t finish the risers until Saturday night. You would think I was done right? Nope! I still wanted to protect the stairs from all the use to come.
Protecting The Finish
We had used Varathane floor finish to finish the floors in our cabin and loved the product. Well, I found that they also carry a floor finish that is water based, in satin, and figured that would be a perfect finish layer for the stairs. It took a minimum of four coats to be effective which meant eight more times up and down the stairs, between the two staircases,….more pity please.
By the end of Sunday night I was not longer fresh and relaxed but I was extremely glad it was done!
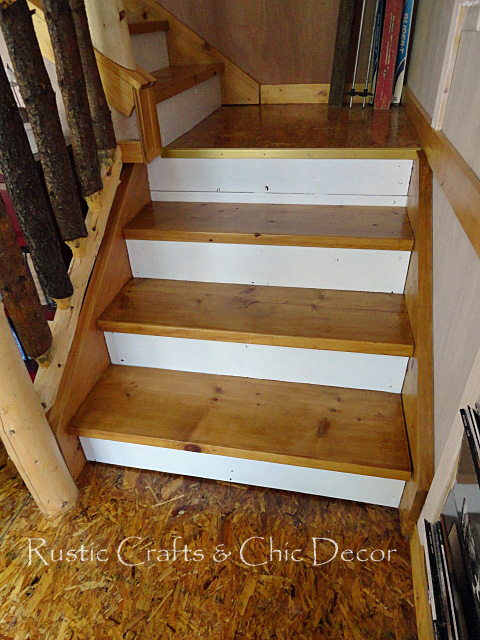
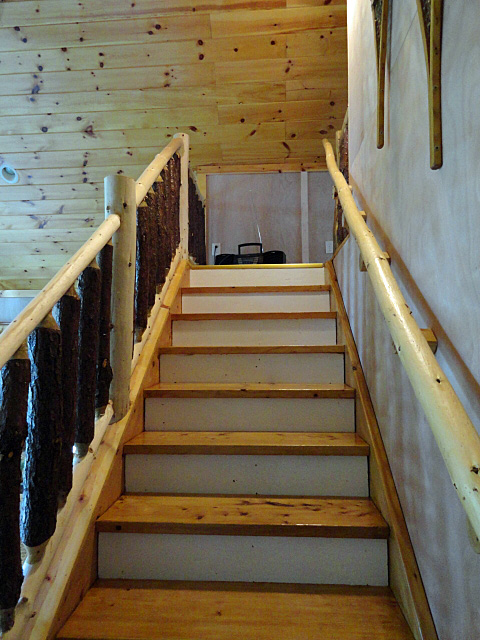
Here is the result.
I didn’t take any pictures of the stairs going down to the lower level but they look the same…without the railing.


I have done this very project…
but on only one set of stairs.
You deserve a serious “good job”!
Thank you so much Deb! I won’t be doing any more stair jobs for a long long time :).