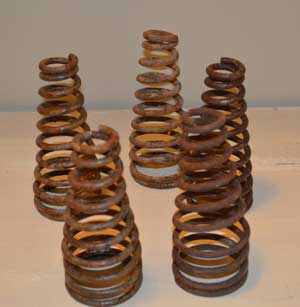
I like to collect odd objects to use on a rainy day…..or as in the case may be a very snowy day! One of my favorite place to collect things is no other than the local metal scrap yard. I find all kinds of junky rusted metal parts and I will even pay money for them! That is how I got the main element for my rustic Christmas tree craft. My husband actually first found these somewhat cone shape coils and I thought they were the perfect shape for a Christmas tree.
Christmas Tree Craft Instructions
After giving them a good cleaning, I applied a coat of satin polyurethane to give them a nice sheen and keep the rust from rubbing off. I like using the satin versus a gloss finish to keep them from becoming too shiny and risk losing that rustic look.
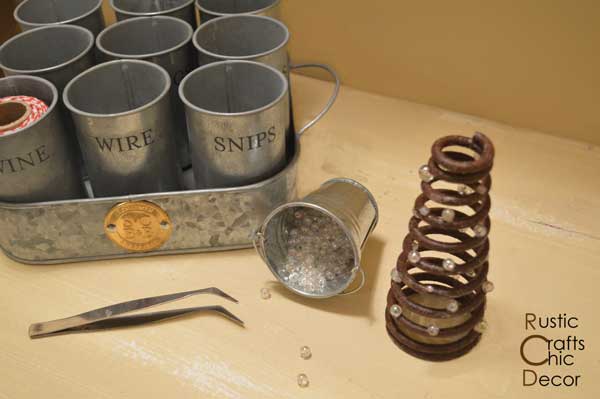
Once the polyurethane was dry, it was time to start decorating the trees with various bead “ornaments”. I simply glued the beads onto the coil with a tacky jewelry glue. Any tacky glue would work.
Once all of the beads were in place and the glue was still pliable, I went searching for strings and blobs in my glue. Using my tweezers and fingers I pulled out the strings and smoothed out all the little blobs. If you are good at using very small drops of glue, you may not have that problem – I must have failed gluing in kindergarten!
I used various kinds and colors of beads for my different trees.
For the tree toppers, I also used a wide range of materials. I used a rusty tin birdhouse for one. A wine cork with a snowflake star for another. And, some plain rusty tin stars for the rest.
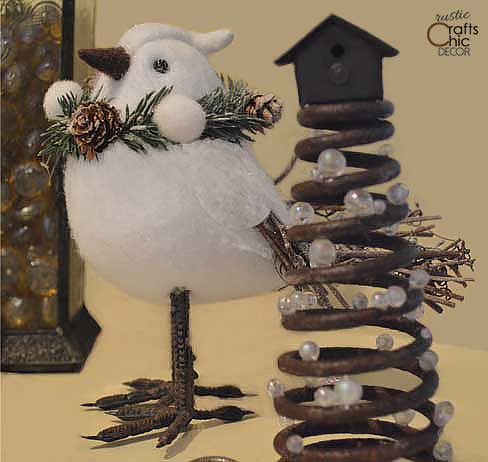
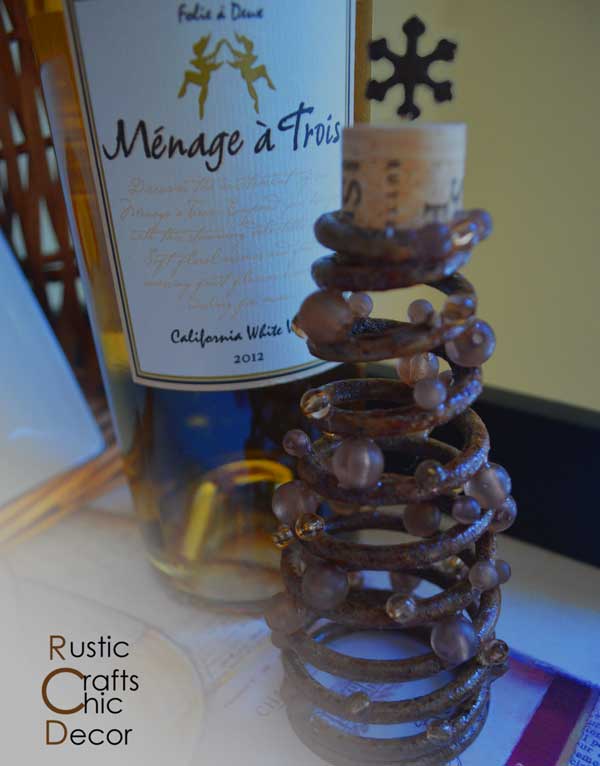
Here is a look at a couple of the finished trees:

I like the clear and faux pearl beads on this one as they remind me of snow on the tree. With the birdhouse topper it also seems as though you might find a tree like this in the middle of the woods.
Since I used a wine cork as this tree’s topper, I thought it appropriate to set it next to a bottle of wine. The golden beads also match the color of the wine.


Great idea