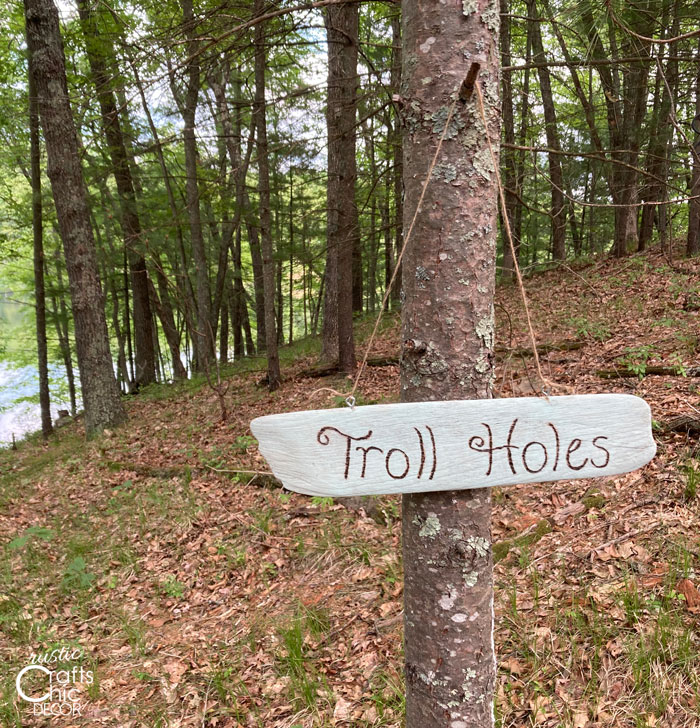
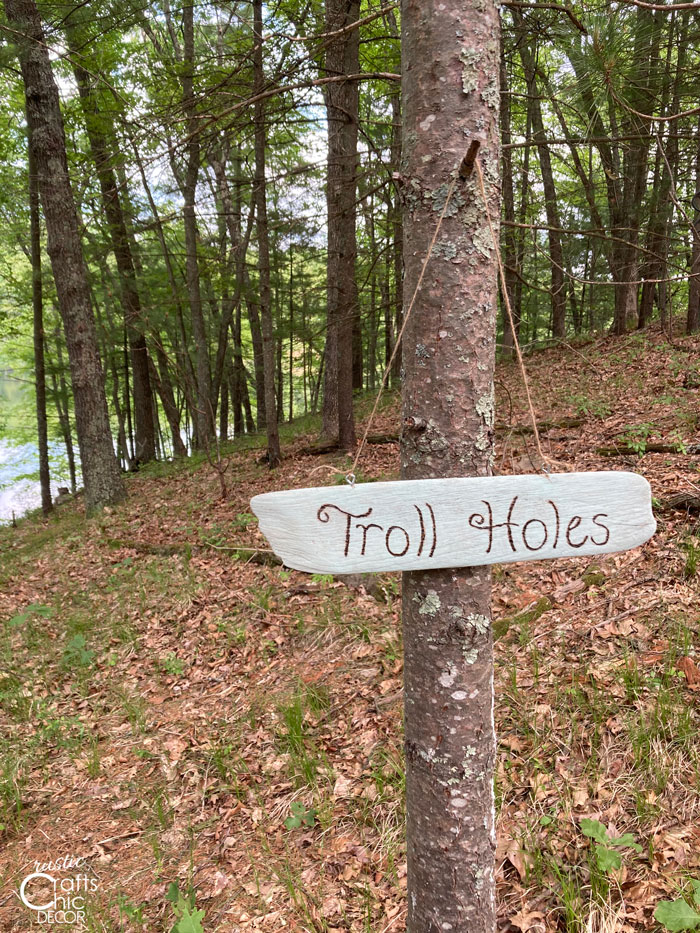
Out of all of the salvaged wood that can be used to make signs, driftwood is one of our favorites. When you find a smooth and flat piece of driftwood, it makes the perfect base for a sign. You may have seen driftwood made into welcome signs or signs for house numbers. These are very practical uses. My particular DIY driftwood sign has a rather unique purpose.
When my husband was a kid, he enjoyed going out into the woods to hunt trolls. I don’t believe he ever found one but the search was always a good time. This is an activity that we want to pass on to our grandkids. To make searching for the trolls a little easier, I made a little driftwood sign to point them in the right direction.
No matter what you want to make your own driftwood sign for, it is super easy to make with the use of a wood burning tool. I have even made gift bag tags using driftwood in this way. Using a wood burning tool for the lettering is a nice way to keep the sign looking as natural as possible. You also don’t have the issue of flaking or fading paint.
This post contains recommended product links. If you make a purchase through one of the links, I will earn a small commission at no extra cost to you.
How To Make A Driftwood Sign
Materials Needed
- flat piece of driftwood
- pencil
- paper
- carbon paper
- wood burning tool
- two screw eyes
- twine
- optional paint
DIY Driftwood Sign Instructions
To start, you will need to find the right piece of driftwood. A smooth flat piece works best for signs. The size you use will depend on what you want to write. Of course, you can always change want you write or adjust the lettering size to fit your perfect piece of driftwood.
Step One: Practice Writing Out Your Words
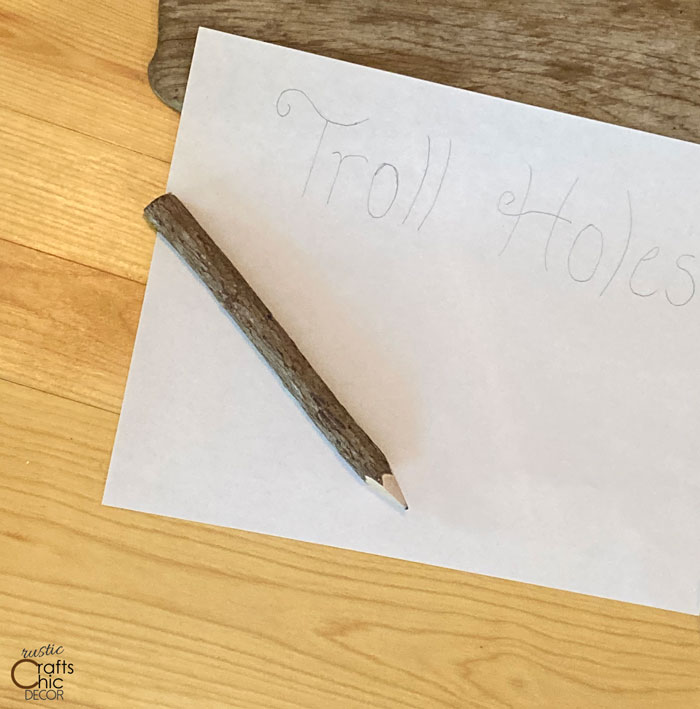
I like to start by writing what I want my sign to say on paper. The key is to use paper that is the same size as your driftwood.
Step Two: Transfer Lettering To Driftwood
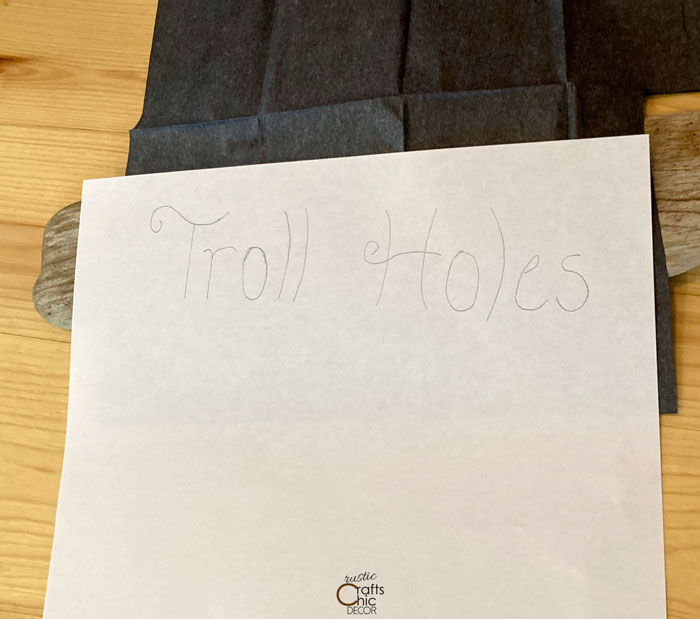
Although you could eyeball it and rewrite the sign in about the same size as the paper, I like to use carbon paper. Simply place carbon paper, dark side down, onto the driftwood. Then, lay out your paper with the lettering on top of the carbon paper. Now, go over the lettering again with a pencil pressing hard. This will transfer what is on the paper onto the driftwood.
Step Three: Trace Over The Lettering With A Wood Burning Pen
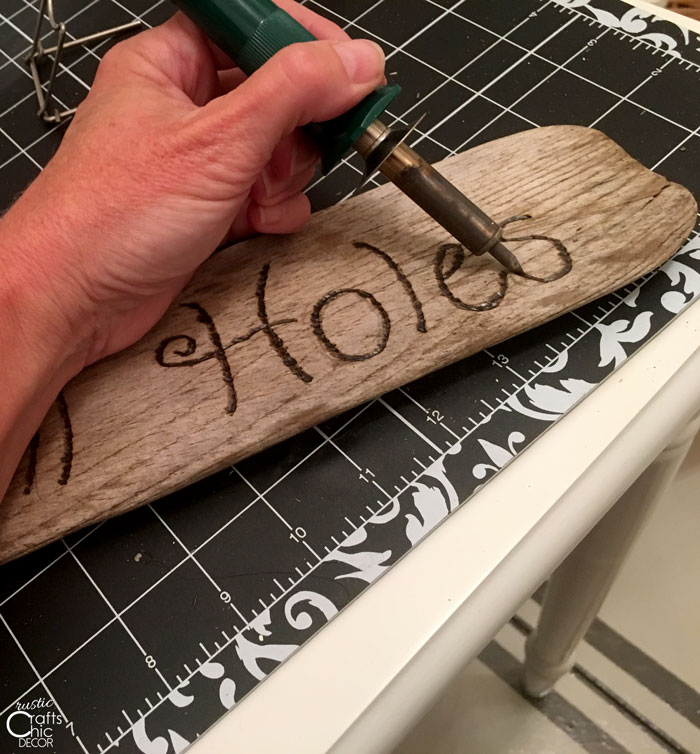
Use a pen tip on your wood burning tool and turn the temperature to high. Now go over the carbon letters with the wood burning tool.
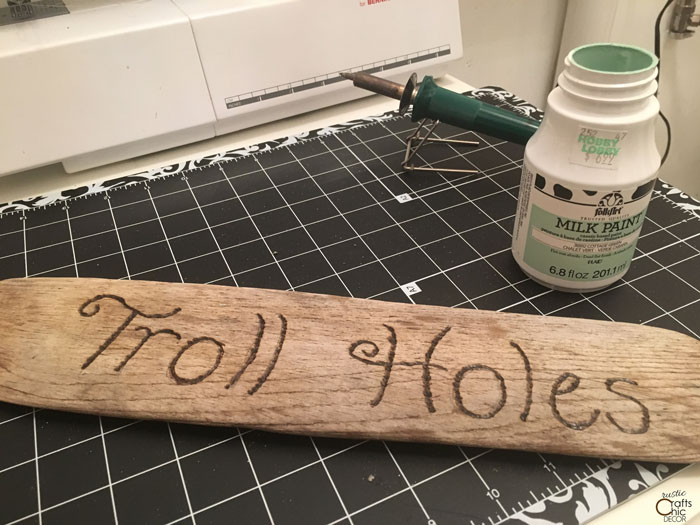
Step Four: Add Paint To The Background
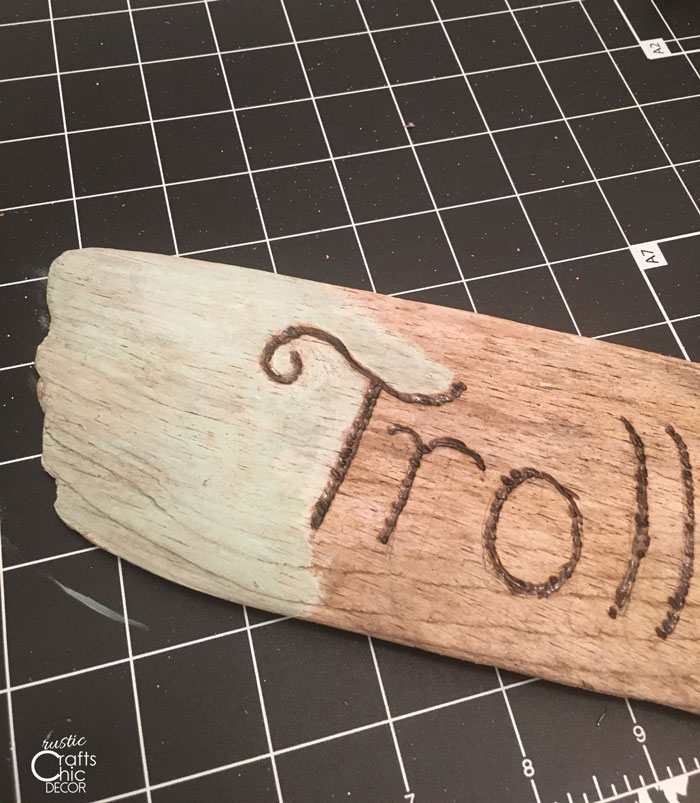
If you choose to paint the background, I have found that adding paint after doing the woodburning actually works better. My tool doesn’t burn through paint in a nice crisp way. With a small paintbrush, it isn’t that hard to work around the lettering. I use milk paint because it is thin and gives the driftwood a more washed look.
Step Five: Add Eye Screws And Twine For Hanging
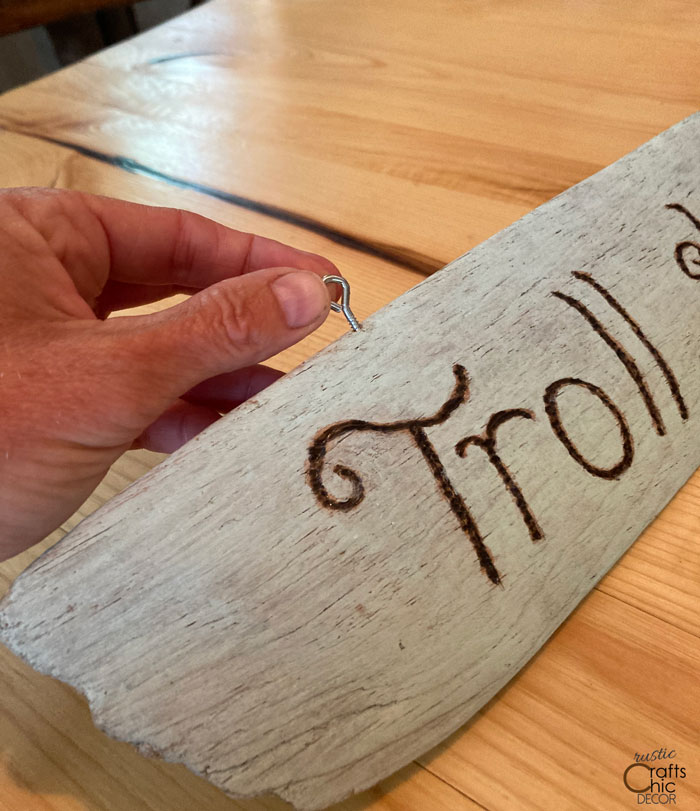
Small eye screws are easy to twist into the top of the driftwood by hand. Place one at each end of the sign, evenly spaced from the edges.
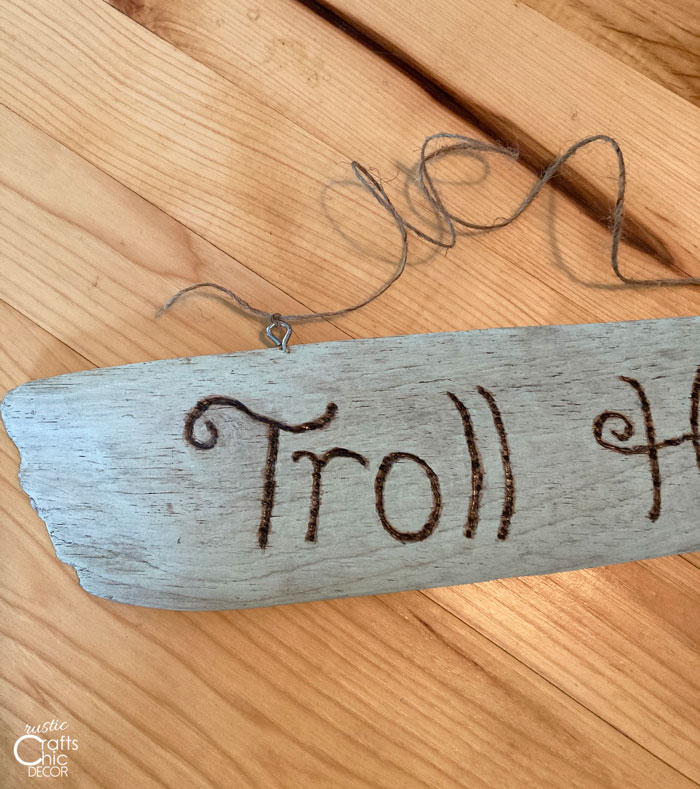
Then, cut a section of twine and tie each of the ends to the eye screws. The DIY driftwood sign is now complete and ready for hanging!