While vacationing this summer, I spotted some knot pillows in a couple of the souvenir shops. They reminded me of throws that I had made for my kids years ago and it brought back lots of good memories. I knew then that I was going to end up making my own pillows. There’s just something about tying knots that is so relaxing. It’s an easy project that doesn’t require any sewing at all. All you have to do is cut some fringe and tie it together. I’ll show you the step by step instructions for making a knot pillow in less than a half hour.

These no sew pillows are especially fun to make for kids. I like to use soft flannels which come in so many different patterns. My plan was to make some pillows for our cabin bunk beds that the grandkids use. Then, I made some to give as gifts for the grandkids to use at home.
How To Make A Knot Pillow
I made my pillow covers to fit a 16×16 pillow form so the instructions are based on that size. If you want to make a different size, just modify the measurements proportionally.
Step One: Measure And Cut Fabric
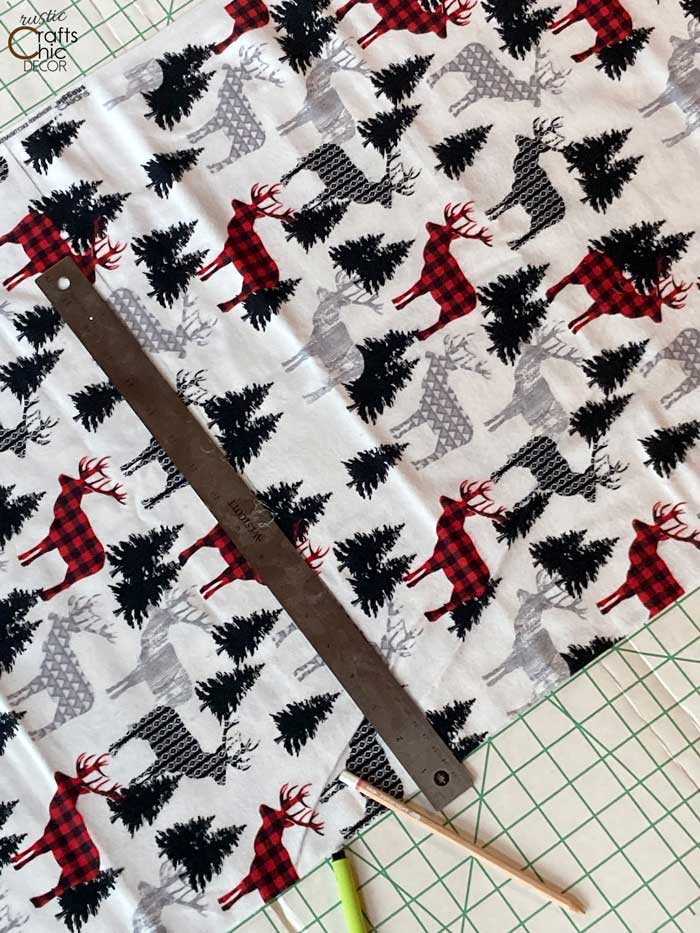
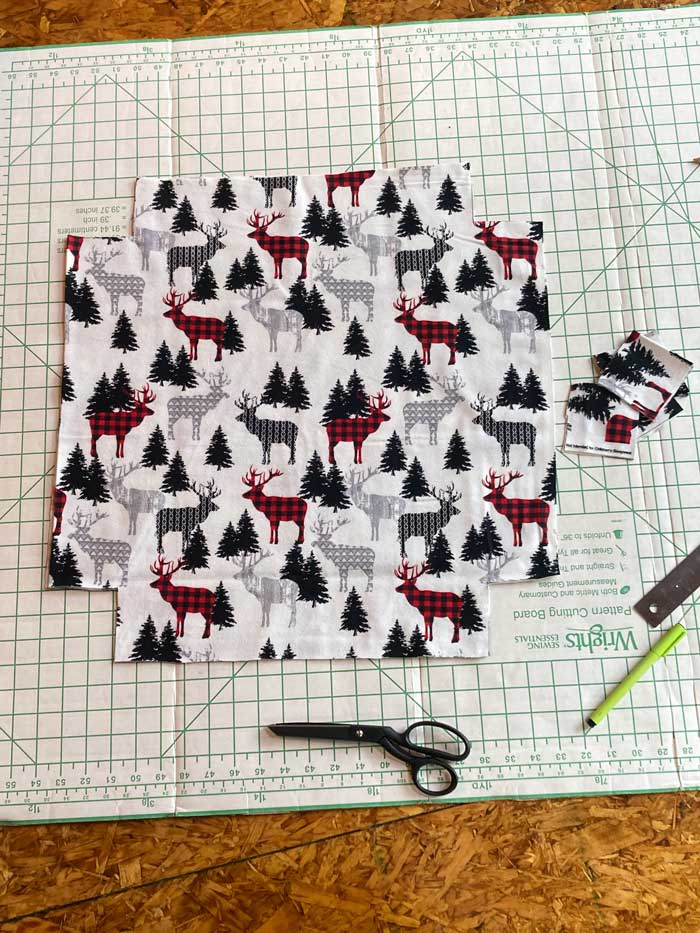
First, fold fabric in half and then measure out a 22 inch square. Mark lines on your fabric with a marker and a straight edge. I like to use a cardboard grid for easy measuring. Once the square is cut, you can cut the fold so that you have two pieces with back sides together.
Step Two: Cut Corner Squares
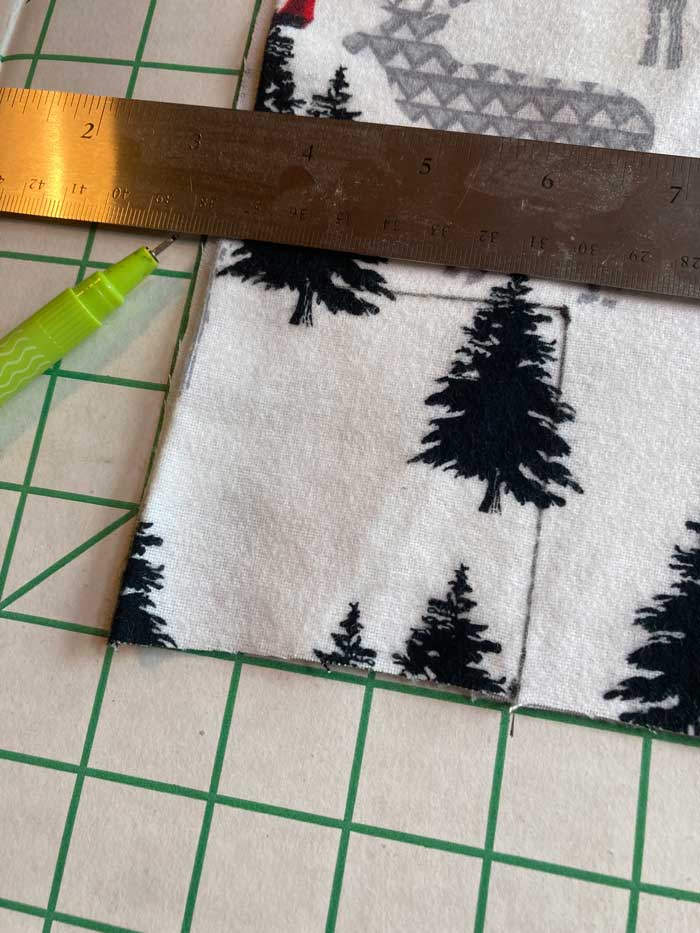
Measure a three inch square at each corner and cut it out.
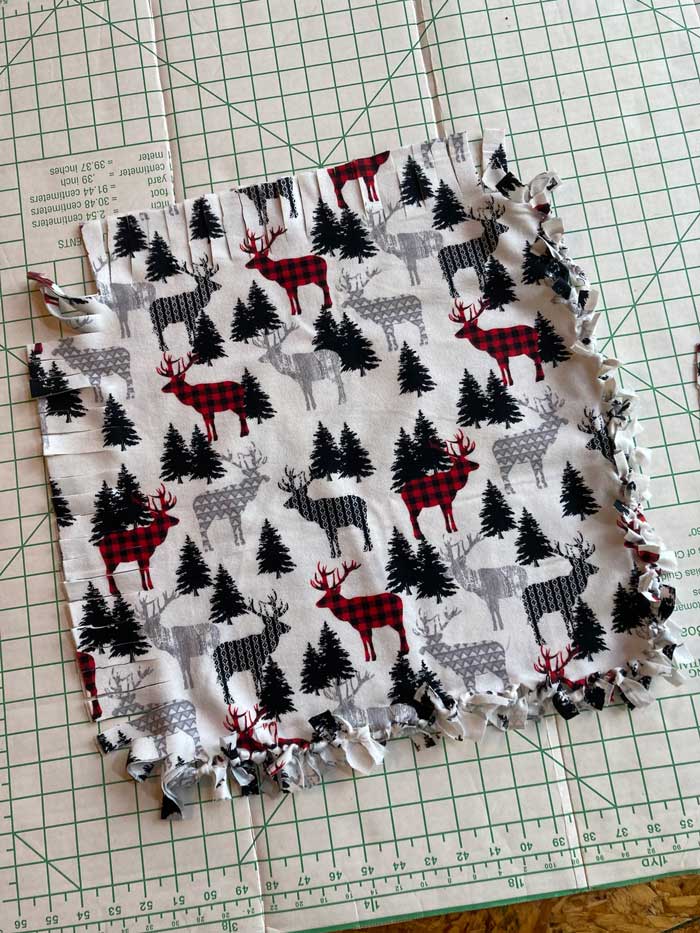
Step Three: Cut Fringe
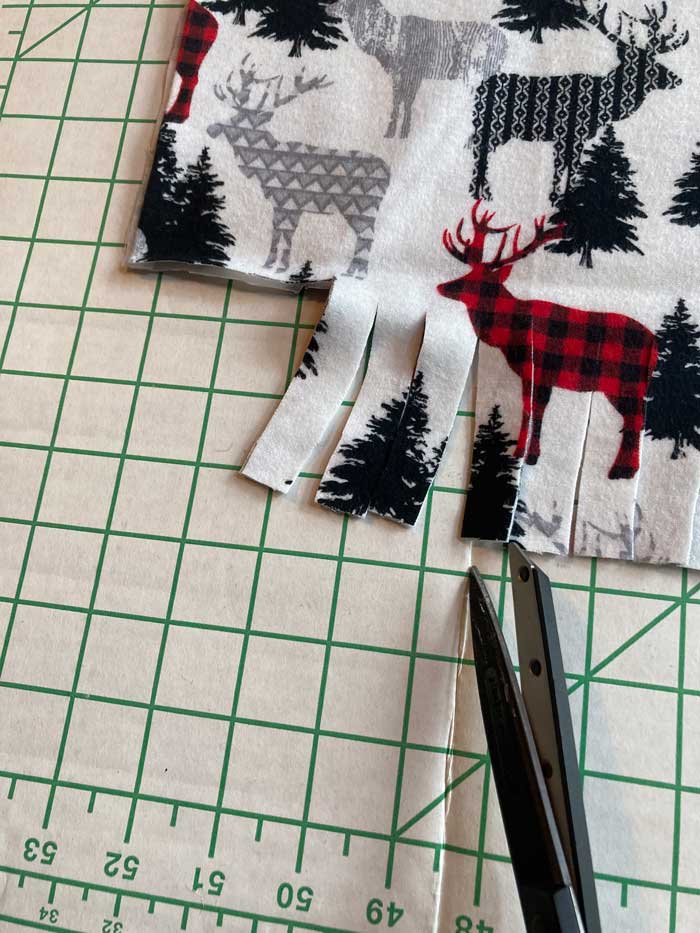
Cut lengths of fringe all the way around the pillow at about 1/2 inch wide and three inches long.
Step Four: Tie Front And Back Fringe Pieces Together
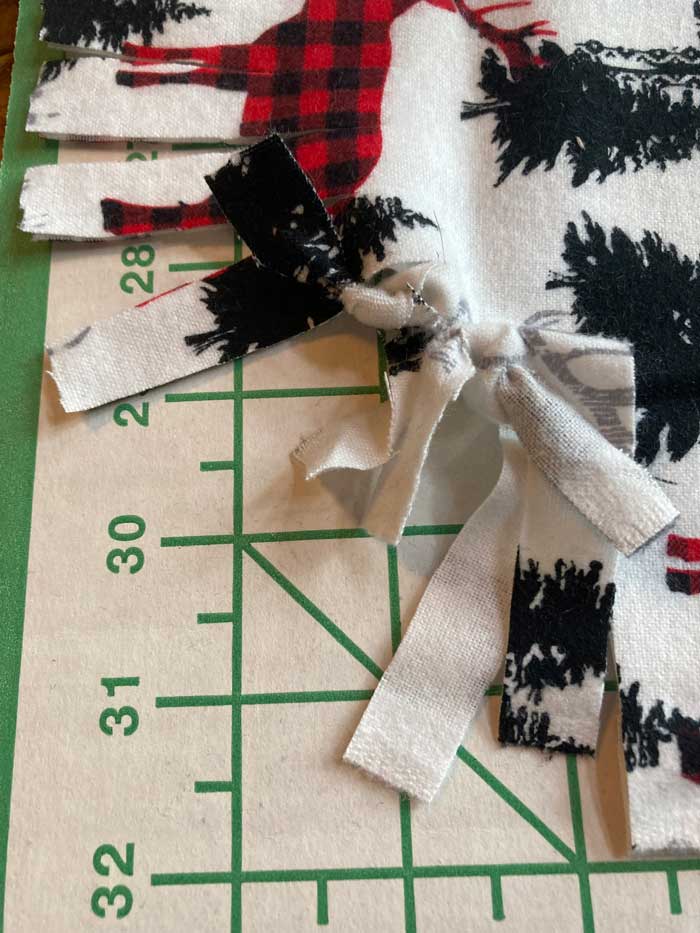
To join your front and back pillow pieces, you simply need to tie the fringe pieces together. Continue tying knots until you have two full sides completed.
Step Five: Insert Pillow Form
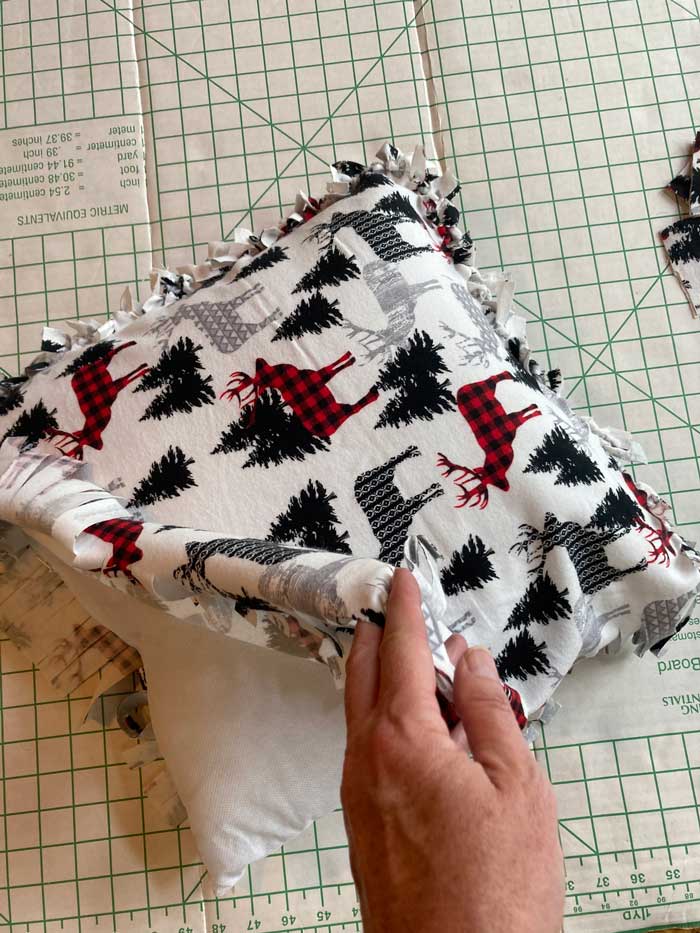
The pillow form slips easily into place against the two completed sides. Now, continue with the knots until the entire pillow form is enclosed.
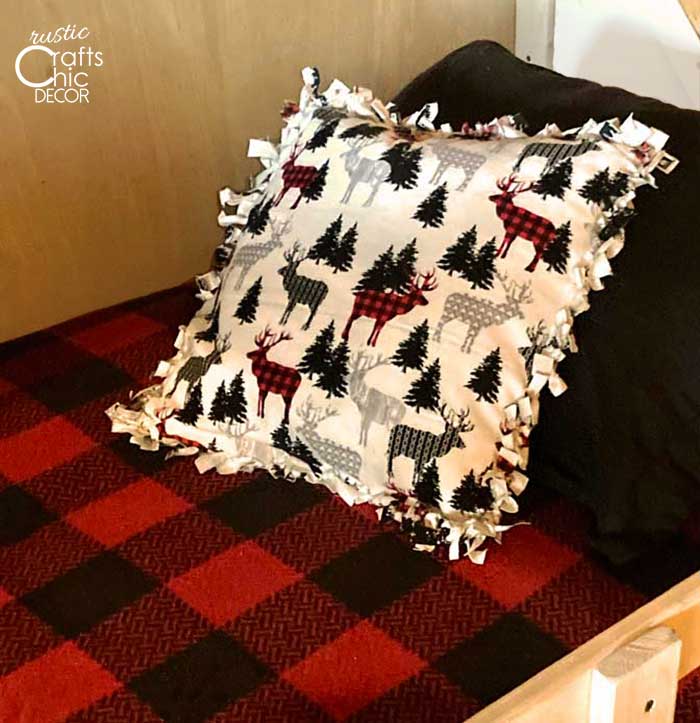
That’s it! A super simple project pillow with a fun fringy edge.
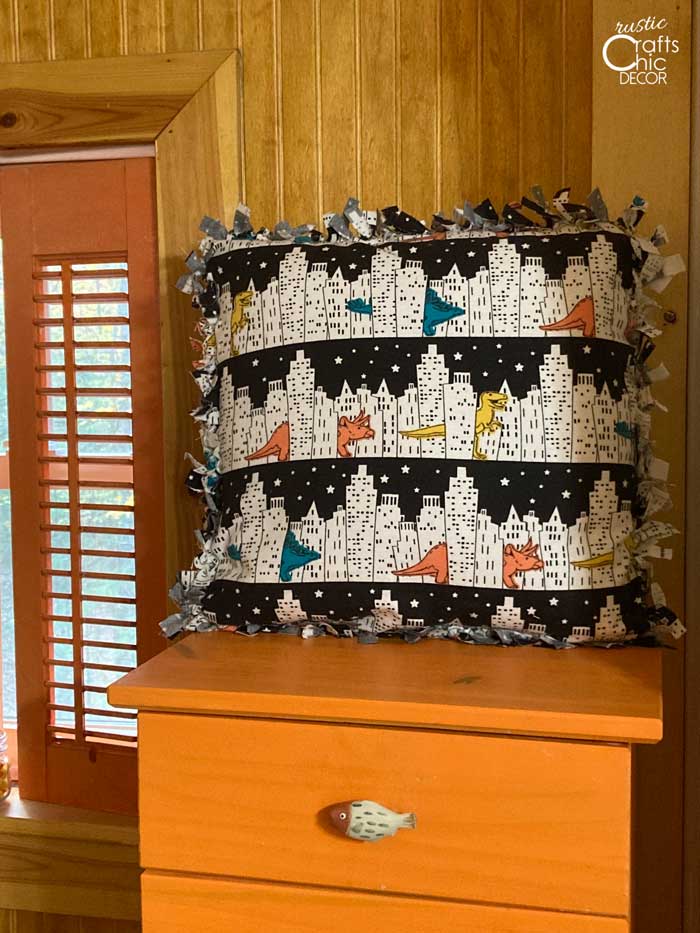
My granddaughter loves dinosaurs and I found the perfect fabric for her! I’m guessing she’ll love the design and the fringe. The soft flannel is extra cuddly too!