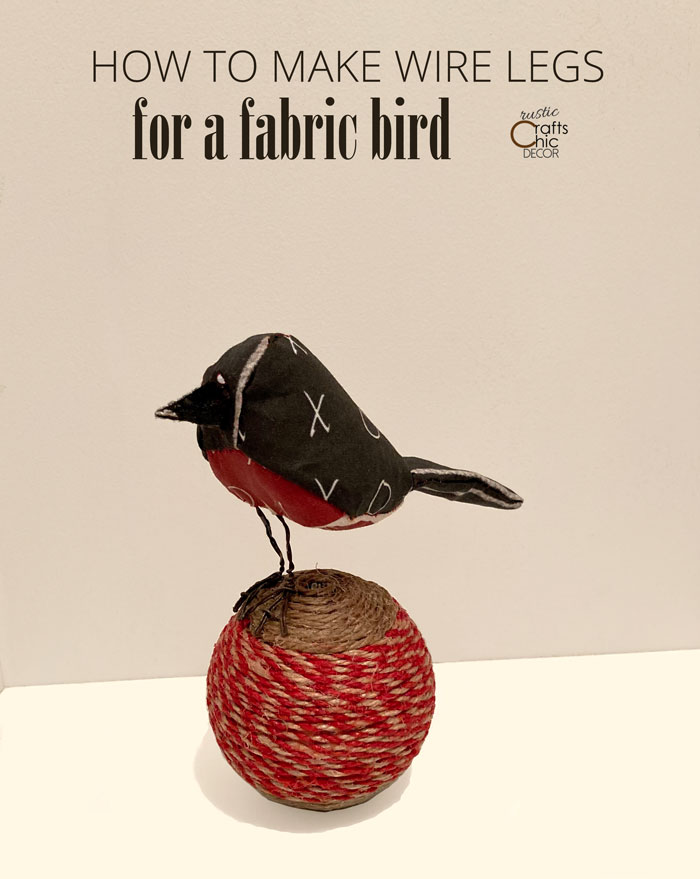
I love to make fabric birds. It’s a great way to use up fabric scraps and they are just so cute to look at. The problem that I have is that I don’t feel a bird is complete unless it has some legs. Any pattern that I have seen for making birds does not include a tutorial on bird legs of feet. After some trial and error, I came up with an easy way to make bird legs out of wire. Once the set of legs are made, they can easily be manipulated to perch the bird in any position that you want. It’s also easy to get a bird to set on a flat surface just by bending the feet. I’ll show you how with just one length of wire you an easily make a set of bird legs with feet.
This post contains recommended product links. If you make a purchase through one of the links, I will earn a small commission at not extra cost to you.
This post assumes that you already have or know how to sew a fabric bird and are just needing instructions on the legs.
What You Need To Make Bird Legs
- 18 gauge wire – I like to use rusty wire for a more rustic look.
- craft pliers
- wire cutters
Wire Bird Leg Tutorial
Step One: Form Loops With Wire
With the wire cutters, cut a length of your spool that is 24 inches long. Loop the wire in half and then with each half form another loop going the opposite way. It will loosely look like the letter M.

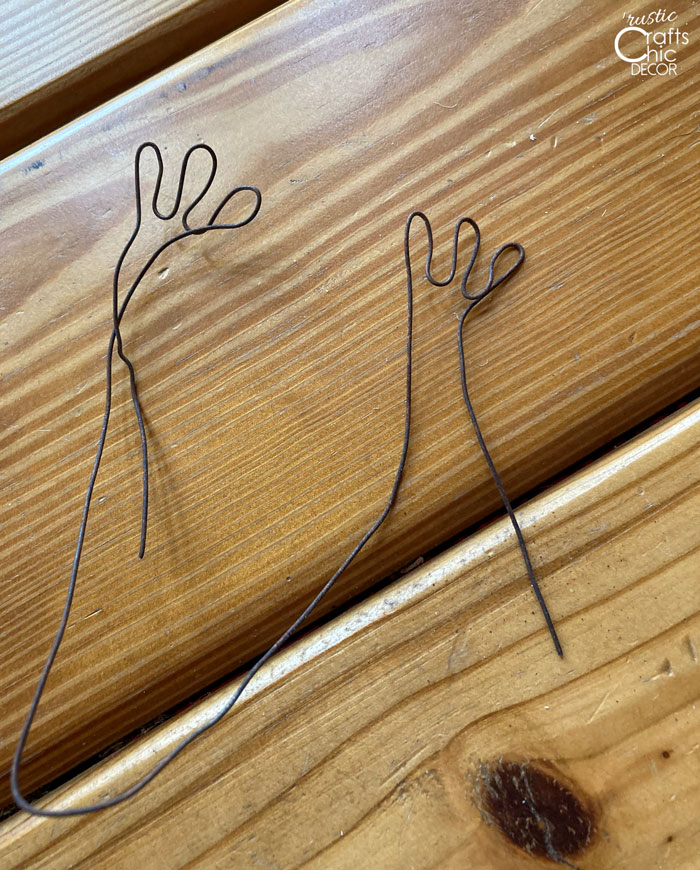
Step Two: Create More Loops For Feet
Start with one of the two loops at the top. From the middle form another loop about an inch long and then two more on each side of the first loop. Do this for both sides. This is the start of the bird feet. You will be left with two loosely formed feet and legs that are attached from the main loop.
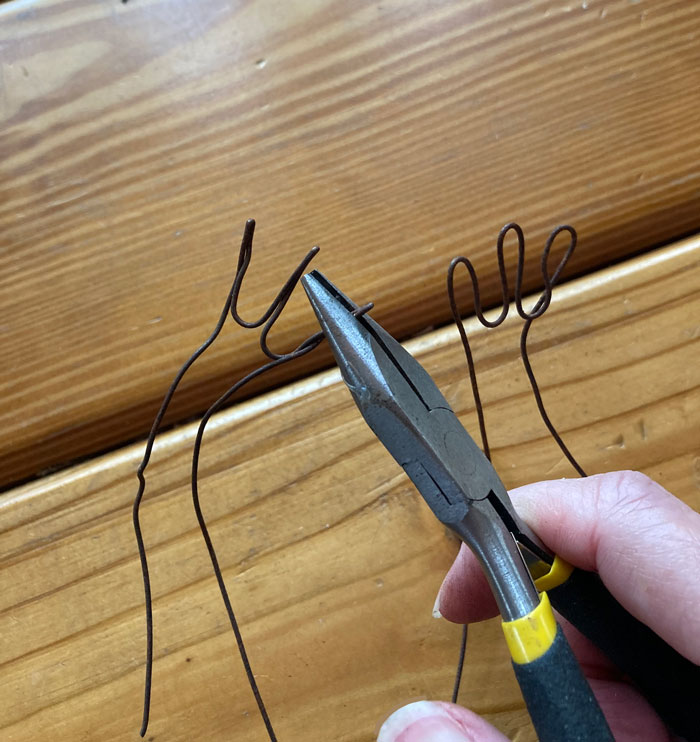
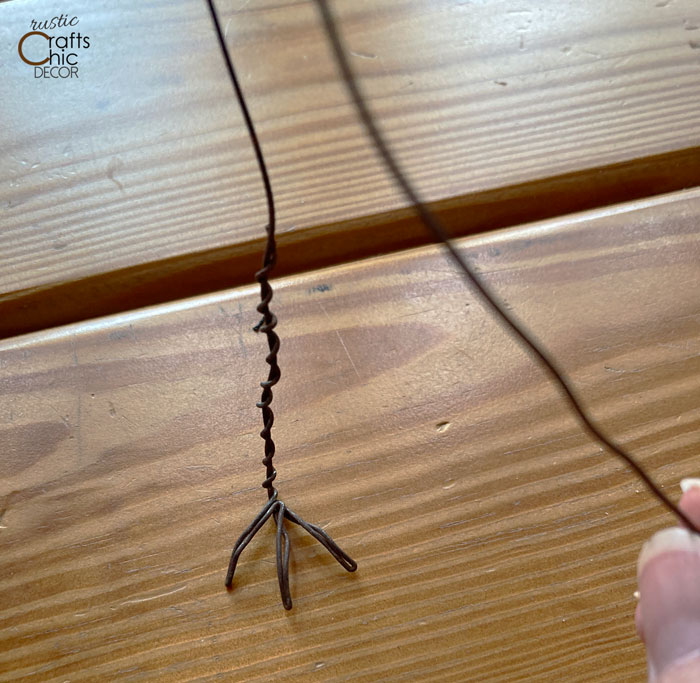
Step Three: Work On The Feet Detail
Now that you have the three loops for the bird claws, you will want to make them look a little more realistic. Start by pinching each of the claw loops tightly together with your pliers.
Once the claws are tightly pressed, pinch the base of the foot together to finish the foot and start working on the leg.
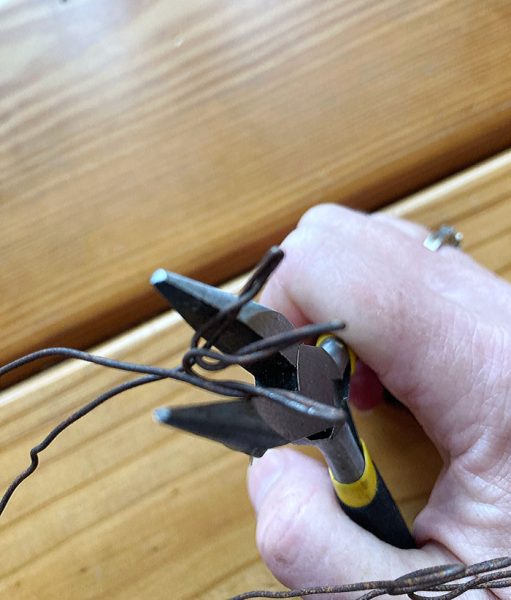
Step Four: Twist Wire For Leg
Once you have the feet made, you will notice that you have a short length of wire left over on each side of the main loop. This is what you will use to twist around the loop of wire to create a leg that is strong enough to stand sturdy.
Twist the wire as tight as you can using the pliers to help you. When you are done with one side, repeat on the other.
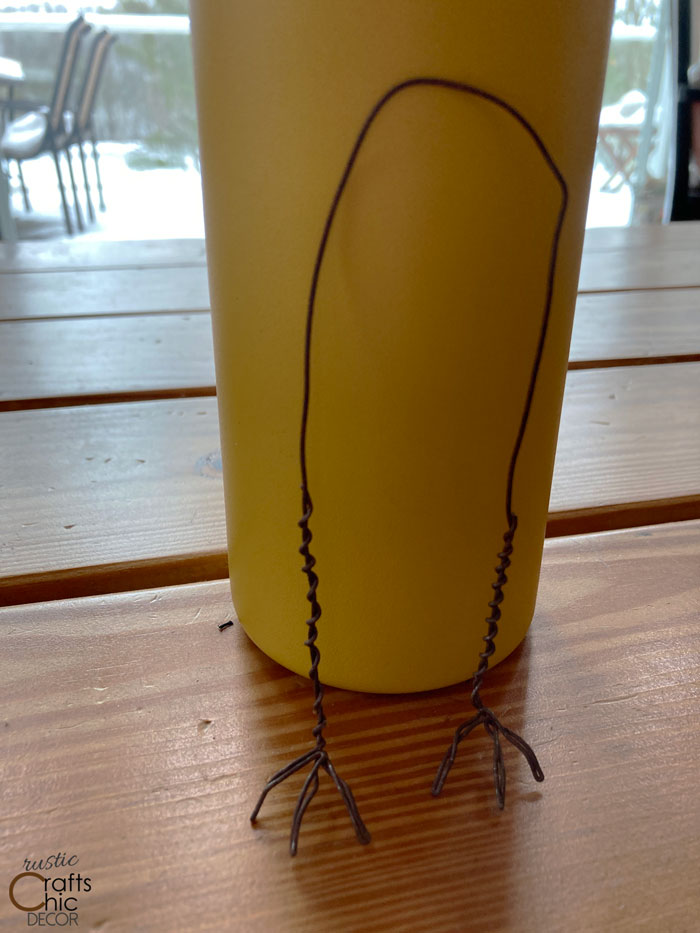
You will end up with two wire bird legs at the bottom of each side of the loop. Right now it looks like they would be used for a very tall bird! However, you are now going to create a loop that will fit into a fabric bird body. It’s much sturdier than trying to make two individual legs to poke into the bird.
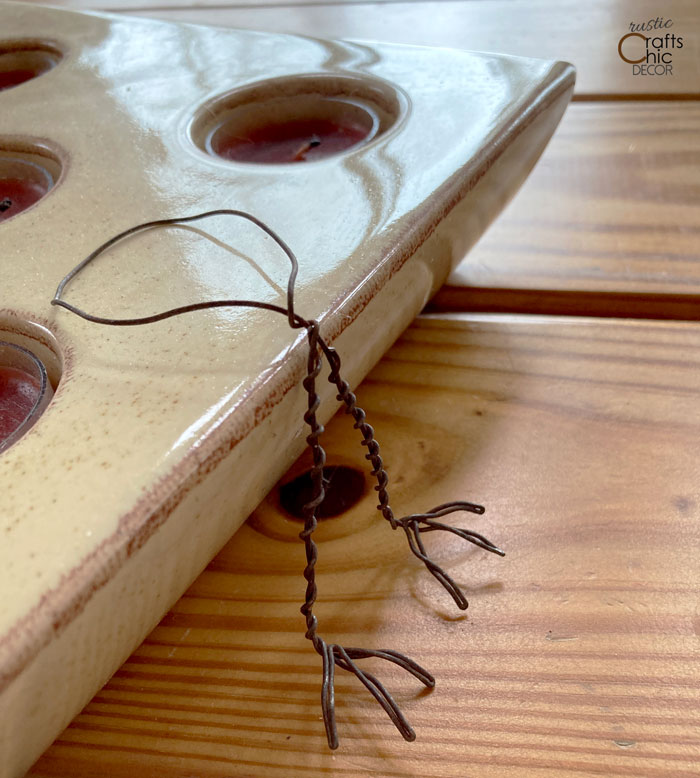
Step Five: Create The Loop For The Body
Make a couple twist of the loop at the point where the two legs have just one strand of wire. Once you have a couple of good twists in, bend the loop backwards so that it is perpendicular to the legs.
Step Six: Insert Wire Legs Into Fabric Bird
This part works best if you are adding the legs in the process of also making your fabric bird. If your bird is already made, rip the seam that goes across the underside of the bird. You will just have to stitch that back up by hand after the legs are inserted.

At this point, you will be able to pinch, maneuver, and bend the inserted loop as well as each of the legs until you get the bird in a position that you want. Once you are satisfied, stitch the fabric together to hold the legs in place. You will still be able to manipulate the wires even after the bird is stitched together.
You can either position the bird so it simply stands on a flat surface or mount it to a piece of wood, birdhouse, ball, or whatever you can think of. Four mounting use a quick drying glue to hold the feet in place.
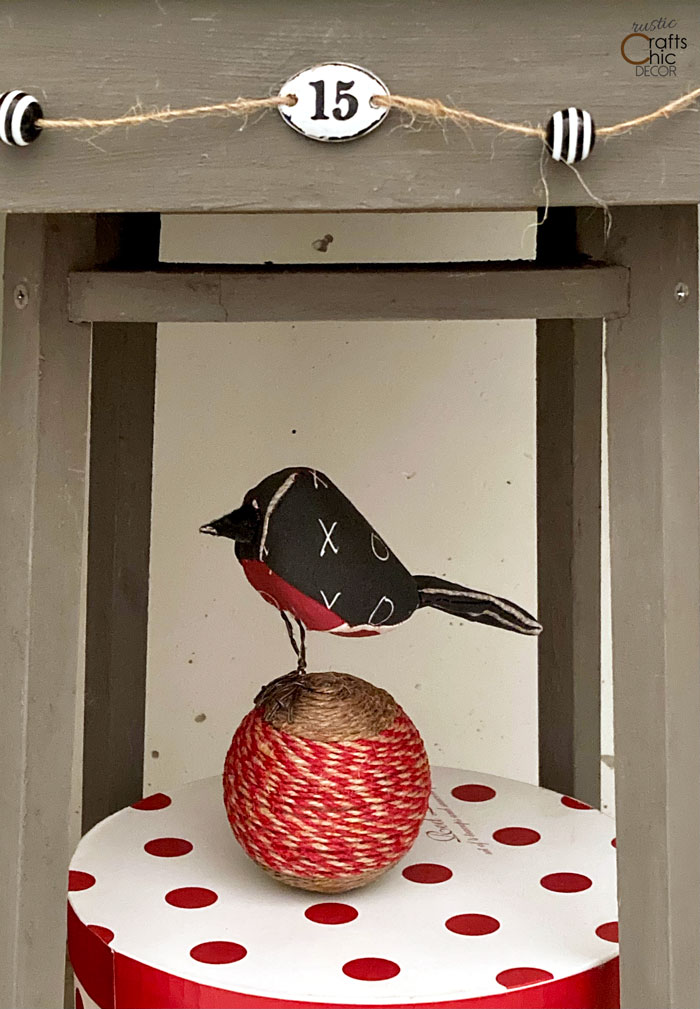
I mounted my bird to a twine wrapped ball that I had made with a styrofoam ball base. The nice thing about that was that I could take small sections of wire and fold them together for a kind of staple. Then, I just inserted them over one of the claws on each foot and into the styrofoam ball.