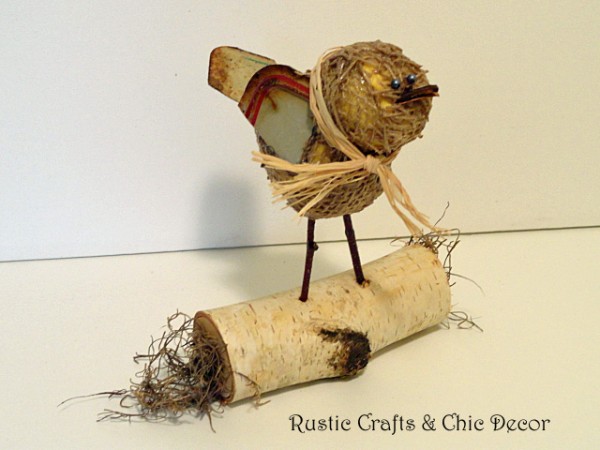
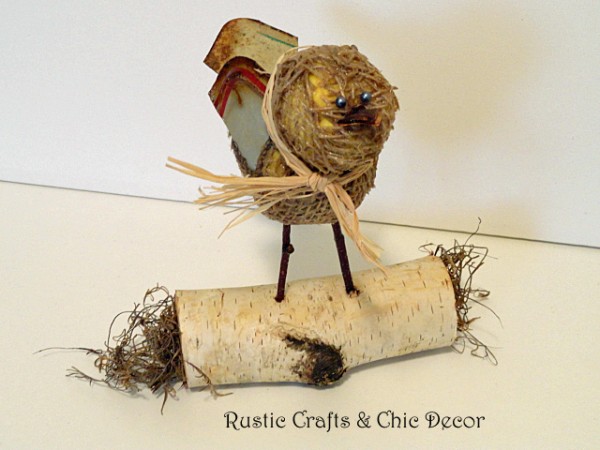
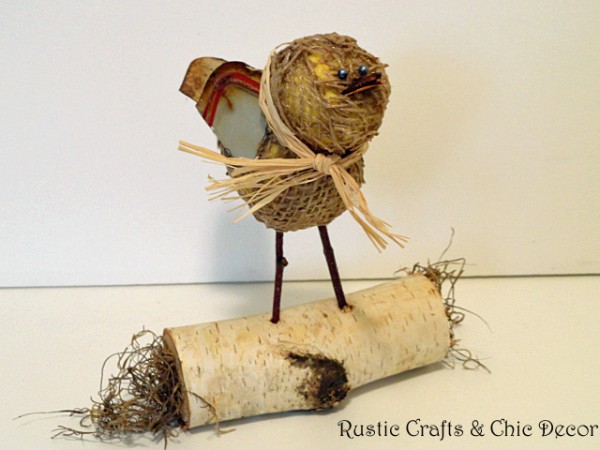
This light weight rustic bird is made from a base of styro-foam balls. It incorporates both natural elements and recycled materials in it’s design. The styro-foam base makes it easy to insert the license plate wings and birch twig legs! The most fun and creative part of the craft comes from forming the shape of the body and adding color and characteristics.
Since I have crafted several bird houses, I figured it was time I gave a bird craft project a try. Of course I had to make it a rustic style with a little bit of recycled material added in. The resulting bird is a perfect complement to the rustic birdhouse craft.
DIY Rustic Bird Craft
Craft Skill Level: Advanced
Materials Needed:
- two 2 1/2 inch Styrofoam balls
- license plate
- metal snips
- birch branches
- six inch square of felt or soft fabric
- five inch square of burlap trim/ garland
- two pins with same colored ball ends
- birch log
- tacky glue
- drill
- razor knife
- sewing machine
- toothpick
- decoupage
- soft paint brush
Rustic Bird Craft Instructions:
The Body And Head
- Take one of the Styrofoam balls and shape it in your hands to form the body of the bird. You will press hard to compress the shape.
- Cut the other ball in half and trim about a 1/4 inch off each side. Form this piece to become the head of the bird.
- Coat the end of a toothpick with tacky glue and insert that end into the bottom of the head piece.
- Coat the other end of the toothpick with glue and attach the head to the body.
The Body Covering
- Cut a rectangular piece out of the felt or soft material to fit the length going from the neck area down and around the whole body, ending at the top of the body by the neck again.
- Now cut two semi-circular pieces to fit the sides of the birds plus a little seam allowance.
- Sew the side body pieces to the rectangular piece. You will have what looks like a little bowl to slip the birds body into. After putting the material on the bird, pull the fabric tight up to the neck and secure with tacky glue and some small straight pins.
- Make a covering in the same way for the head of the bird.
- After securing the head fabric, wrap a narrow rectangular piece around the neck where the two pieces meet to cover any raw edges. Secure with glue.
Make The Wings And Tail
- Cut three triangular pieces from a license plate. Use the rounded edges of the license plate for the widest edge of the triangle, keeping the rounded shape in tack. Make the two wing pieces slightly smaller than the tail piece.
- For the wing pieces, bend the point inward with a pliers at about a 1/4 inch up. Coat the point with glue and insert into the body of the bird where you would like the wings to be. Add a little more glue between where the wing presses against the body. If you can’t cut through the fabric with the point of the license plate, you can use a razor knife to make a small slit.
- To adhere the tail, coat the point with glue and insert into the back of the body. Again, use a razor knife if you have to.
The Finishing Touches
- Cut several strips of the burlap trim and adhere them to the bird with a thick coat of decoupage, using a soft paint brush. This is to add texture and there is no set way that the strips have to be placed. Let a little bit of your colored fabric show through.
- Stick two ball end push pins into the face of the bird for the eyes.
- I used a piece of pointed potpourri, cut into the right dimension, for the beak. It is amazing what material you can find in an old potpourri bag! I cut a slit with a razor knife and adhered the beak by pushing it through the foam with some tacky glue.
- Insert two birch branches, with glue, into the bottom for the legs.
- Drill two holes, the same dimension as the branches, into a birch log that is flat on the bottom.
- Insert bird into birch log by the legs, filling the holes first with a little tacky glue.
- Tie a few strands of raffia around the birds neck and you are finished!


