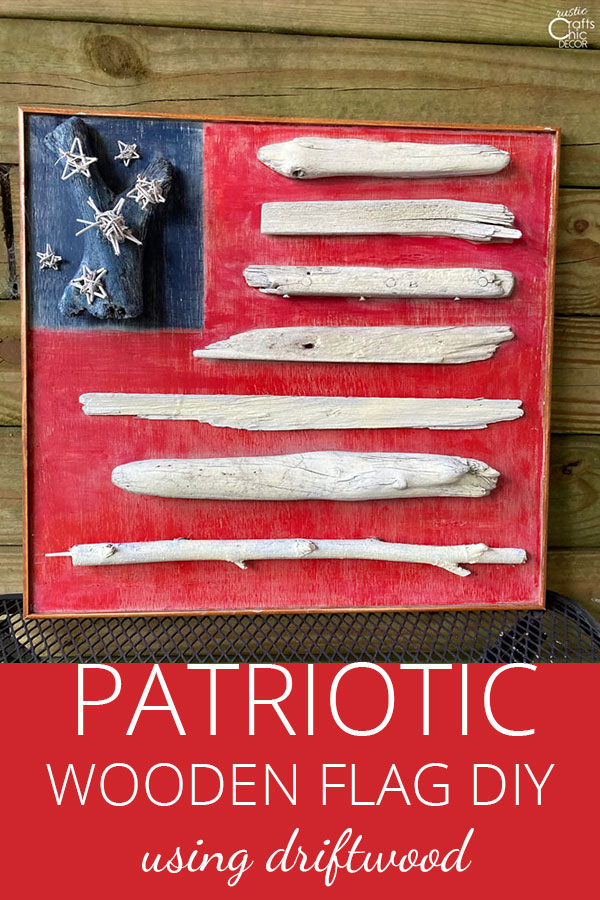
For patriotic holidays, the first decorative item to come to mind is the American flag. Although you can hang a traditional fabric flag, there are also plenty of creative flag crafts that you can do. I happen to really like wooden flags and wanted to share our DIY wood flag using both plywood and driftwood.
Making a wooden flag is a fun project – especially when it is a group effort. This flag started out as a team effort between my husband and daughter. They had a great time collecting the driftwood and then painting and assembling the flag. Later, I added some rustic goodness by distressing the paint and putting on a wax finish.
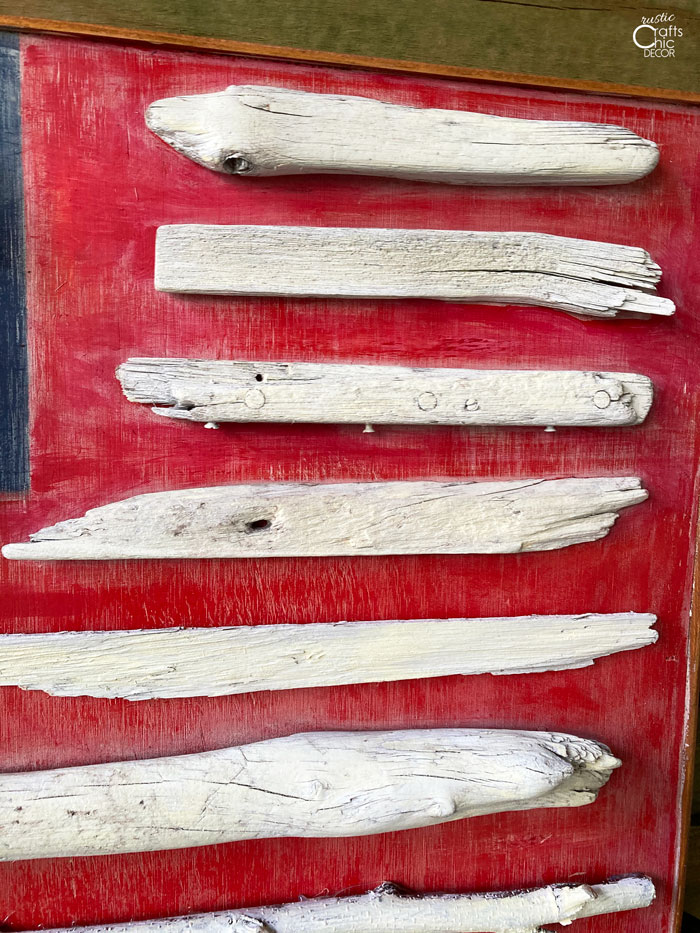
Because this project uses driftwood for the flag stripes, you almost get the feeling that the flag is waving. The different thicknesses and shapes of the driftwood are what give it dimension and curve. If you can’t get a hold of any driftwood, you can also use varying sizes of branches or purchase driftwood for a reasonable price.
To stick with the rustic and natural look, we used one to two inch twig stars from the craft store. They come in a package of varying sizes. You don’t have to use 52 stars for the flag. A smaller number of stars just makes the flag more reminiscent of a vintage one.
How To Make A Wooden Flag
This post contains recommended product links. If you make a purchase through one of the links, I may earn a small commission at no cost to you.
DIY Flag Materials
- 1/2 inch plywood, cut to size (this flag was made with a scrap piece that was 22 inch x 21 inch)
- six or seven pieces of driftwood or branches
- red and blue paint acrylic paint
- small twig stars
- 3/4 inch trim pieces to frame plywood (or use branches to frame)
- sandpaper
- white wax
- hot glue
- picture hanger bracket
- small finish nails
- stain or paint for trim pieces
DIY Wood Flag Instructions
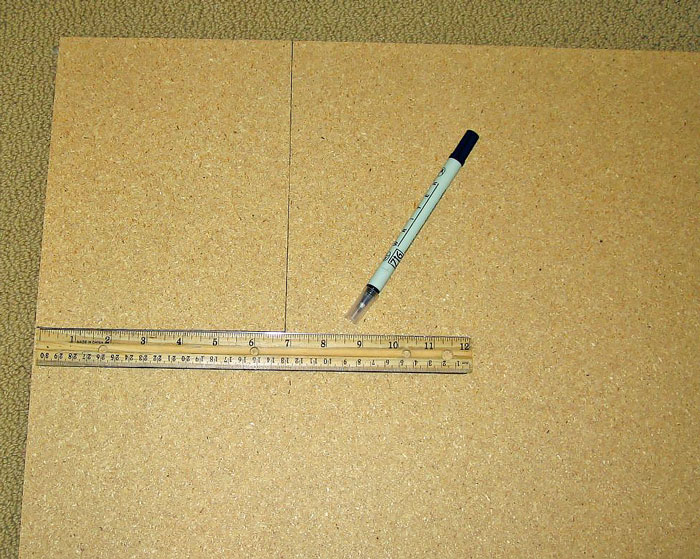
1. Draw out a square for painting blue background. Ours was 7 inches by 9 inches.
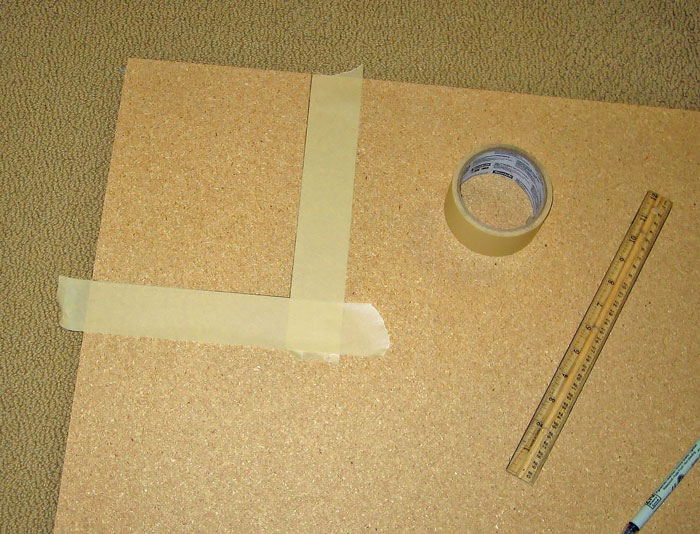
2. Apply masking tape to the edge of the line to prevent painting outside the box. Brush on blue acrylic paint. Once dry, remove the tape. Now paint the rest of your wood red. **You could also first paint the whole piece of wood red and once dry, draw your box, tape off edge, and apply blue paint.
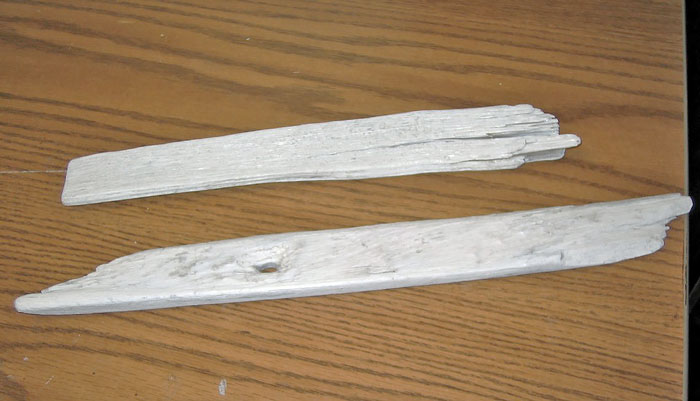
3. While waiting for paint to dry between coats, paint your driftwood and stars white. We also painted one piece of driftwood blue to add to the box for stars. This gives the whole flag lots of dimension.
4. Using hot glue, adhere your driftwood and stars to the wood to complete your flag.
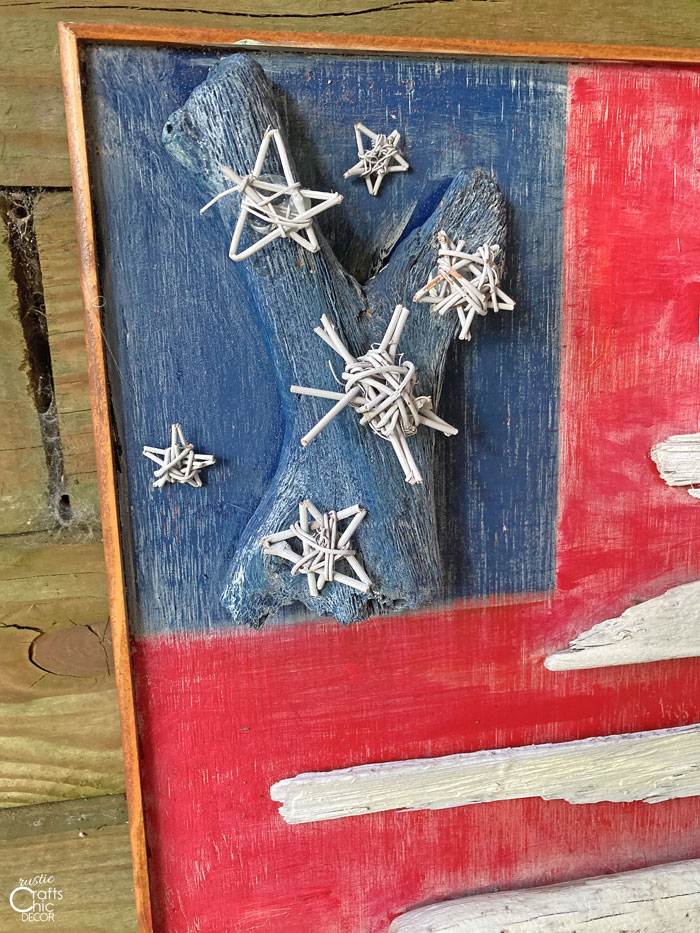
5. An option to make your flag look more faded and worn would be to sand off some of the paint. Then, brush on a white wax, let dry, and buff off. This really helps to give a faded look and also protects the finish.
6. If you want to frame your wood, cut trim pieces to size and miter the corners. Finish the wood by staining or painting it. Attach the trim with small finish nails.
7. Finally, nail a picture hanger bracket to the back so that you can hang your masterpiece on the wall. Or, simply prop the flag up on a table.
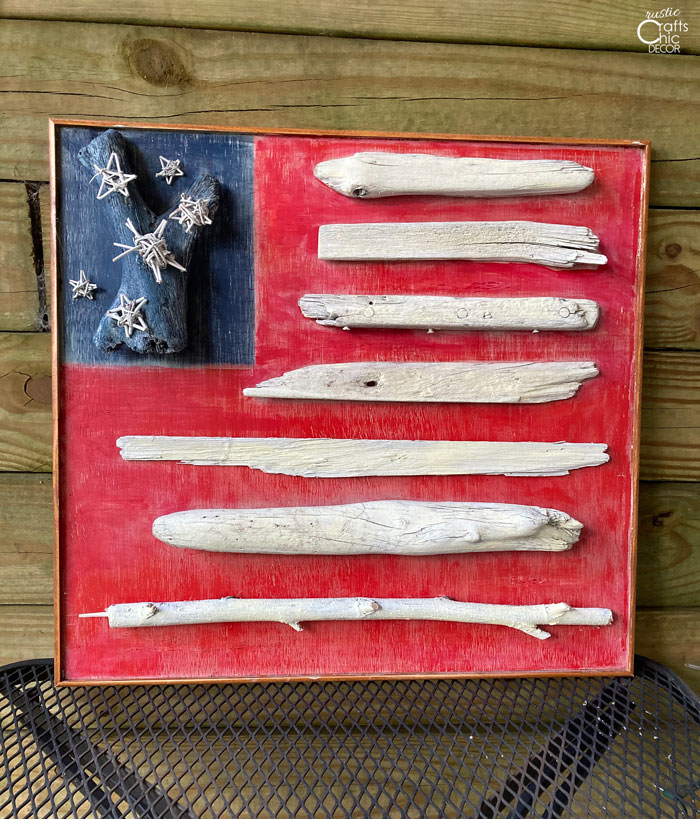
The flag is perfect for both Memorial Day and the 4th of July. Of course, I like to have it displayed all summer long.
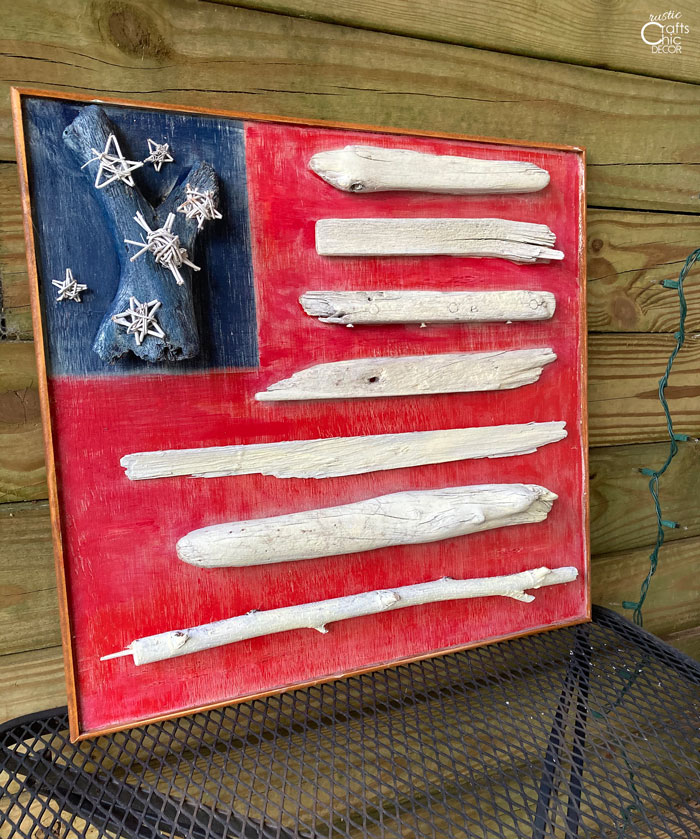

What a cool way to use that driftwood! The stars are so fun, too!
New follower from the Alexa hop 🙂 Such a cute idea! I love it
Lori