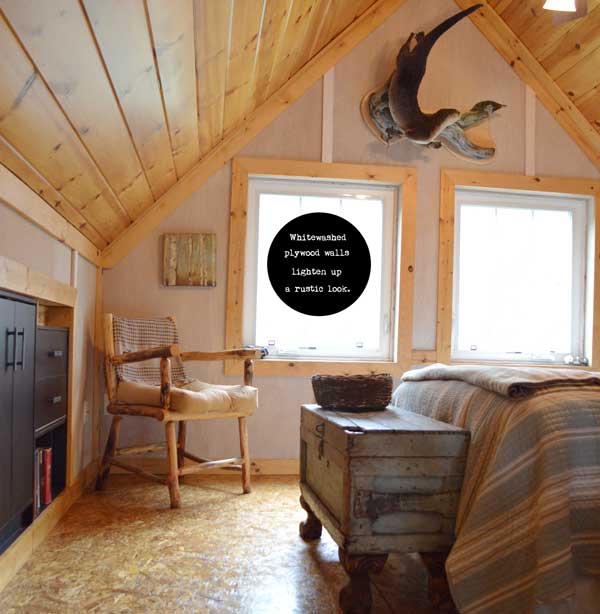
Using plywood on walls is an affordable and stylish option. Because of the wood grain in plywood, there are more finish options than using drywall. You can either paint, stain or whitewash for a unique look.
I have been asked, by readers, what we used on our cabin walls to finish them off. Well, as with most of our cabin projects, we went with something a bit out of the ordinary. We wanted something rustic and yet still light and airy. Our cabin isn’t real big so I didn’t want it feeling like a cave. Although we used beadboard in our bathrooms, I didn’t want quite that much texture for the main living area. So, to get something smooth but still with wood grain, it made sense to use plywood!
How To Put Plywood On Walls
Choose The Right Plywood
You may be surprised at how many varieties of plywood there are. Some have a lot of wood grain and others very little. Plywood also comes in various thicknesses. For hanging plywood on a wall, a 3 ply thickness works perfectly. It is light enough to make installation easy and strong enough for stability. This makes it much easier to hang then heavy drywall. Using an air nailer, simply nail the large sections to the studs. Keep reading to see what to do about the seams after applying your finish. You’ll want to be conscious of where your seams are.
Because we wanted just a subtle grain to the plywood, we went with Tiger wood. However, the style you choose will depend on home much grain you like to see.
How To Whitewash Plywood
Although there are several options for finishing plywood, I am going to focus on whitewashing. Painting plywood will give you a solid color finish that looks a lot like finished drywall. Stained plywood allows all of the grain to show through. Whitewashed plywood is something in between.
We found the perfect product to use from Min-wax. They have a great whitewash pickling stain which is fairly easy to use. It’s a two step process where you first brush on the paint and then wipe the excess off. The longer you keep the paint on the wall, the more solid the white finish will be. It may take a little experimentation at first to determine how deep you want the white. You will also want to make sure that the stain is stirred thoroughly and continue to stir throughout the process. Any changes in stain consistency will result in a non uniform coverage.
I found that leaving the paint on for about ten minutes gave me the desired look that I wanted. Because it is a quick process, it is best to work in sections. Check each section as you go for consistency. If a section looks lighter or darker then the previous section, you can either apply more stain or rub off harder. It sounds more complicated than what it really is. Once you get a feel for how it is going on, the process goes pretty smooth.
How To Finish The Plywood Seams
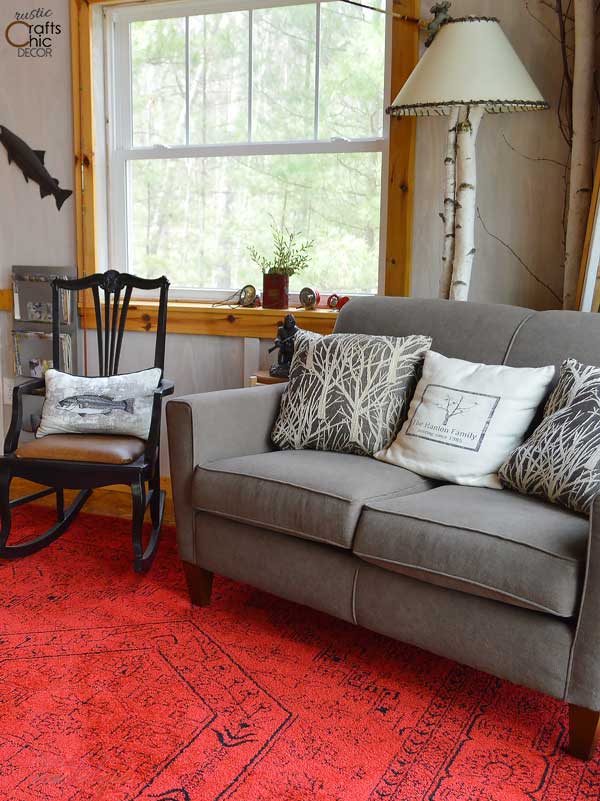
Because hanging plywood sections leaves seams between the sections of wood, we also hung up battens. We just used the most inexpensive pine trim for this and also applied the pickling stain. Because we wanted the trim to stand out brighter than the walls, we left the stain on longer. We basically just painted the stain on all of the battens and let it dry.
Everywhere there was a seam, we attached one of our battens. Of course, we had this in mind when hanging the plywood so were careful about placement so the batten design would be uniform. You do get a little bit of waste but you don’t want to have seams in odd spots!
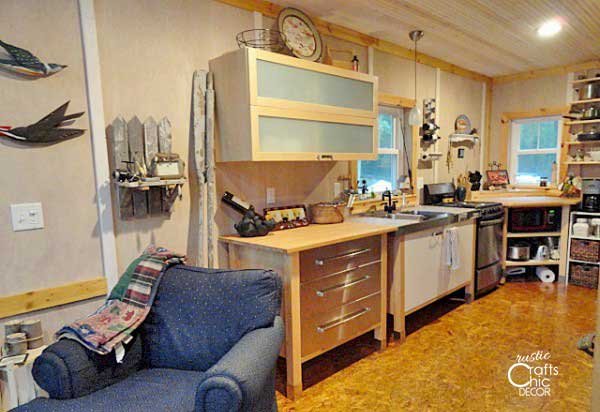
Also, as you can see in this photo, we finished the kitchen ceiling with a pine bead-board that we also applied pickling stain to. There was a lot of variation in the wood colors which gave it a different look that blended well with both the pine stained trim and the whitewashed walls.
Hi, I liked your site and style so much I made a shortcut on my desktop!
Thank you so much!
The plywood look for your cottage is great! Could you please let me know what thickness plywood you used. Also, did you use nails or staples to apply? And did you use the same thickness plywood on the exterior insulated walls?
Thank you.
Thank you Ross! The thickness is 1/4 inch and we used nails. I will check into the exterior walls.