I bought a couple of end tables last year from a thrift shop for about ten dollars for the pair. I knew what I wanted to do with one of them and fixed it up to put it my office. The other one had just been sitting in our basement storage area collecting dust. I decided it was time for another end table makeover.
Because my son needed a new nightstand, I figured I would play around with the thrift store end table. It desperately needed some updating and I had a couple of unique ideas.
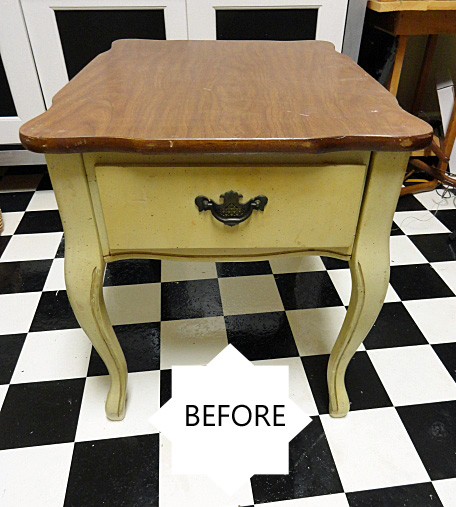
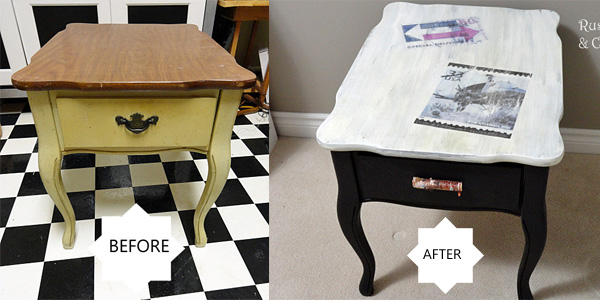
Here is the sad sad before picture.
End Table Makeover
New Paint Finish
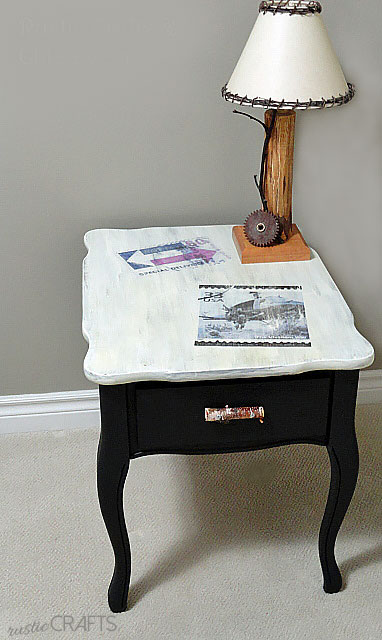
Before doing anything else, I knew right away that I wanted the bottom half to be black. So, I quickly painted that in a satin black. Since I wanted to give the table some rustic touches, I painted the top white with a distressed paint technique.
A Rustic Handle
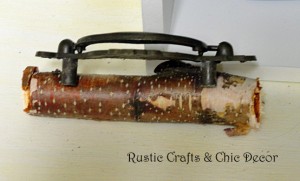
The old drawer handle, on the table, had to go. In keeping with the rustic theme, it made sense to replace the handle with a birch branch. It was just a matter of cutting the branch to size and drilling holes for the screws.
I lined up the posts of the old drawer pull against the birch so I would know where to drill my holes. Once I had my spots marked, I drilled through the branch. To attach the branch handle to the drawer, I inserted long screws all the way through the branch. I then used nuts at the inside of the drawer to secure the handle in place. Because the screw heads are visible, it also adds a bit of an industrial touch to go with his rustic industrial bedroom.
A Unique Table Top Finish
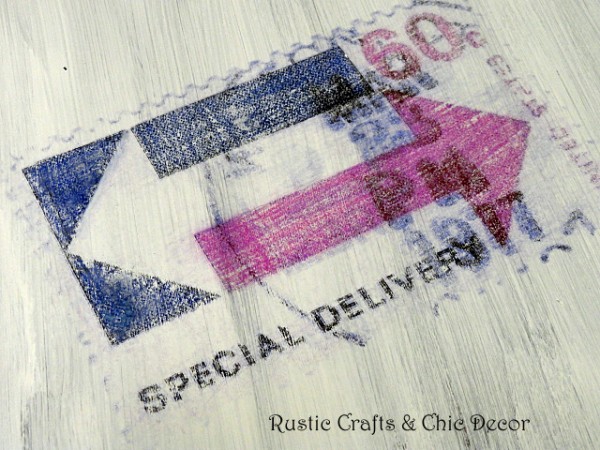
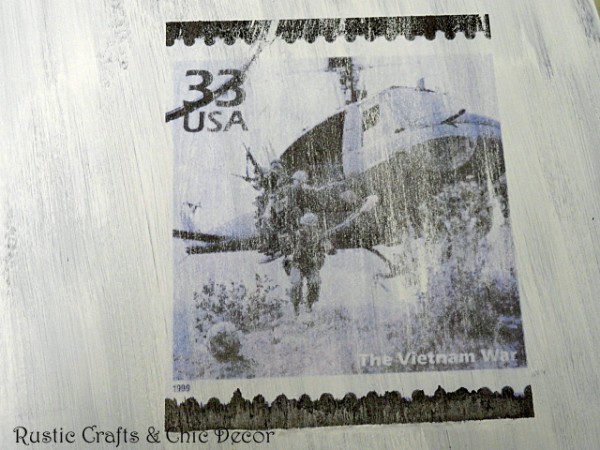
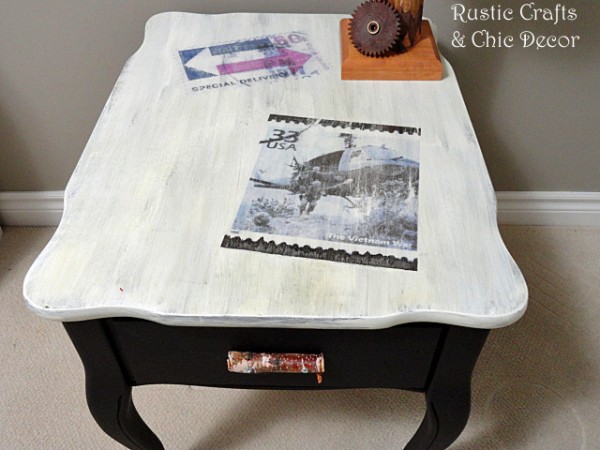
I needed to add some visual interest to the table for my son to appreciate. So, I rubbed on two vintage stamp images using my freezer paper transfer technique.
You can see that using this method, you get a nicely faded and distressed looking image. You have to make sure to rub your tool in one direction, back and forth, while transferring the image. Otherwise, it will look messy when you are finished. I goofed up a little with the first image because I was getting too excited to see the result. I fixed the lines somewhat by smoothing the ink with a paint brush while it was still wet.
Seal The Finish
The final step, that I did, was to put a coat of oil based urethane over the table top for protection. I used oil based because I wanted a little bit of the yellowing for a more aged look. If you don’t want white paint to turn yellow, you would want to use a water based urethane or varnish.
And, here are the before and after pictures side by side.
The polyurethane finish to the top also ensures protection against any spills. Very important for a boys room!

very cute! love the handle. very clever!