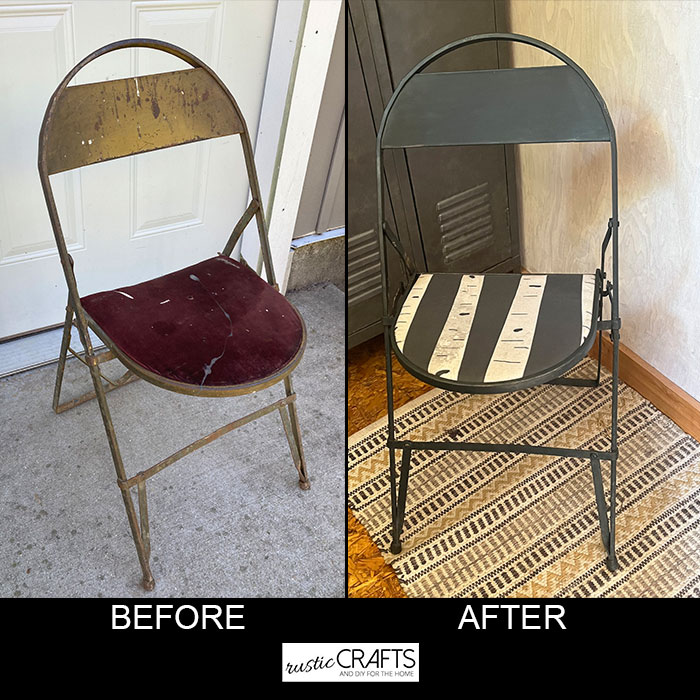
If you’ve ever gone antique picking, you know how rewarding it can be. When you find a piece with good bones but a worn style, it’s fun to give it a fresh new look. A recent purchase for me was a cool vintage auditorium folding chair. It’s such a cute size but the condition of it was, as expected, a bit rough. I get excited with these types of finds because they get my creative juices flowing. Ultimately, it didn’t take too much to get this chair up to snuff but there is a pretty big difference between the before and after. I’ll show you the easy steps that I took to revive this fun little chair.
Out of all the DIY projects that I do, I think I like furniture makeovers the best. With the high cost of new furniture, it just makes sense to give old pieces a little rework for a fraction of the cost. That’s why I was so excited to find this vintage folding chair.
Prep Work Before The Makeover
Probably the most difficult part of this whole makeover was removing the seat from the frame and then getting the fabric off of the seat. It would seem that this destruction phase would be the easiest but the chair was well constructed.
There was a rod at the back of the seat that held the seat in place inside the frame. This was pretty much impossible to remove so my husband cut the rod for me which destroyed it for future use. Luckily, the hardware store had just what we needed to replace it.
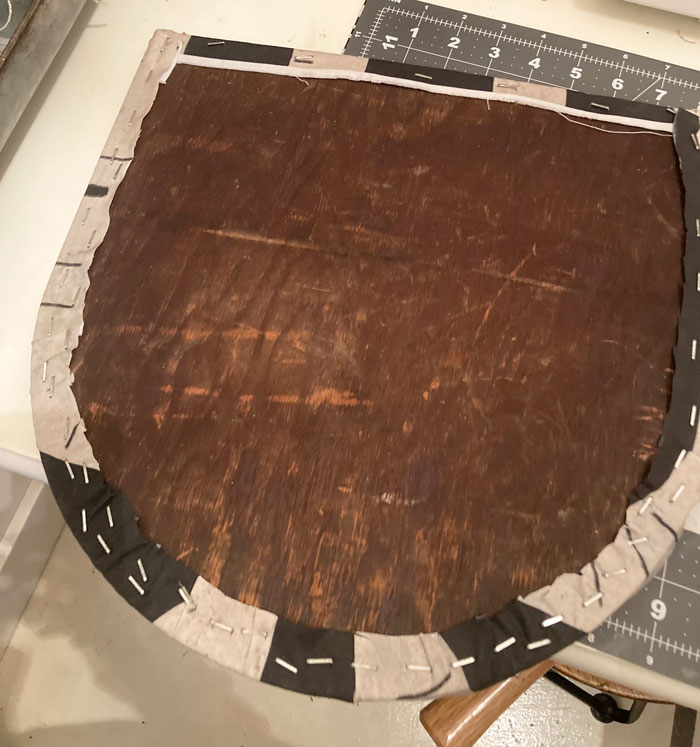
Most of the time, when I reupholster a seat cushion, it’s just a matter of removing the staples. This vintage seat, however, had little nails all around the edge that were a little harder to pull out.
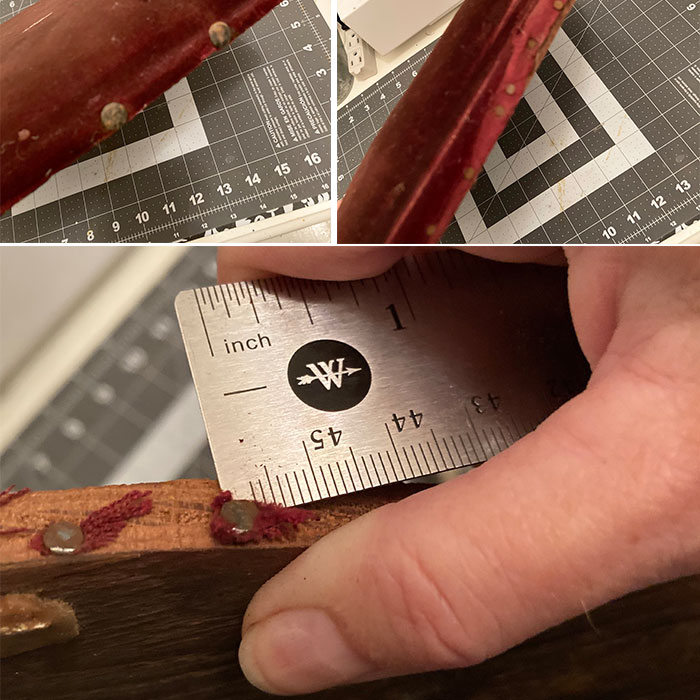
I couldn’t get a hammer underneath the nail heads so I resorted to a metal ruler. Needless to say, it was a little tedious and time-consuming. But, once I got my technique down, the process went a little faster.
Before Painting and After Fabric Removal
Underneath the fabric was some cushion material that definitely needed to be thrown out. It was actually more dust and dirt than an actual cushion.
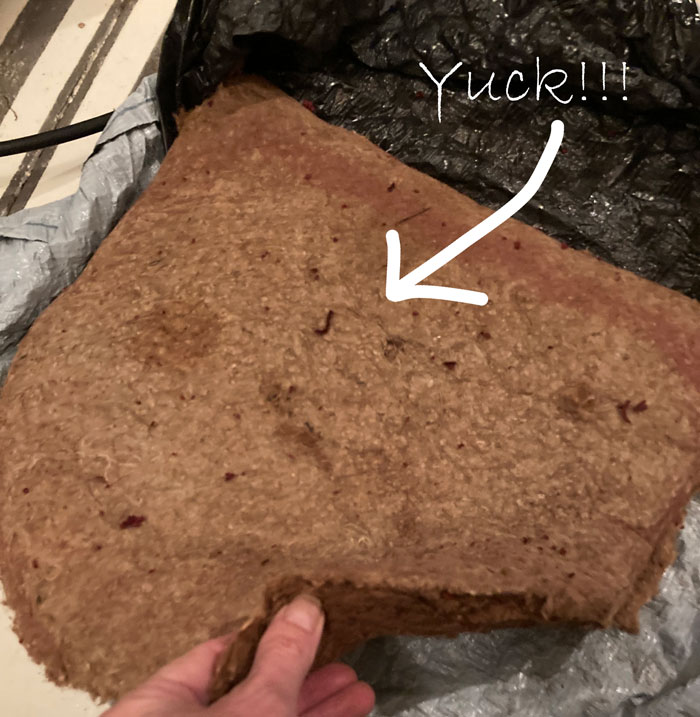
I replaced it with a thin fresh cushion pad cut to size. Then all I did was cut a section of fabric to fit the seat, with some overlap, and stapled it in place.
The chair seat was so small that I was able to use a fabric fat quarter from my Spoonflower shop.
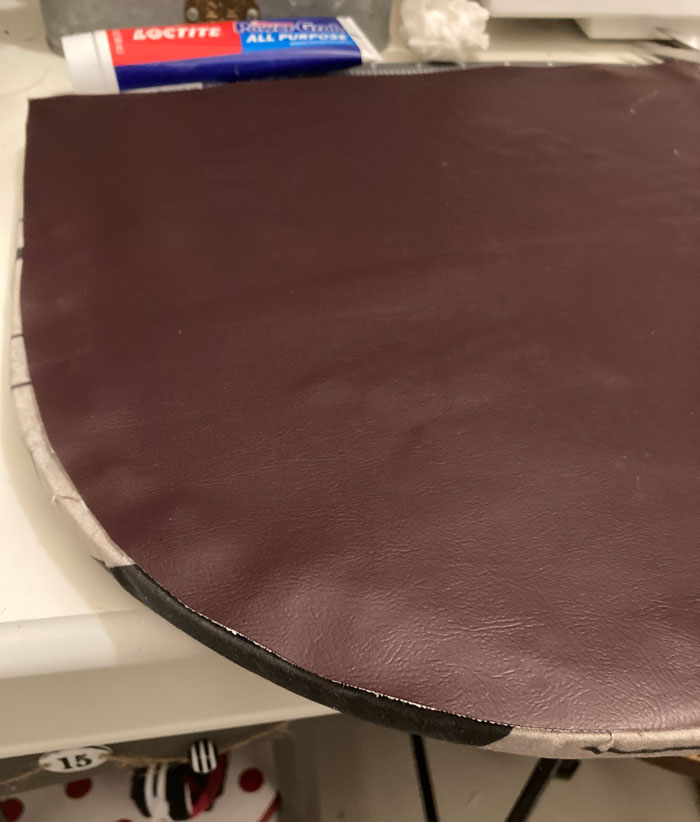
I didn’t want to leave the bottom of the seat looking unfinished like this so I cut a piece of vinyl fabric and glued it over the top.
After I had the seat ready to go, I painted the metal frame with acrylic paint in a metallic graphite color. Then, I let it dry and reassembled the chair.
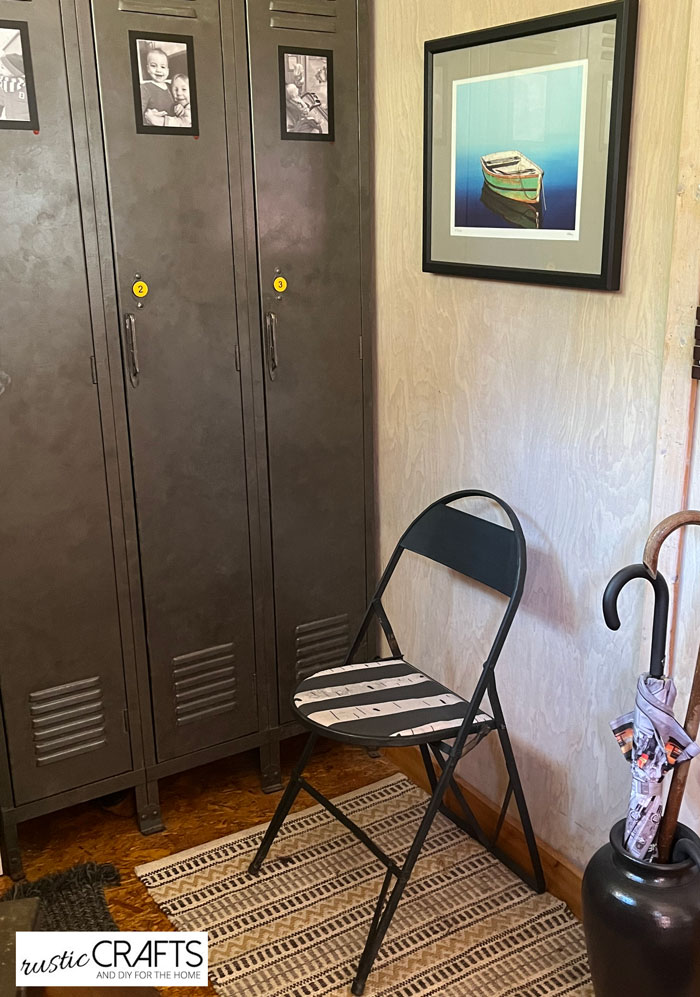
I now have the perfect little seat for our mudroom area!