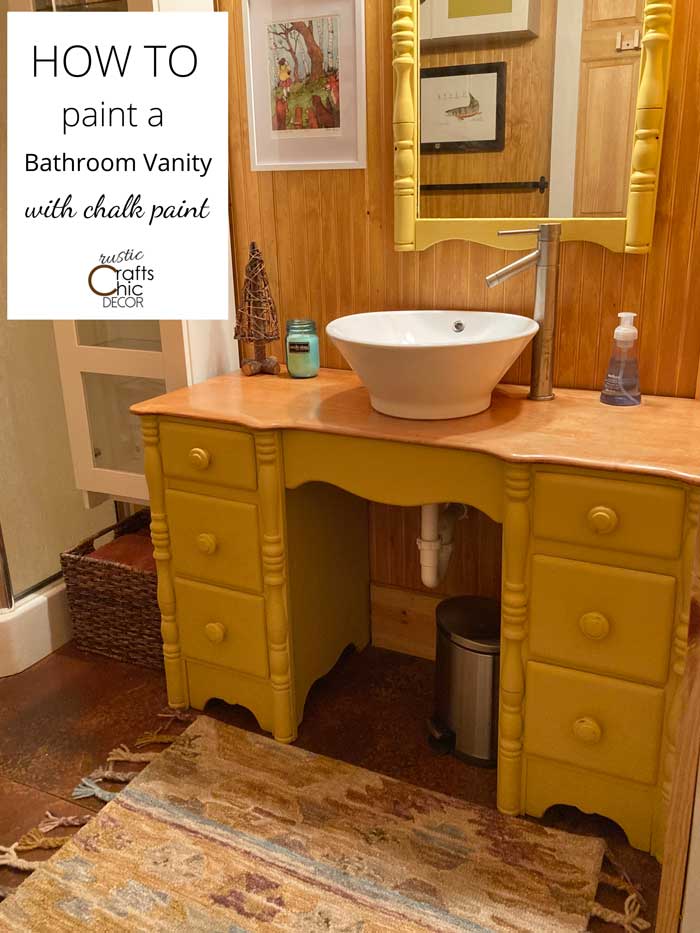
I’ve painted a lot of furniture throughout the years but unfortunately not the most effortless way. It wasn’t until I discovered chalk paint that I really began to enjoy the process and the smoothest results! Now I always use a good primer, chalk paint, and finishing wax to get a super smooth finish that lasts. When I purchased an antique desk, to use as a bathroom vanity, it was in dire need of a new finish. I was actually excited to give the desk vanity a new look with my new painting process. I’ll show you how to paint a bathroom vanity or any piece of furniture to get the best finish possible.
This post contains recommended product links. If you make a purchase through one of the links, I will earn a small commission at no extra cost to you.
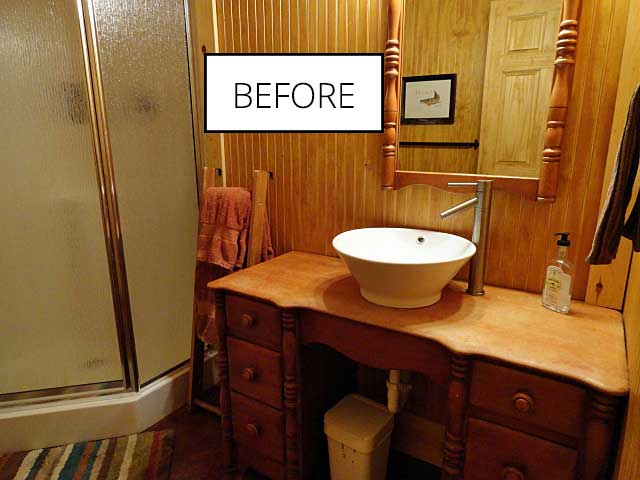
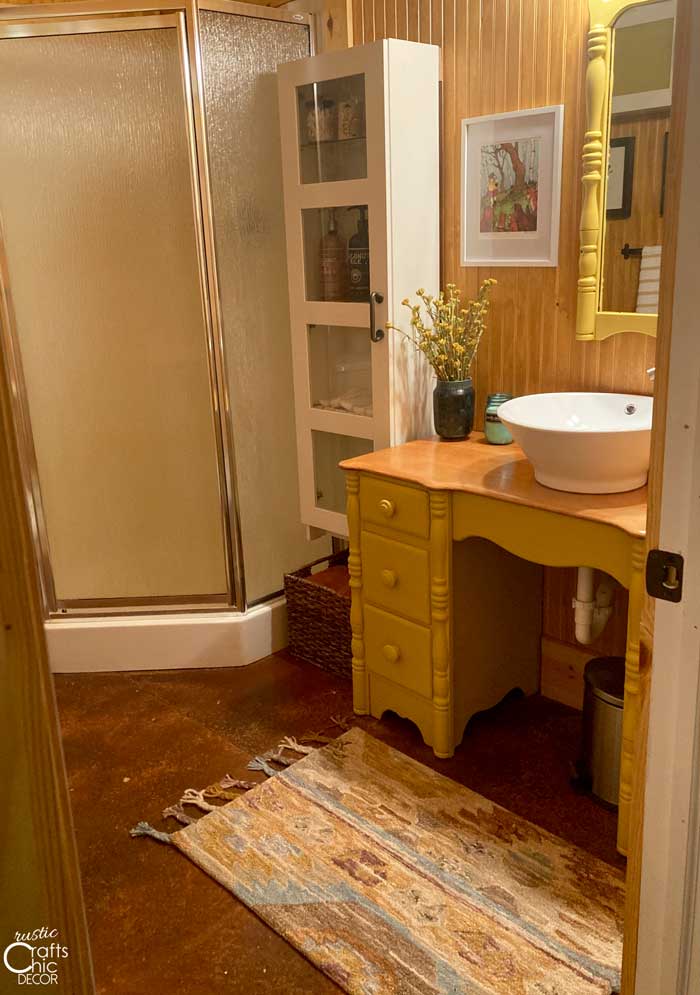
When we originally built our cabin, we were looking for the most cost effective ways to keep our total cost down. One of the things we did was to purchase an antique desk, from Salvation Army, to use as our basement bathroom vanity. I liked the bones of the desk but always intended to paint it for a fresher look.
Well, life gets busy and now twelve years later I actually got around to making the vanity over. I guess other areas of the cabin took priority!
Finding The Right Shade Of Chalk Paint Is Easy
I had in mind a cheerful mustard color for the vanity. Luckily it was easy to find. When I first started buying chalk paint for furniture projects, I pretty much had to choose from what I could find premixed in specialty stores. Now, big box home improvement stores sell paint with a chalky finish that you can have mixed into pretty much any color.
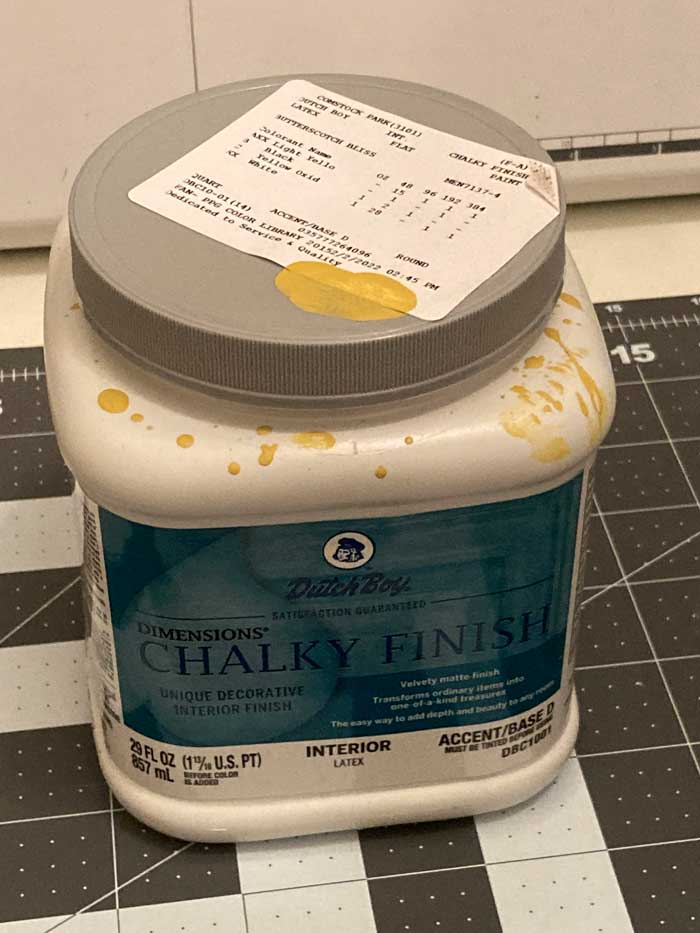
I love the Dutch Boy chalk paint from Menards. It was super easy to work with and I got the exact color that I wanted. The color I chose was Butterscotch Bliss and it didn’t disappoint.
Everything You Will Need
- chalk paint (not to be confused with chalkboard paint)
- primer – I used Zinsser Bullseye 1-2-3
- sealing wax – I used Valspar clear finish sealing wax
- high quality paint brush for paint
- wax brush
- lint free cloth
Easy Steps For Flawless Painting
1. Prepare And Clean Furniture Surface
Although no sanding is required for chalk paint adhesion, you will want to make sure the surface is thoroughly clean. If there is any old paint on the piece, make sure to sand it smooth before adding new paint. I wanted to keep the top of my vanity natural so I sanded the old finish off the top before starting on my painting for the base. Once that messy work was done, I vacuumed and cleaned the vanity and area around before starting to paint.
2. Paint On One Coat Of Primer
If you read the instructions on your can of chalk paint, it may say that no primer is necessary. This is basically true for adhesion. However, if you are painting a laminate or any other slippery surface, you will want a bonding primer to help the paint adhere. Also, if you have any stains a primer will help against any bleed through. I find, especially with antique furniture, that whatever was used to finish the piece is more suseptible to bleed through than current finishes.
All you need is one thin coat of primer to ensure that your chalk paint will adhere well as well as block stains and have no future bleed through. Let dry for about a half hour or when it is dry to the dutch before applying your chalk paint.
I have also used the Zinsser primer to paint ceramic tiles. It’s amazing how well the primer works for adhesion on a slippery surface as well!
3. Apply Coats Of Chalk Paint
The key to a smooth finish is to apply coats that are nice and thin. After the first coat, you can expect to see through the paint and it will look uneven. However, with just one more coat the coverage should look smooth and solid. Depending on what you are painting, two or three coats should be enough. I used two thin coats on this wood vanity. A laminate vanity may need three coats. The paint will need to dry about an hour between coats.
4. Add Some Distressing If Desired
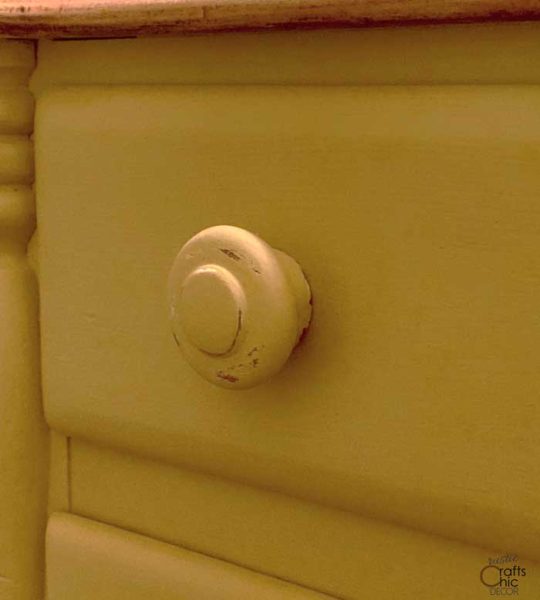
If you want to distress the paint at all, use fine sand paper to sand off some of the paint in areas where there might be natural wear. I distressed the vanity knobs to give them a little more depth and character. Do any distressing before adding the sealing wax.
4. Apply Sealing Wax
After my last coat of paint, I like to let it set overnight before I apply the sealing wax. Use a special wax brush or other stiff brush for applying the sealing wax, making sure to get in all of the crevices. I apply the wax in little sections at a time. First, I brush on the wax then gently wipe off any excess with a clean lint free cloth. It’s harder to wipe off the excess if you wait to long. After applying one coat of sealing wax, let it dry for an hour. At this time you can gently buff the surface to bring a little deeper sheen.
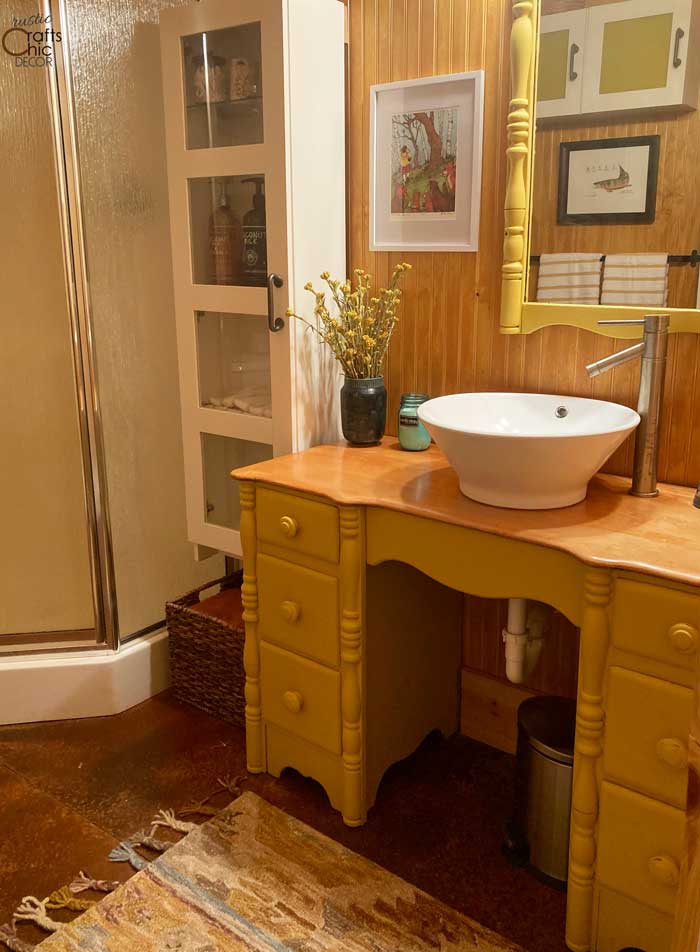

How I Finished The Vanity Top
Since I wanted a little contrast between the top of the vanity and the base, I decided to leave the top of the vanity unpainted. Instead, I sanded the finish completely off the top. Then, I just applied a few coats of polycrylic to the top to bring out some color, add shine, and give the top a good protective finish.
A Fun Tip
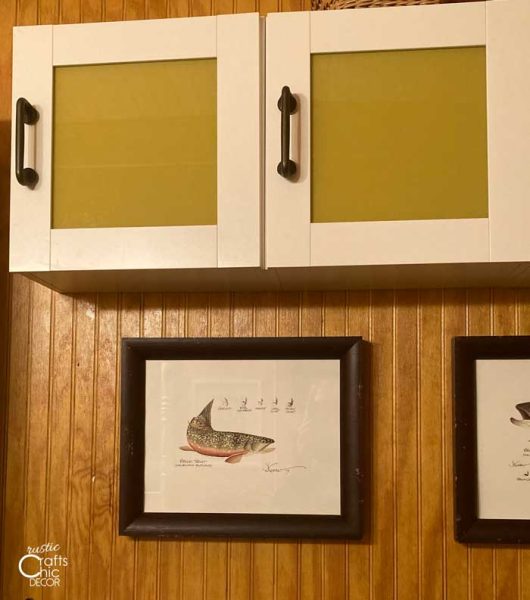
Chalk paint is so versatile and can be used on a variety of surfaces. I have some wall cabinets that have glass doors. The problem is that I use those cabinets to store supplies. Nothing to show off there! I would rather hide extra tissue boxes or toilet paper rolls than put them on display. Luckily, I came up with a quick fix for my problem.
Chalk paint also applies easily to glass. By painting the glass inserts from the inside, I was able to cover up the view with a super smooth finish. It only took two coats of paint to get the perfect coverage.