I love having lots of necklaces on hand but I hate trying to store them. Traditional jewelry boxes usually don’t offer enough storage space. Plus, any type of drawer or case is a sure recipe for a tangled mess of chains. For the best type of necklace organization, it’s best to have them hanging at eye level. This way, they won’t get tangled up and are much easier to access. I’ll show you a couple of easy necklace holder DIYs that are super budget friendly and effective.
Vintage Medicine Cabinet Door
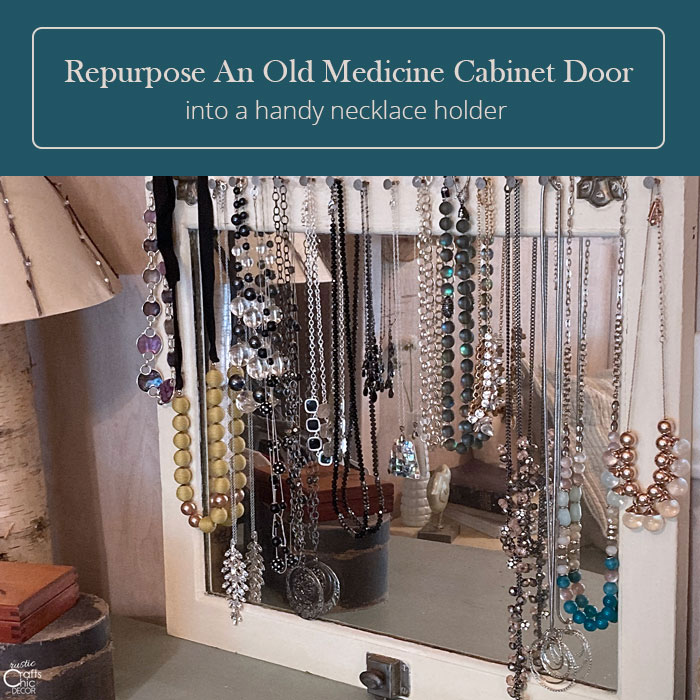
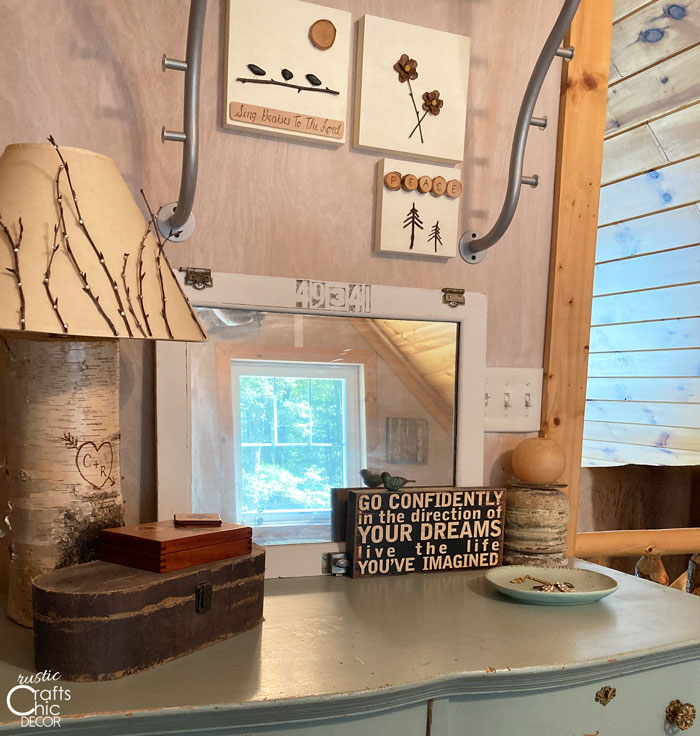
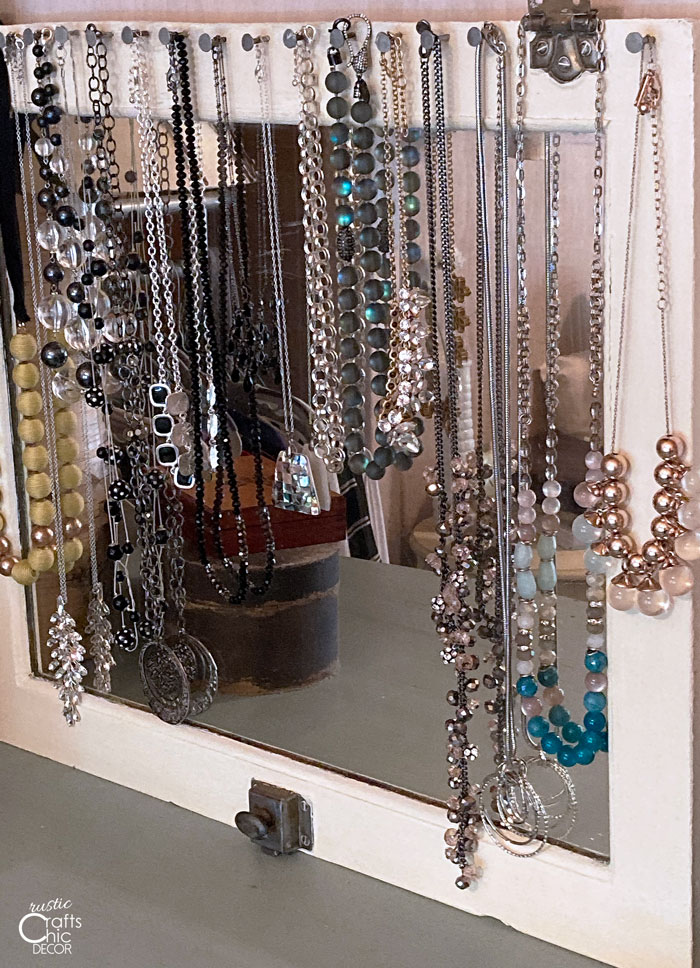
My most recent necklace holder DIY made use of an old medicine cabinet door that I had. I had cleaned it up and painted it to use as a mirror on my dresser at the cabin. Although it made a fun accent, I figured that it could be functional as well.
I gave the frame a fresh coat of paint and then pounded in some nails with large heads. We always have a large supply of various nails in our garage which comes in handy when I get an idea in my head. The large nail heads work great for holding the necklaces in place.
Cork Board And Wine Cork Holder
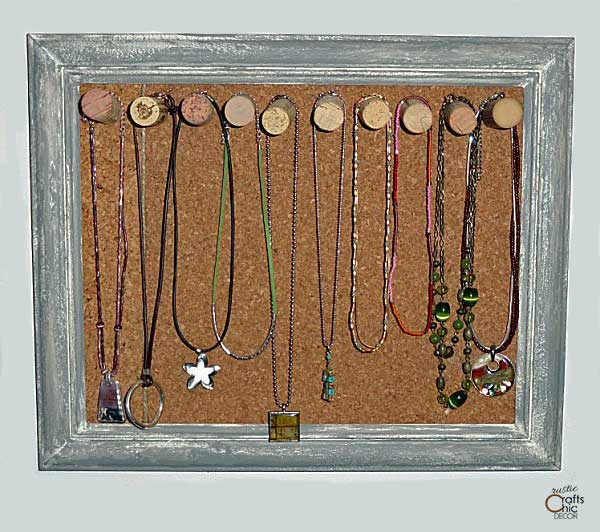
Previously, I had made a quick and easy necklace holder to hang on the wall inside my closet and it was totally free to make. All I had to do was repurpose a couple of items that I already had.
One item that I have an abundance of is wine corks. I figured they would make a great knob or hook to hang necklaces from. I just needed to attach them to something. So, I decided to make myself a cork board using an old picture frame and some cork you can buy in a roll.
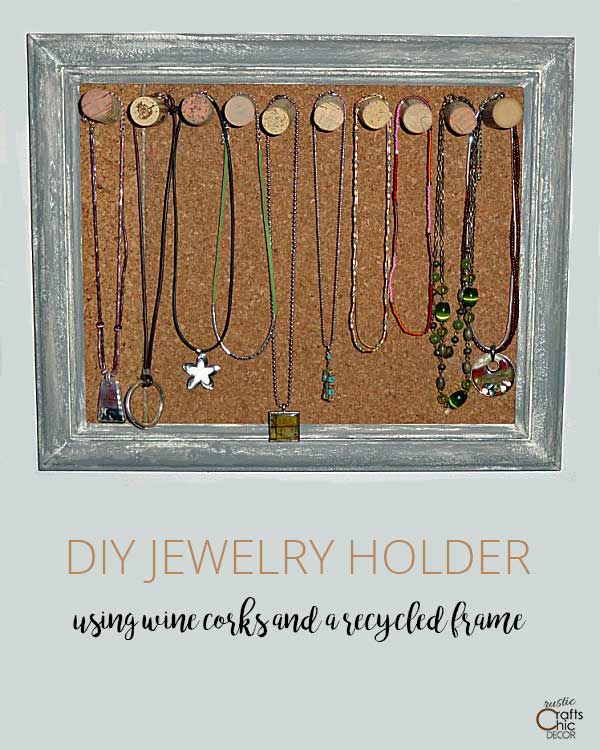
Necklace Holder Instructions
Step One: Picture Frame Repurpose
To make this jewelry holder, I needed a picture frame to hold the cork. Luckily, I already had an old one on hand. Unfortunately, I didn’t really like the frame which is probably why it wasn’t being used to hold a photo. Although, it was also missing the glass! Since I didn’t need glass for this project, it was the perfect frame to give a little makeover to.
First I distressed the picture frame using a couple colors of paint and a product called Weathered Wood, which you can find at any craft store in the section where they sell the small containers of acrylic paints. I first painted the frame in a combination of a couple of colors, a gray slate and tan. When the paint was dry, I applied a thin layer of the Weathered Wood medium. After that was dry, I applied a thin layer of white. The white paint went on unevenly and crackled because of the Weathered Wood to give me a distressed finish.
Step Two: Cut And Insert Cork
Using the picture frame backing as a guide, I cut a piece of cork from my roll with a sharp scissors. I then adhered the cork to the frame back with spray adhesive. The glass to my frame was already missing, making this a perfect frame to use! Then I just inserted the backing back into the frame and secured the tabs. Now I was ready to make my cork knobs.
Step Three: Make Wine Cork Hooks
I decided that the easiest way would be to glue tacks onto the ends of each cork and then just insert them into the cork board. I could then easily place the wine corks wherever I wanted them on the board. This works great for light weight necklaces like the ones pictured but anything too heavy wouldn’t work well with a cork tack. I tried it with a very heavy necklace and NOPE not gonna work! Another option would be to cut the corks a little shorter and adhere them with E6000 craft glue for strength. You could even do this with just a couple of the corks that you wanted permanently in place for heavier necklaces.

I used the wonderful E6000 craft glue to adhere the thumb tacks to the ends of my corks as well! This is a highly durable and strong glue.
That’s all it takes to get your necklaces up on the wall and use up some of those wine corks!