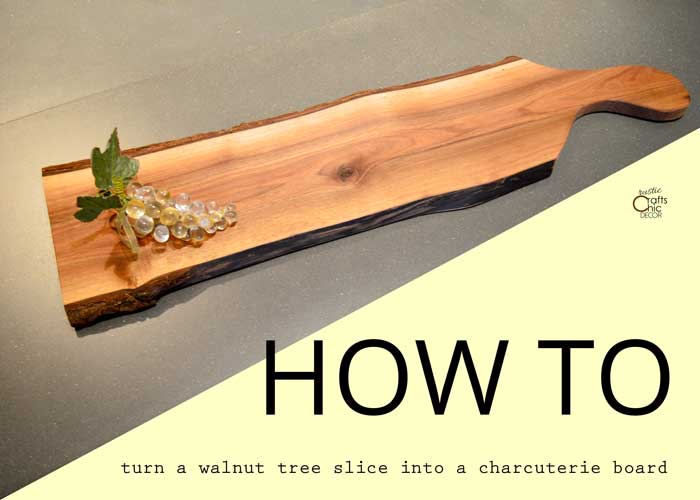
Sometimes a project that you think you are going to do turns into something else altogether. I have been wanting some live edge shelving in our condo for awhile. That’s why when I found a wood slab for sale, I snatched it up. It was already planed and had the live edge that I was wanting. It would have become a shelf accept for the fact that I had been scrolling though Instagram. Lo and behold, I saw that someone was selling homemade charcuterie boards and I loved them. Which of course, is why I had to change my project plans and turn my wood slab into a charcuterie board instead.
If you’re not familiar with charcuterie boards, they are basically a wood tray used to hold a variety of meats and cheeses for entertaining. My husband and I quite often order a charcuterie board at restaurants as an appetizer. Not only do the samples taste good, but the display is so pretty as well. The board pretty much looks like a longer and thinner cutting board. In fact, you could make a cutting board in the same way as a DIY charcuterie board.
This DIY project is for the actual board and not about creating a display of meats and cheeses. Although I will have fun creating those displays at a later date.
Process For Making A Charcuterie Board
*This post contains affiliate links. At no cost to you, I may earn a small commission on any purchases made from link click.
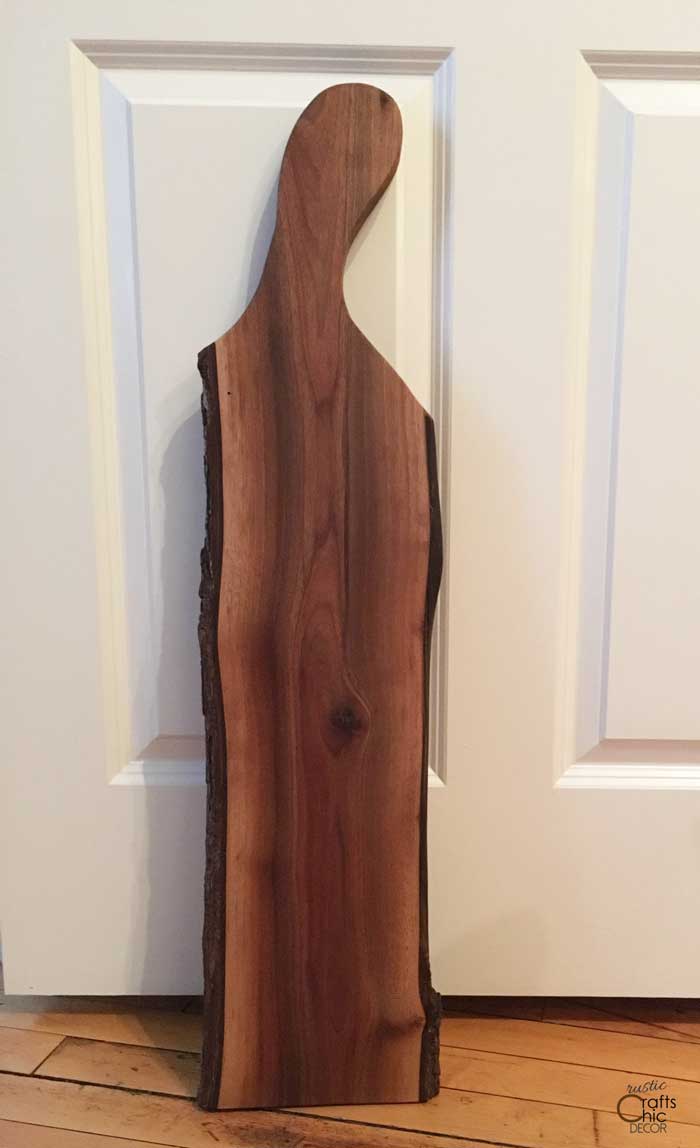
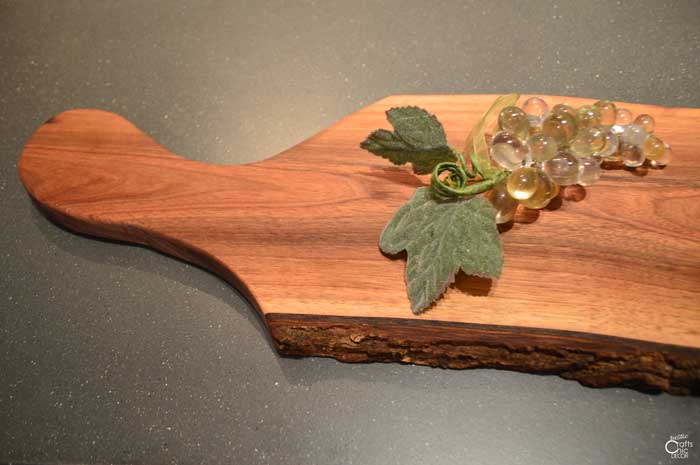
Although I used a slice from a walnut tree, other types of wood would work too. You can purchase unfinished wood from a home improvement or craft store. For a charcuterie board, you don’t need the wood to be real wide. The length can be whatever you want. The width of my board is seven inches and the finished length is just over 32 inches.
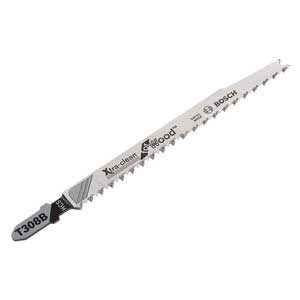
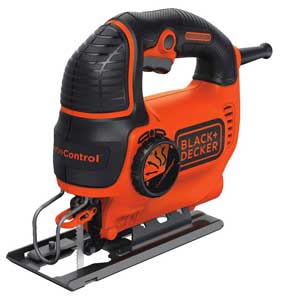
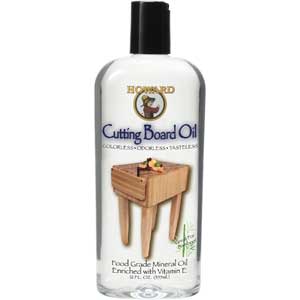
Since I wanted a curvy handle, my project was going to require a power tool that I hadn’t used before. But, I was excited to try something new and researched how to use a jig saw. I found out that the most important thing was using the right blade for the job. Because I wanted a nice clean cut, I went out and purchased a Bosch 12 TPI Clean Wood blade for the jig saw we already had. I also bought some Howard cutting board oil that I would use to finish off the wood later.
Instructions
DIY Charcuterie Board
- Draw Out The Shape On Wood
Depending on the wood that is used, you may only have to make cuts for the handle. That’s all I had to do. Before cutting though, I wanted to draw out the curves of the handle. I just did this free hand with pencil. It’s easy to erase and redraw until you get the look that you want.
- Make Cuts For The Handle
Using a jig saw, cut out the handle. Just use the pencil mark as a guide. If you don’t stay perfectly on the line, it doesn’t matter. You just want to be close to your desired design. Since I wanted my board made from the middle section of my wood slab, I also had to cut the flat edge. For that cut, it was easier to use a chop saw.
- Sand The Wood
To get a nice smooth finish for the charcuterie board, it should be sanded. I used a mouse sander for this with fine sandpaper. At the handle, I sanded around the cuts to make them more rounded.
- Finish The Board With Cutting Board Oil
To season the board, it’s important to finish it with mineral oil. I used Howard’s cutting board oil which is actually just mineral oil. A tack cloth works good for rubbing on the oil. After smoothing on a layer of oil, you will want to buff it out with the cloth. Do about three or four layers to get it fully seasoned.
Tools You Will Need
1. Bosch Clean Wood Jig Saw Blades
2. Jig Saw
3. Cutting Board Oil
Like I mentioned before, you can apply the same tutorial to making your own cutting board. They are basically the same thing. You just may want the shape of the cutting board to be a little wider or even round.