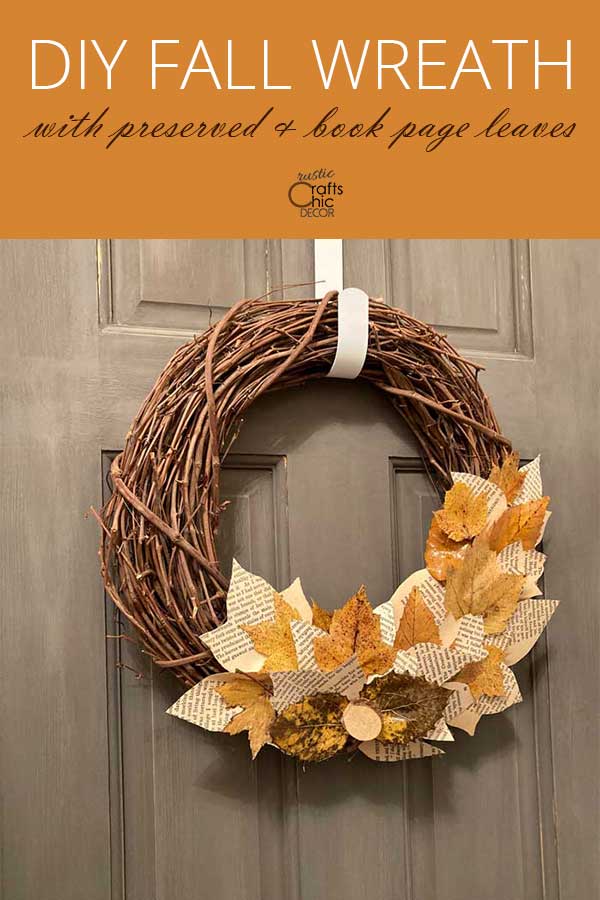
A wreath on the front door sets a warm and inviting tone before anyone even sets foot in the door. It’s like a bow on a package that makes you excited to see what’s inside. That’s why I like to put out a wreath especially when I am having friends or family over. Whether for Thanksgiving or the whole Fall Season, you can easily make your own wreath to welcome guests. Since I like projects that aren’t super complicated, I came up with this DIY Fall wreath that is a breeze to put together.
With this project, I am using book page leaves mixed with some natural leaves that I had preserved. You may want to check out my post on preserving leaves if you want to use some from nature as well. I really like the combination of natural and book page leaves for a neutral Fall wreath with dimension.
As far as the book pages leaves go, you also have another option if you don’t want to destroy any of your old books. I’ve done several book page projects with book pages that I actually made! Just check out my post on how to make your own vintage looking book pages.
This post contains recommended product links. If you make a purchase through one of the links, I will earn a small commission at no cost to you.
DIY Fall Wreath Instructions
This wreath project doesn’t require a lot of materials and all of the leaves can basically be free. Don’t you love a project like that!
Materials Needed
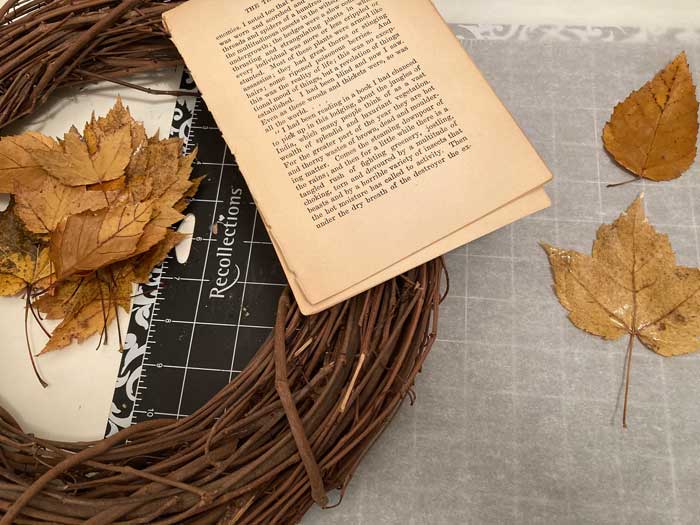
If you need to purchase any of these materials, the links will take you directly to where you can buy them.
- a grapevine wreath form
- naturally preserved leaves or silk Autumn leaves
- book pages
- Mod Podge – I use gloss finish
- sponge brush
- hot glue
- scissors
- pencil
How To Make A Leaf Wreath
I like using a grapevine wreath form and only covering about a third of the wreath with leaves. If you prefer leaves all the way around, you may want to use a foam wreath form or even a cardboard circle instead. There’s no sense in paying extra for a grapevine wreath if you are going to cover the whole thing anyway!
Trace Leaves Onto Book Pages
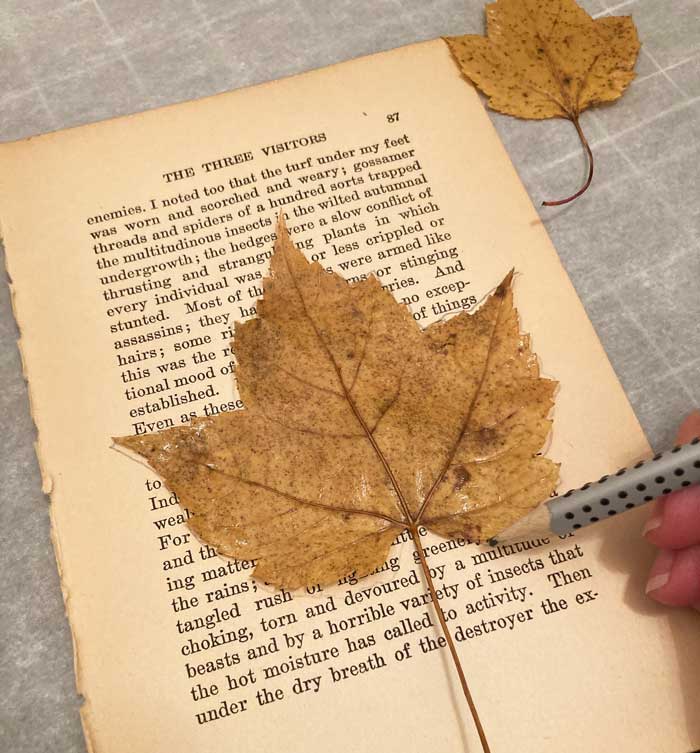
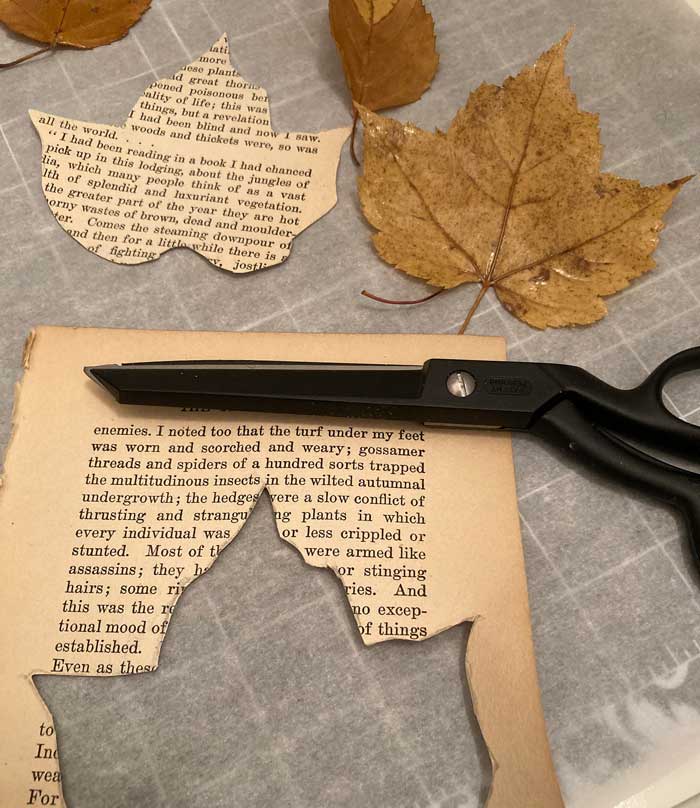
Use a natural or silk leaf as a template. Trace over the leaf unto a book page. I used a couple of different styles of leaf as well as a couple of different sizes.
Cut Out The Book Page Leaves
Once you have a leaf traced, you have a template to cut from. Now just stack several book pages together and cut out the leaf. This way, you will get several leaves at once.
Coat Both Sides Of Book Page Leaves With Mod Podge
In the same way that natural leaves are preserved, it’s a good idea to apply Mod Podge to book page leaves as well. This gives them a little more strength and keeps them from ripping easily. Start with just one side, and coat each leaf. Let them dry for about twenty minutes. Then, turn them all over and coat the other side.
Lay Out A Base Layer Of Leaves On Wreath Form
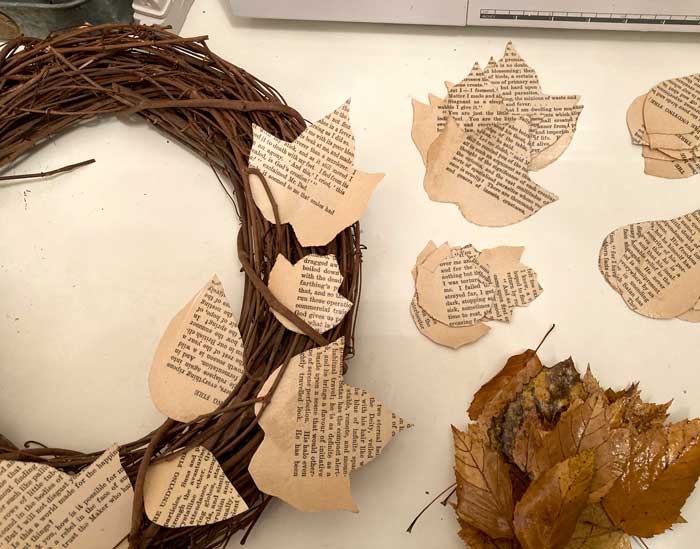
Since I wasn’t going to be covering my whole wreath with leaves, I needed to get an approximate feel for how much would be covered. To do this, I starting laying out a variety of book page leaves and stopped them where I though my endpoints would be.
Glue Base Leaves Down And Continue Adding More
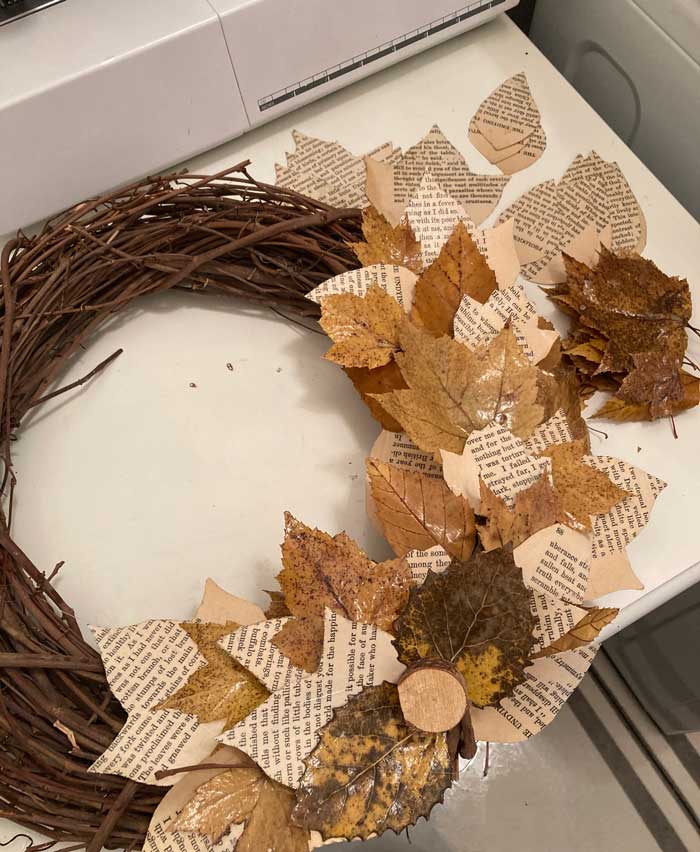
Using hot glue, I glued down my base layer of book page leaves first. Then, I just added in the real leaves and more book page leaves as I needed them for filler.
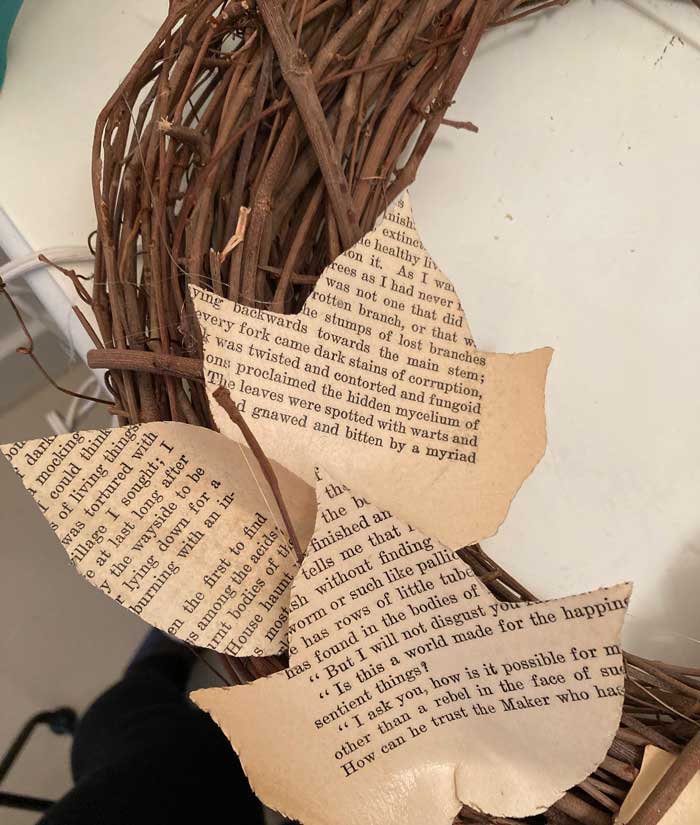
With hot glue, you may end up getting little hair like strands of glue from pulling away the glue gun. Just pick them off the wreath with your fingers. Or use a tweezers if they are hard to grab on to.
Add Optional Embellishments
I added one wood slice at the bottom center of my wreath. It is between two leaves that just looked like they needed a center. It’s fun to just play around and see what you come up with.
Finished Fall Leaf Wreath
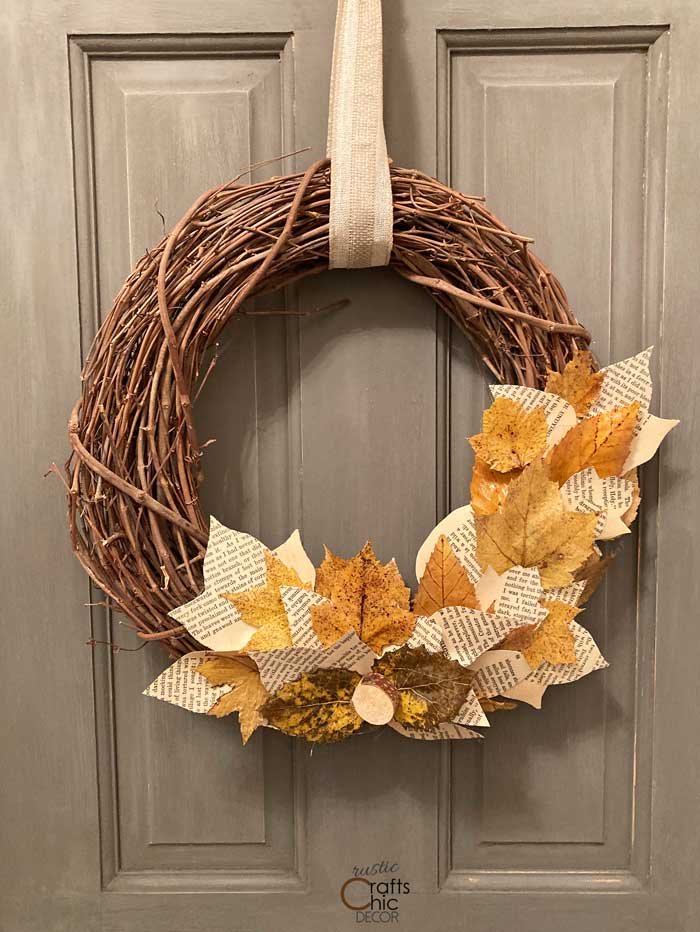
Once the wreath is finished, you just need to hang it on your door. Hang if from a bow or a metal wreath hanger.
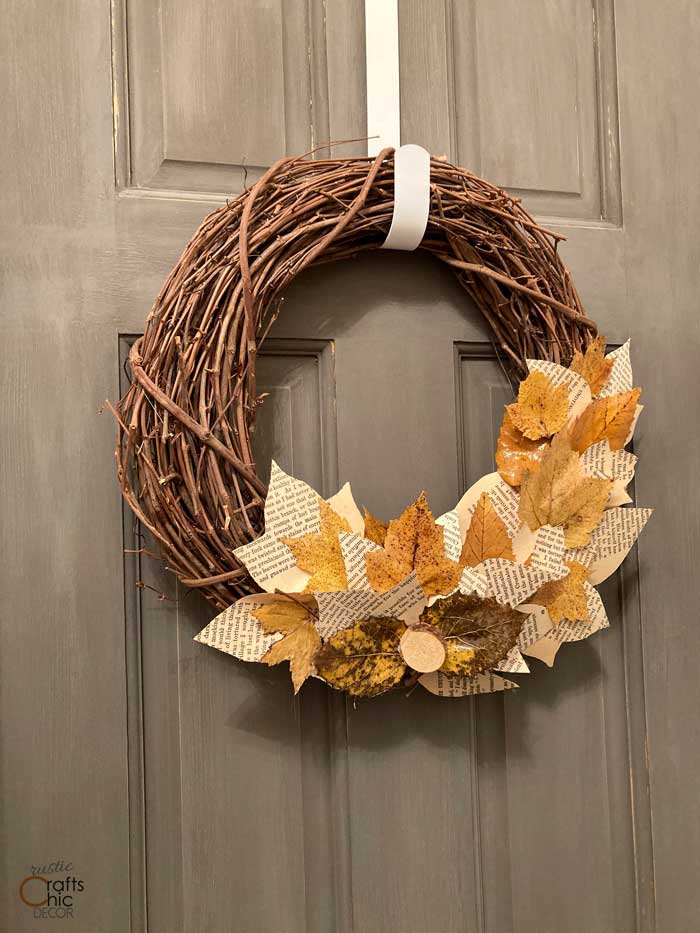

If you like the idea of using book pages to make leaves, you may also be interest in making gift bows out of book pages.
