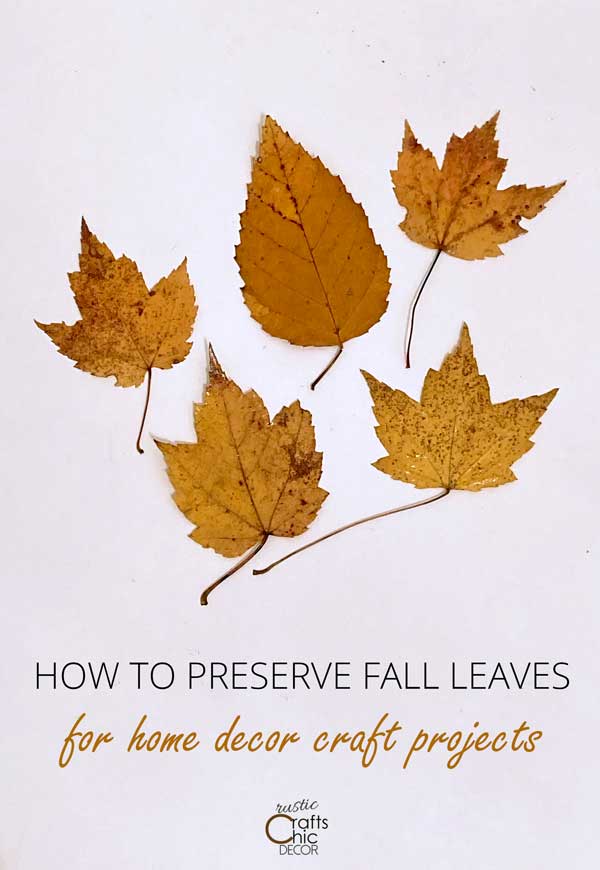
I am always so sad at the end of Fall when all of those beautiful leaves blow off the trees. It never seems to last long enough when every window I look out of is a burst of yellow, red, or orange. That’s why I decided to try and save some of that color to use in leaf craft projects. It’s really quite easy to do. In fact, there are several different techniques for preserving leaves. I’ll show you how to preserve leaves easily using Mod Podge.
Although there are many different ways to preserve leaves, I have only done it using Mod Podge. I really like how they turn out so I’ve never bothered trying another method. Plus, I always have Mod Podge on hand. I’ve used it to apply and preserve birch bark on a plastic pumpkin and to make tile coasters with magazine cutouts. The Mod Podge leaves a nice protective finish so I thought it would also work great for preserving leaves.
Some other ways to preserve leaves, that I’ve heard about, could be effective as well. One way is to iron leaves between two sheets of waxed paper. This sounds pretty easy but I hate ironing anything so it was no for me. Another way is to dip leaves in hot wax. I see burnt fingers in my future if I try that! This last idea just scares me. You can microwave leaves to dry them but run the risk of starting them on fire if they are in the microwave too long. Apparently, if you get the time right in the microwave, you just have to spray them with hair spray once you take them out. This is what preserves them. Now onto the Mod Podge method.
Mod Podge Method For Preserving Leaves
This post contains recommended product links. If you make a purchase through one of the links, I will earn a small commission at no cost to you.
Collect Leaves
Obviously, before you can begin preserving leaves, you need to collect some. It’s best to get freshly fallen leaves or pick some that are still on the trees. Once they have been on the ground for awhile they start turning brown, drying out and breaking. There really is only a short period of time that you can collect Fall leaves if you want lots of color.
My whole inspiration for collecting leaves started with the view out of every one of our cabin windows.

Everywhere I looked there were beautiful shades of yellow and orange. It basically made the whole cabin glow inside. Unfortunately, this time of year goes by so fast.

I was loving all of that color! Then came the wind and rain and all of those beautiful leaves were scattered. I wanted those leaves back and that’s when I decided to try and preserve some. There are things that I can make with those leaves and that got me excited to go out collecting.
With certain projects in mind, I started out just collecting yellow/gold leaves. It didn’t actually matter to me if some of them had bits of brown. For rustic decor projects, I like a more neutral and warm color. I grabbed more that what I would need so that I could sort through them better when they were clean and dry.
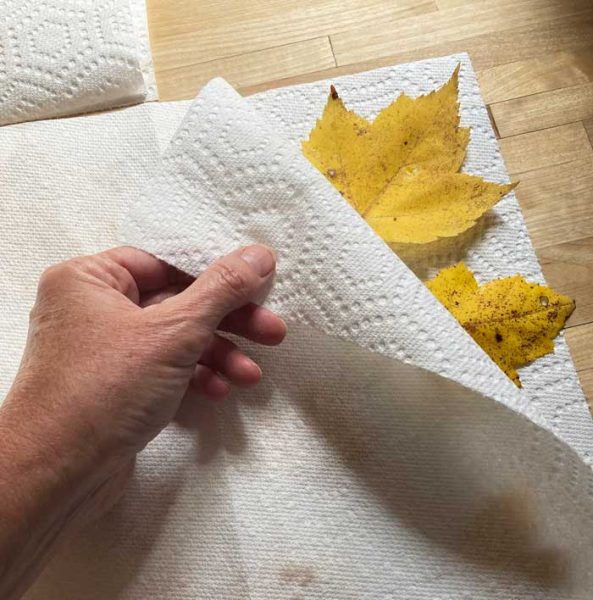
Clean And Dry The Leaves
When you bring in the leaves, they may be a little dirty. Just gently rinse the leaves and dry them between a couple of paper towels. Make sure there is nothing gritty left on the leaves.

Keep blotting them until most of the moisture is gone. You don’t want to see any obvious droplets but they may feel a little damp. At this point, go have a cup of coffee and come back and they should have air dried enough.
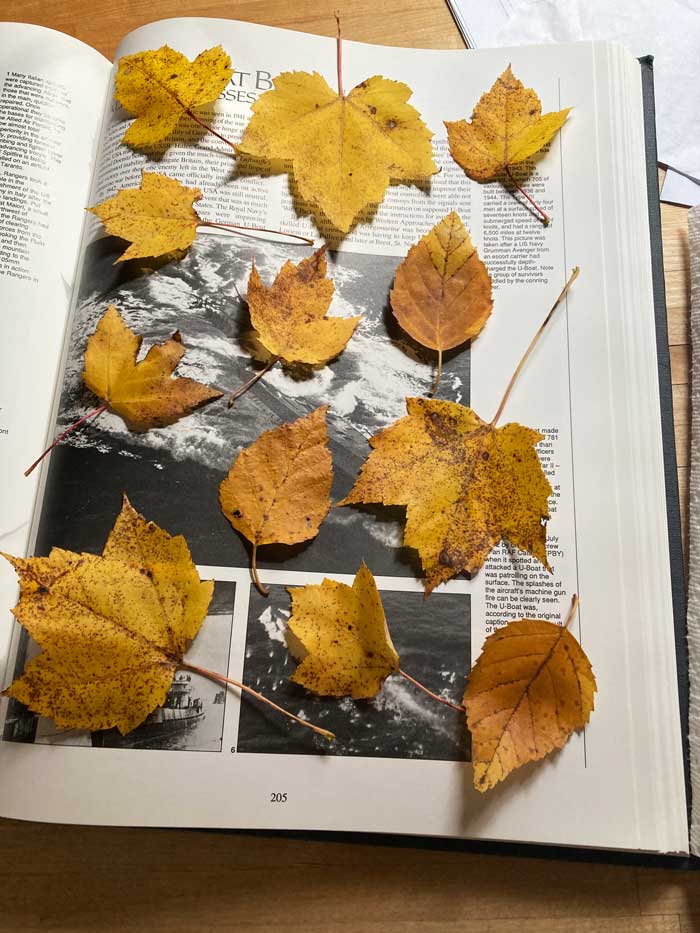
Press The Leaves In A Large Book
Once the leaves are dry to the touch, place them between the pages of a large book. Then, shut the book so the leaves are flat. You can add more weight to the top of the book if needed.
For extra weight, I used some readily available items in my kitchen. First, I grabbed a heavy wooden cutting board and placed that on top of the book. I figured that I probably should add just a little more weight to ensure the leaves were tightly pressed. So on went a pan of freshly baked pumpkin bars! The pumpkin bar pan got lighter by the minute though!
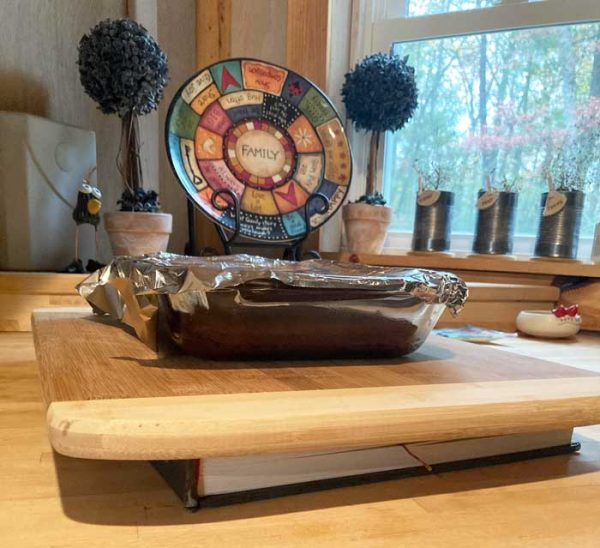
Just use whatever you have to keep the book firmly pressed together. Books on top of books are always a good option. If pressing leaves and flowers is something that you want to do often, you can also purchase a formal leaf press.
My leaves were fairly flat to begin with so I just left them in the book for about 24 hours. If you have leaves that are more curly, you may need to leave them in longer.
Preserve The Pressed Leaves
My leaves were so flat and soft after pressing them. Now all I had to do was coat them with Mod Podge to seal, protect, and preserve them.
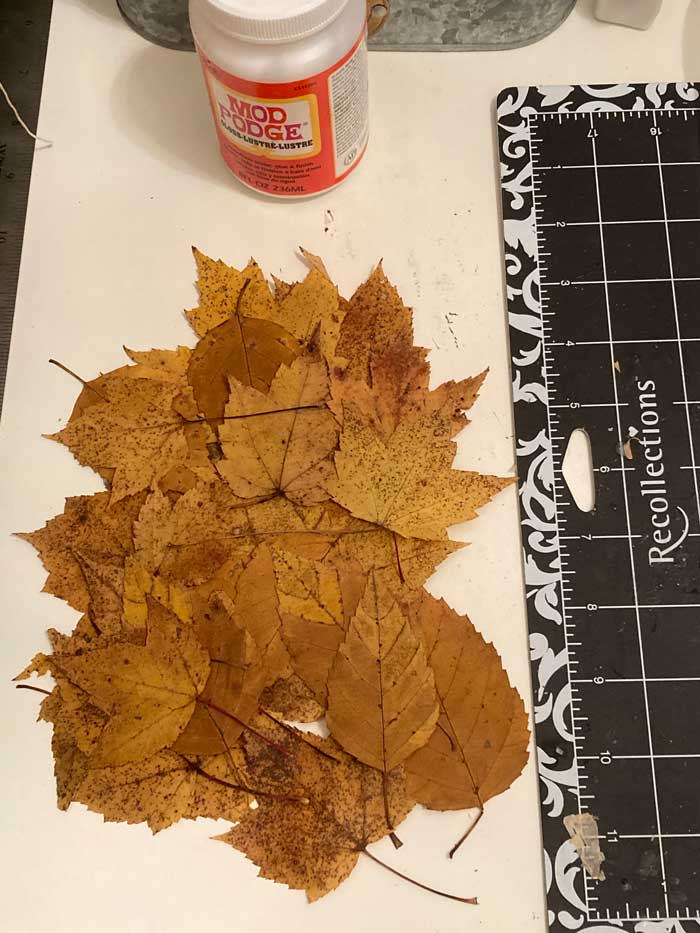
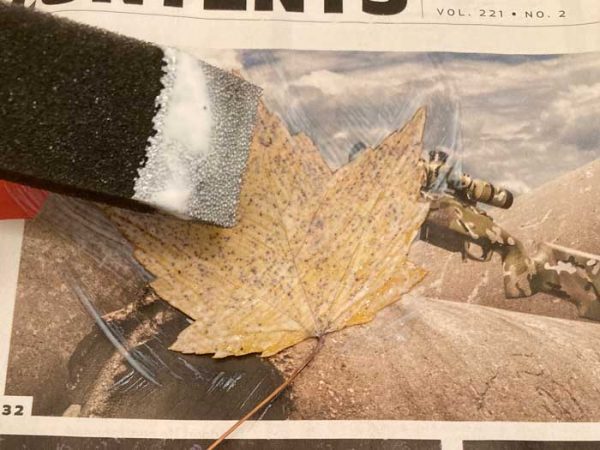
To preserve the leaves, you just need Mod Podge and a small sponge brush. A sponge brush works a little better than a regular paint brush for getting a smooth finish. However, either one will do the job. I used Mod Podge with a gloss finish to give a nice shine to the leaves.
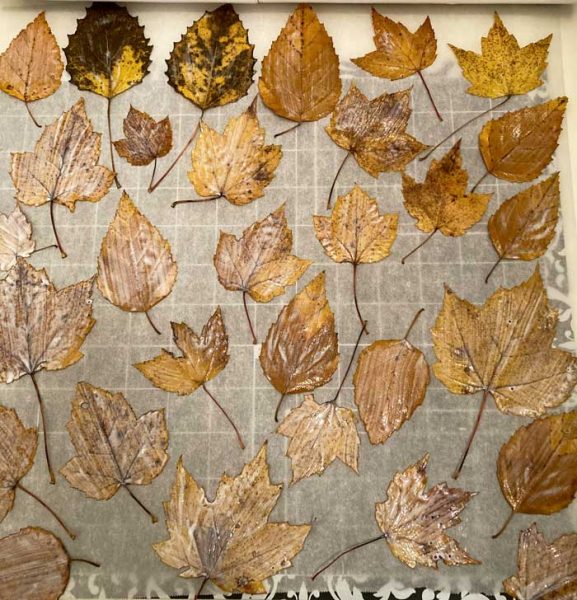
You will also need a large sheet of wax paper or parchment paper to set the leaves on to dry. Even though you will be doing one side at a time, the wax paper will keep the leaves from sticking if you get any decoupage on the other side.
It works best to use another surface to apply the Mod Podge before moving the coated leaf to the wax paper. I used magazine pages but you could also use a paper plate, newspaper, or another sheet of wax paper. Just coat one side of the leaf and let dry before coating the other side.
Once all of your leaves are coated on one side, just leave them to dry for about a half an hour or until they are no longer tacky. Then, repeat the process on the other side.
And that is all there is too it. Rinse, dry, press, and coat!
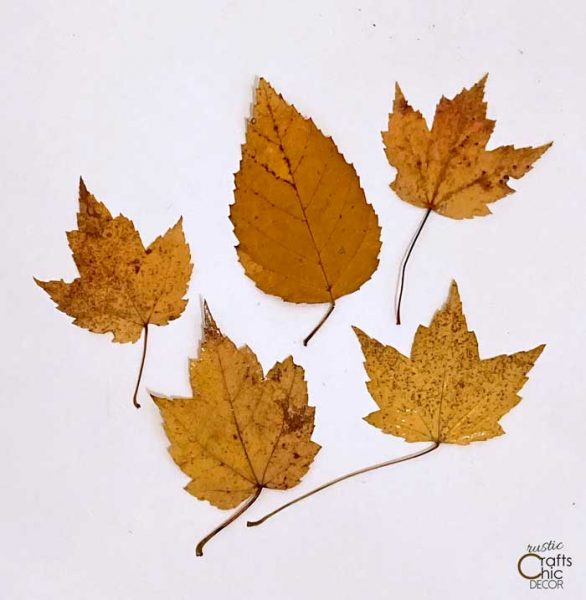
The leaves should last for years and are handy to use in a variety of Fall crafts. This is so much better than buying artificial leaves!
Of course, you aren’t just limited to Fall leaves. You can also preserve fresh green leaves, for projects, using the same process. Can you think of some leaves that you would like to preserve?
Stay tuned for some of the projects I’ll be doing with these leaves!