Chalkboards are seen all over in rustic decorating. In fact, it seems to be quite the rage in farmhouse style homes. There is just something so charming about the distressed look of a chalkboard and chalk writings. If you want to add a chalkboard to a room in your house, don’t go out and buy one. It’s really easy to make your own and have the ability to customize it. I’ll show you what I did for my DIY rustic chalkboard using a picture frame, branches, and chalkboard paint.
There are a few different options for the actual chalkboard. One option is to purchase a section of chalkboard, from a home improvement store, to cut and frame. Another option is to use scrap plywood or purchase plywood and paint it with chalkboard paint. The third option is to recycle a picture frame. And yes, you can paint over glass with chalkboard paint. I’ll show you how.
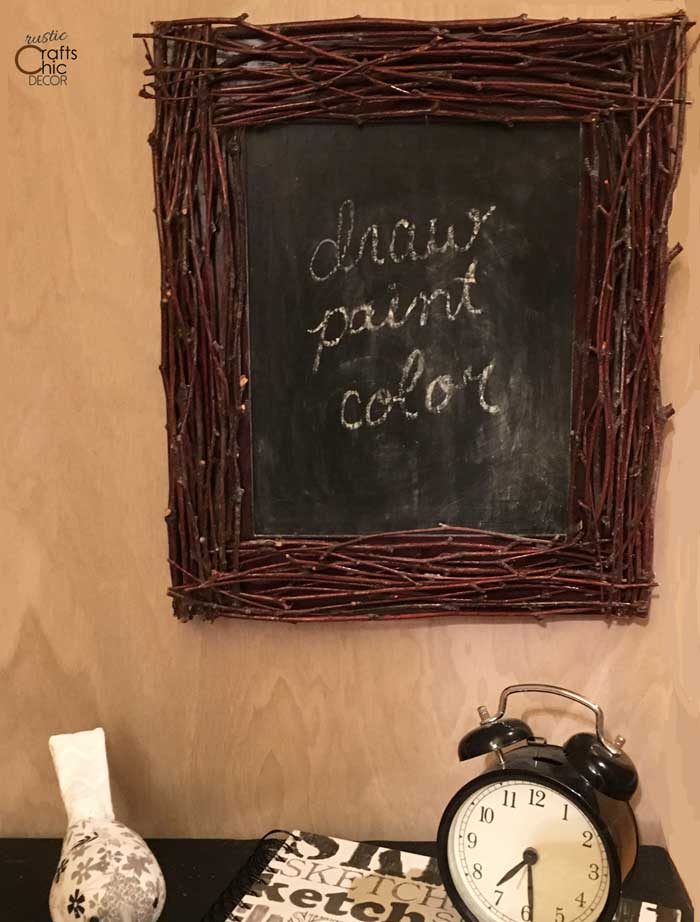
To get a rustic frame, I began with a flat wood picture frame that I already had. The wood was about two inches wide and was stained a dark color. A frame like this is perfect for adding embellishments to. To give it a rustic look, I simply hot glued birch branches to it in a woven pattern.
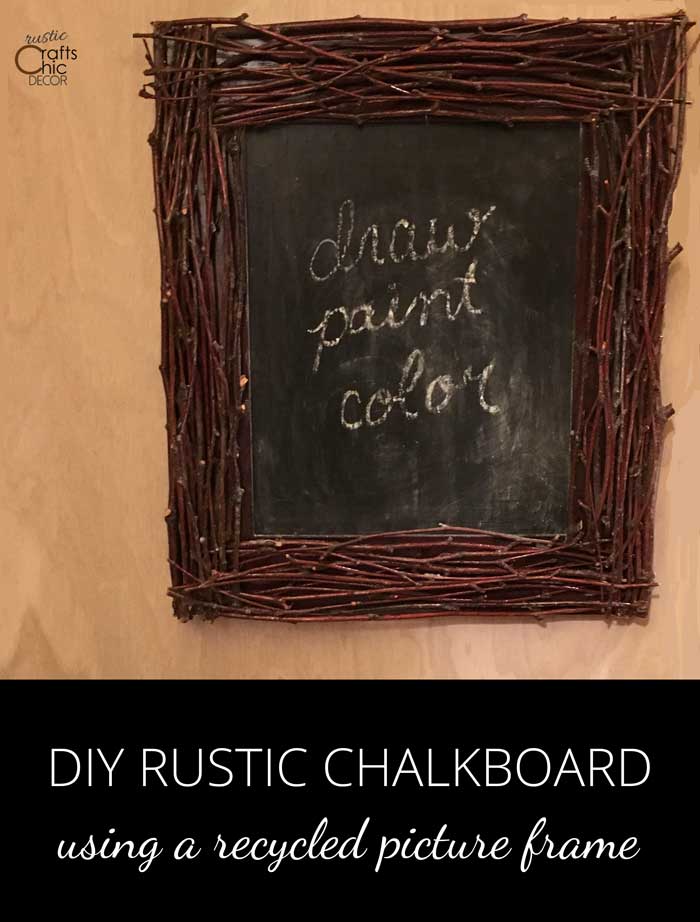
How To Make A Rustic Chalkboard From A Picture Frame
This post contains recommended product links. If you make a purchase from one of the links, I will make a small commission.
If you are using a ready made chalkboard, you will just need to cut it to size to fit your picture frame. The same is true if you are using plywood. You just need to paint the plywood with chalkboard paint once your piece is cut. For my tutorial, I am using the glass that already is in the picture frame.
Materials Needed
- picture frame
- bundle of birch branches
- chalkboard paint
- Zinsser Bulls Eye primer for all surfaces
- chalk
- paint brushes
DIY Chalkboard Surface On Glass
Time needed: 1 day and 12 hours
DIY Rustic Chalkboard
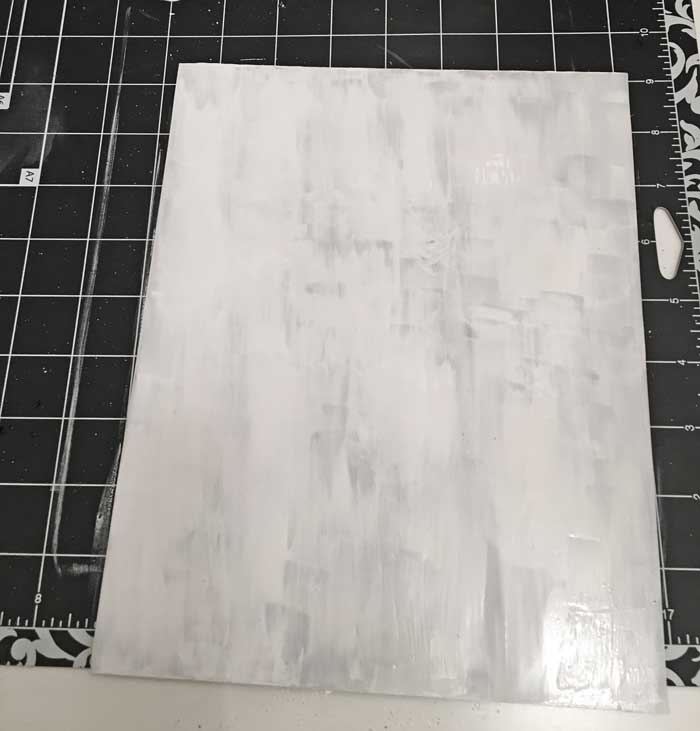
- Apply Two Coats Of Primer To Picture Frame Glass
Take the glass out of your desired picture frame before painting. Since glass is a glossy surface, it is harder for chalkboard paint to stick to it. To give the glass a surface to accept other paint, you need to first coat it with a primer. This also works great for painting ceramic tiles. Although one coat of the primer may be sufficient, two coats ensure complete coverage.

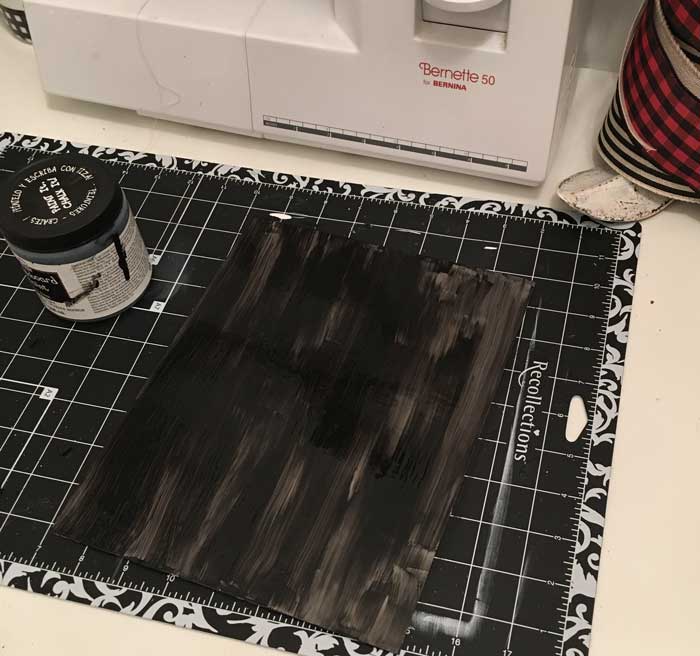
- Add Two To Three Coats Of Chalkboard Paint
Once the primer is dry, start adding your coats of chalkboard paint. I like to brush it on thin and do more coats versus trying to do heavy coats. You get a smoother finish with thin coats. The paint will look very uneven at first. However, once the final coat is applied, the coverage should be complete.
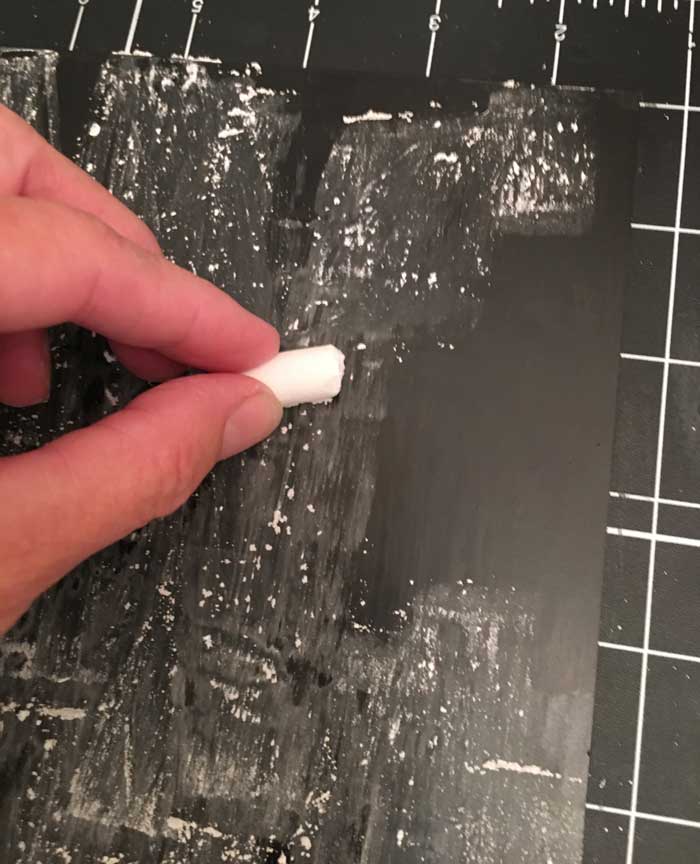
- Rub Chalk On Painted Surface
When you are happy with your painted surface, let it cure for 24 hours. Then to season the board, rub a piece of regular chalk over the entire surface. Wipe with a clean rag and your chalkboard surface is complete.
DIY Rustic Chalkboard Frame
You will want to work with a wood picture frame that is stained a dark color to match the branches. If you only have a light colored frame, you can always paint over it with a burnt umber color paint. This way, if there are gaps between the branches, the frame color will still blend in.
Birch branches are nice and flexible and are easy to work with for decorating a frame. The size of the branches, that you use, doesn’t matter too much. They can be the exact length of the wood side or smaller. If they are longer, just clip the branch with scissors. Since you will be placing one branch at a time, your design will grow as you go. No two branches are the same, so if one branch sticks up higher in a spot, you can add another branch that weaves underneath it.
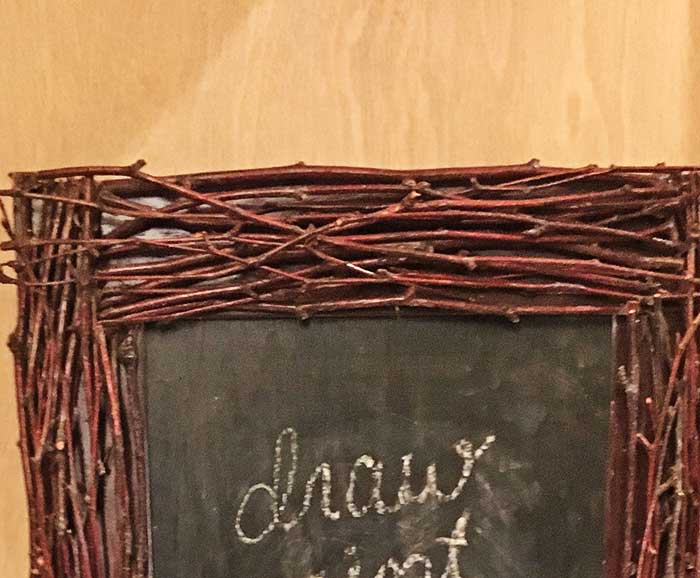
Basically, start by gluing one branch to the frame at the points the branch makes contact. Use hot glue for instant adhering. Then, lay your next branch to the first. Part of the branch may have to go on top of or underneath your other branch. When you have a few branches in place, start working on another side so that the corners can gradually be woven together.
Since you are working with nature, no two designs will look exactly the same. That is also part of the fun with decorating a frame in this way. You create the design as you go and there are no rules! Once you are happy with the amount of branches that you have, insert the chalkboard glass back into the frame. Then, either create a sign with chalkboard lettering or use it to keep notes.