Go into any store that sells home decor and you will see a wide variety of fabric pumpkins for sale. In fact, I had one in my hand the other day but put it right back. Why was I going to purchase something that I can easily make myself? Not only would a pumpkin be easy to make but I also had everything I needed already in my craft supply stash. This fabric pumpkin tutorial is something I came up with after looking over the one I was going to buy. It was fun to put together and may be my new favorite DIY rustic decor craft.
Several years ago, I covered an old plastic pumpkin with a worn out sweater. I love the soft look of a fabric pumpkin which inspired me now to make a different type of fabric pumpkin. Since I wanted to make several pumpkins, I didn’t want the project to be too time consuming. Luckily, I could whip one of these up in about 15 minutes. That meant I would have no problem making a basket full!
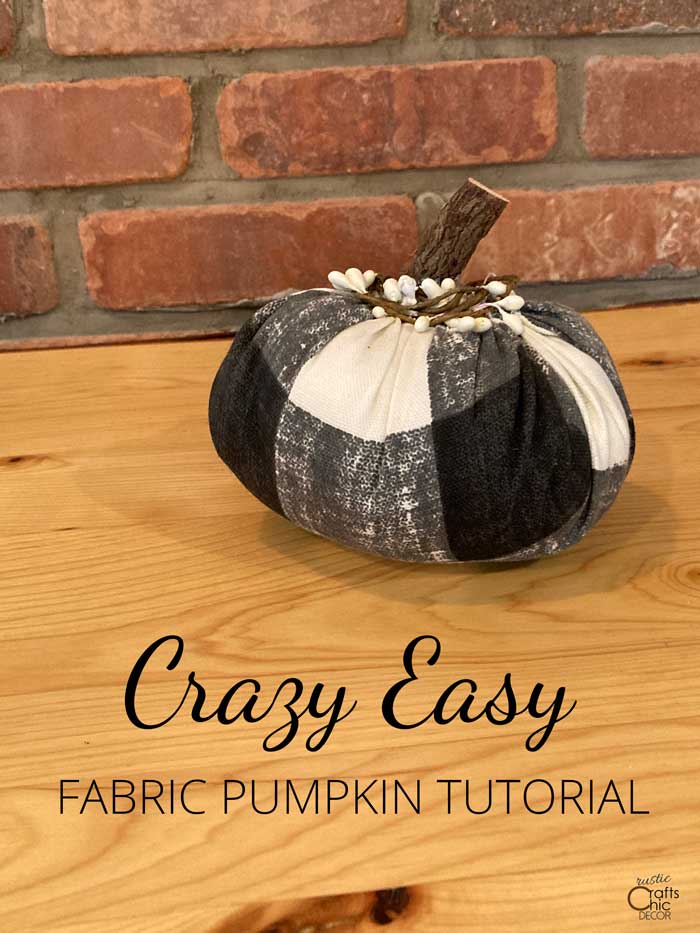
You don’t need to have a sewing machine for this craft. In fact, there is only one easy running stitch by hand that is required for this fabric pumpkin tutorial. Don’t you love fabric crafts that are super simple? Use fabric scraps that you have on hand or recycle an old shirt to get the pattern you are looking for. And, the pumpkin stem can be found right in your own backyard!
This post contains recommended product links. If you make a purchase through one of the links, I will earn a small commission at no cost to you.
How To Make A Fabric Pumpkin
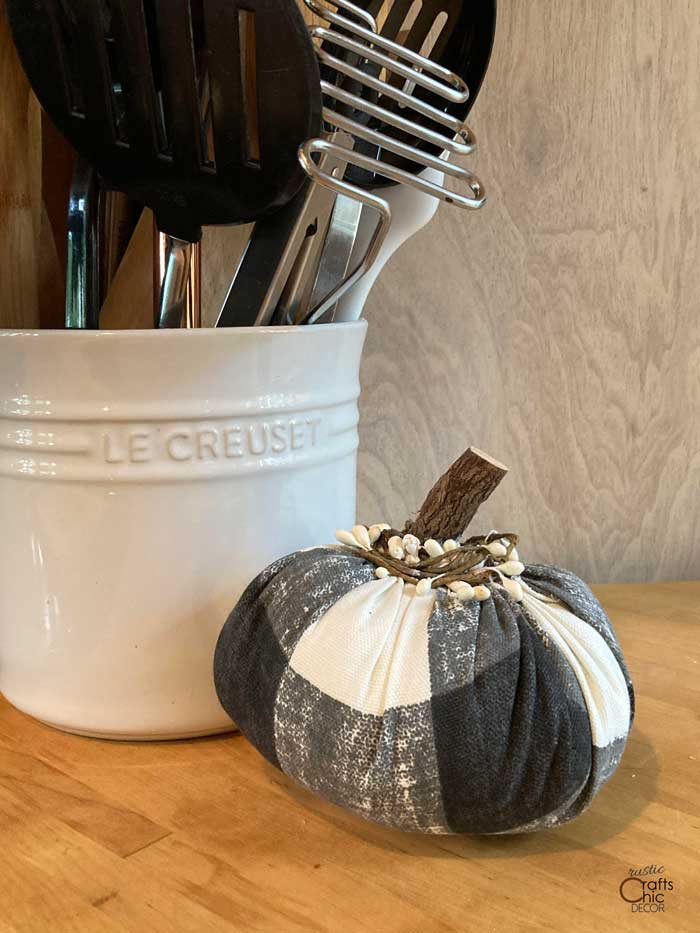
When I was recently at Joann Fabrics, I saw quite a variety of different fabric pumpkins for sale. I decided to replicate one of the easiest looking designs. The simple styling was what attracted me to it in the first place. I’ll show you what i did to make my own rustic and chic pumpkin decor.
Supplies Needed To Make This Pumpkin
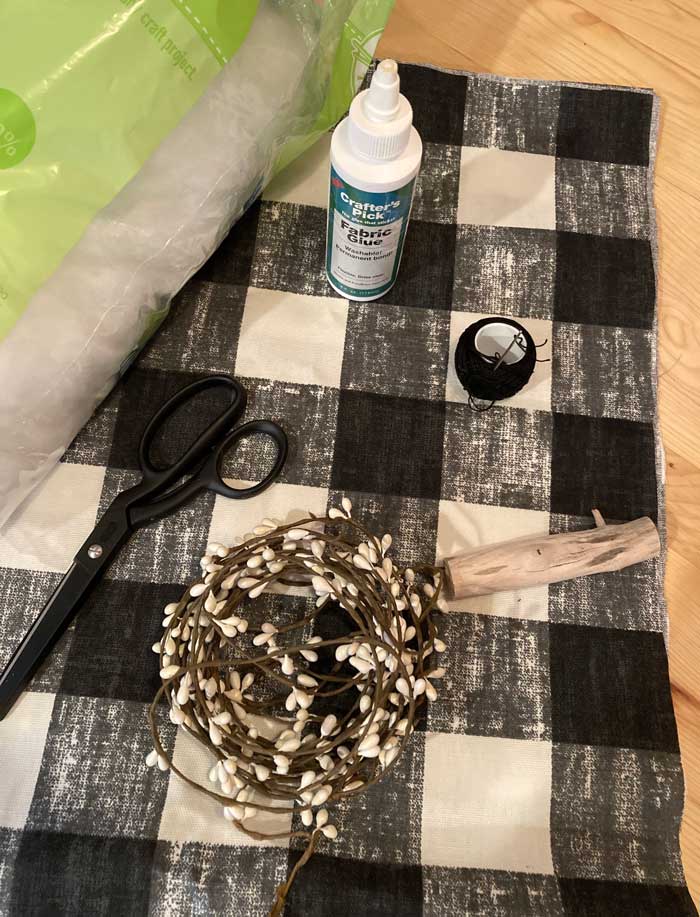
- 14 inch fabric square or scrap
- two inch section of a branch
- pillow stuffing
- embroidery thread
- embroidery needle
- fabric glue
- pip berry strand
- scissors
Fabric Pumpkin Instructions
Cut Out A Fabric Circle
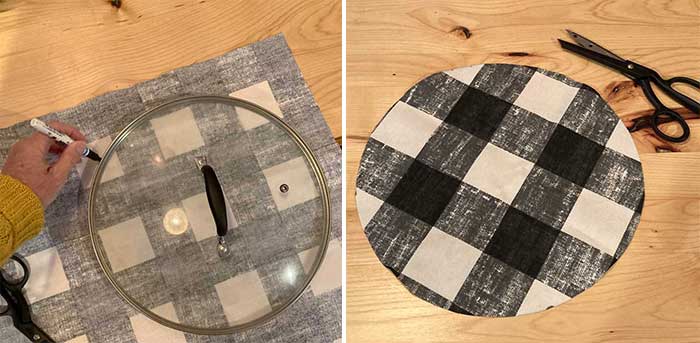
You’ll need to start with a fabric circle. I used a pan lid that was twelve inches in diameter. You can go with any size that you want. Use a circle stencil, a pan lid, a plate, or anything that you can find that is round to trace. With a twelve inch lid, my finished pumpkin is about six inches in diameter. So, think double the circle size for the size of the finished pumpkin that you want.
Hand Sew A Running Stitch Around Perimeter Of Circle
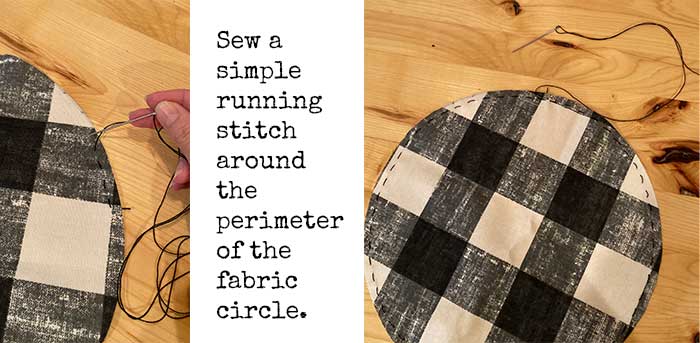
Using embroidery thread, hand sew a running stitch around the perimeter of the circle. Knot one end and leave the other loose for gathering. Run the stitch at least a quarter of an inch from the edge of the fabric. Because you need to pull the thread, it’s important to use a strong thread that won’t break while pulling.
Gather The Thread For The Pumpkin Top
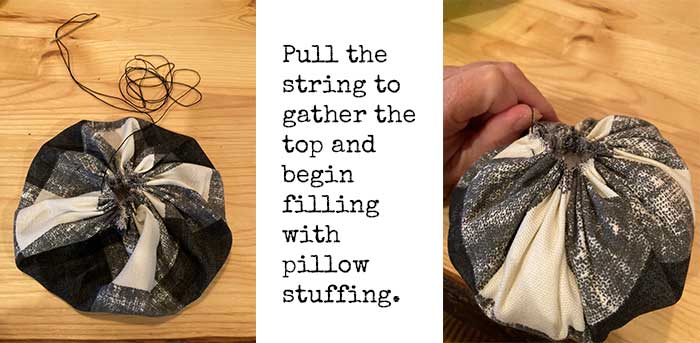
Pull the thread tight and adjust the fabric evenly around the thread for a nice round shape. Being filling the sack with pillow stuffing. You will need to loosen the gather slightly to fit the stuffing inside.
Keep adding the poly fill until the pumpkin is firm. I was surprised by how much fill I used to get the pumpkin formed the way I wanted it.
Backstitch Around The Desired Opening To Secure
Once there is enough stuffing in the sack, use the same thread to backstitch around the opening. This will keep the opening at the top from loosening. Only leave the opening just big enough to insert your branch for the stem.
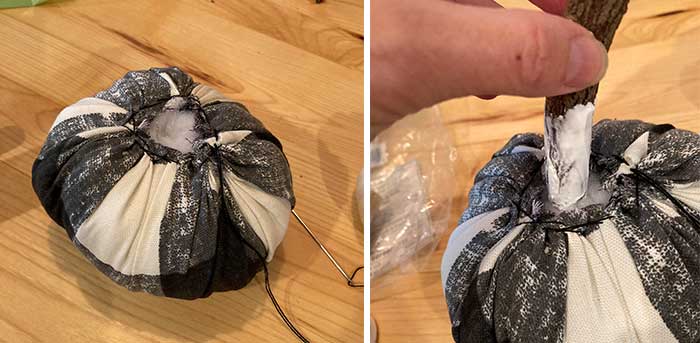
When you insert the branch, coat the bottom half with fabric glue to secure it inside the fabric pumpkin.
Add Pipberry Embellishment
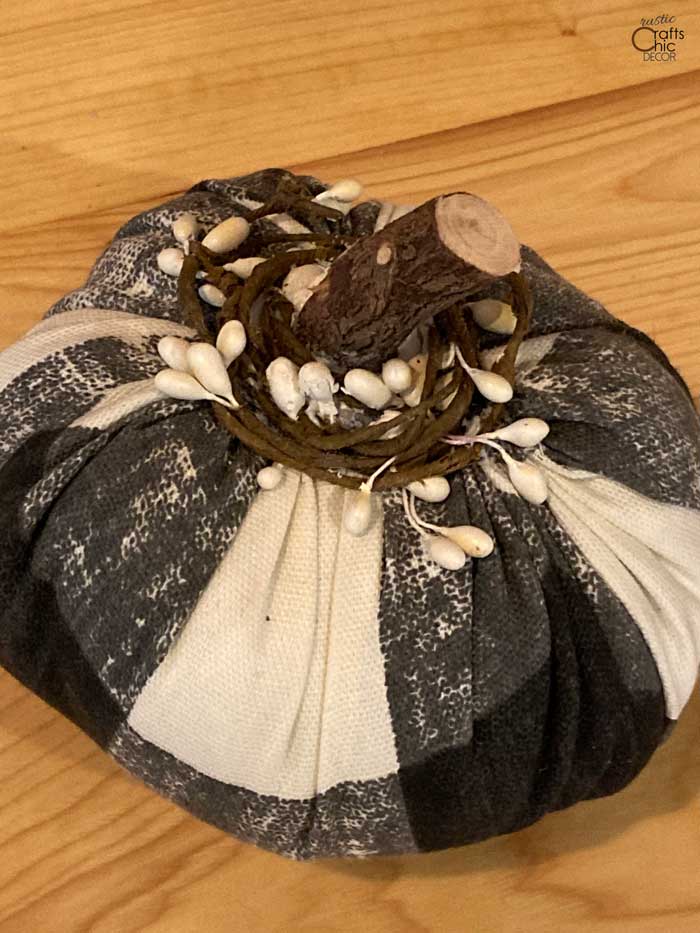
For a little extra embellishment, apply fabric glue to the fabric around the stem opening. Then, wind a pipberry strand around the stem and push it onto the pumpkin top coated with glue.
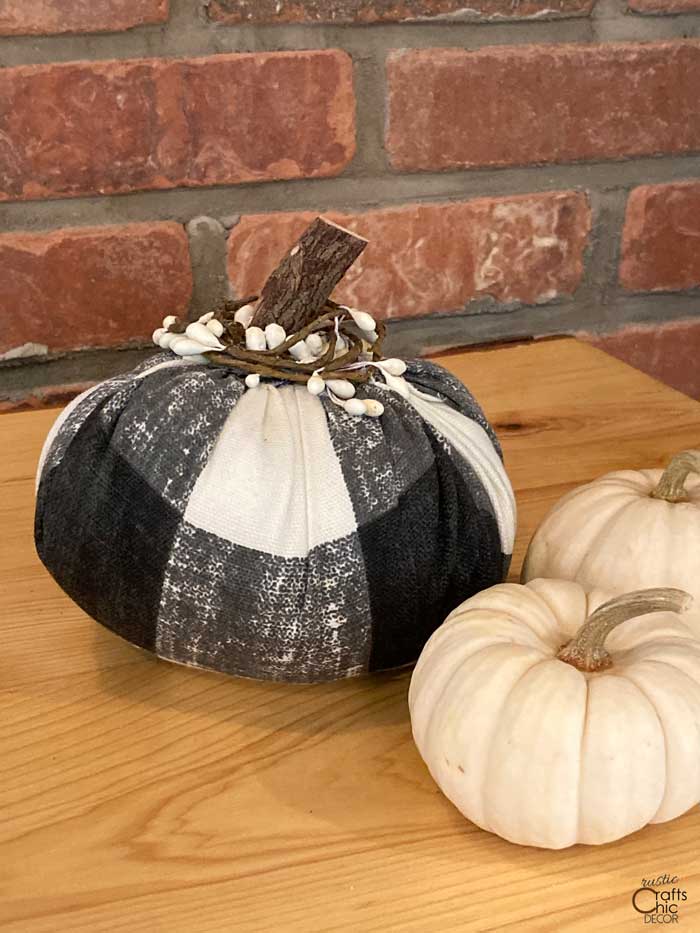
These fabric pumpkins are so easy to make. Once you do one, you’ll want to do a bunch more. Use coordinating fabrics and sizes to group all of your pumpkins together.
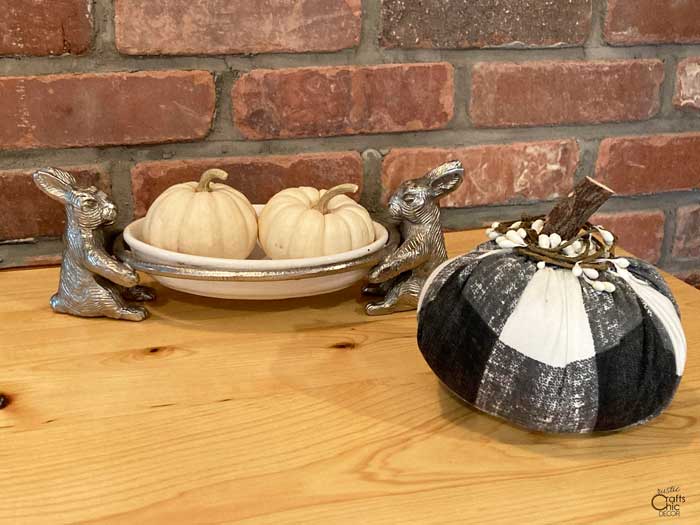
Can you see yourself trying this fabric pumpkin tutorial? Let me know your thoughts!
