With all of the farmhouse and rustic bathroom styles I’ve been seeing, it makes sense to create some bathroom accessories that will compliment this style. It’s pretty easy to find rustic accessories in stores but creating your own adds a little more nostalgia. Plus, it can also be a lot more affordable. This tissue box cover DIY is easy to make and will add some warmth and style to your tissues.
How To Make A Tissue Box Cover Out Of Birch
This post contains recommended product links. If you make a purchase through one of the links, I may earn a small commission at no cost to you.
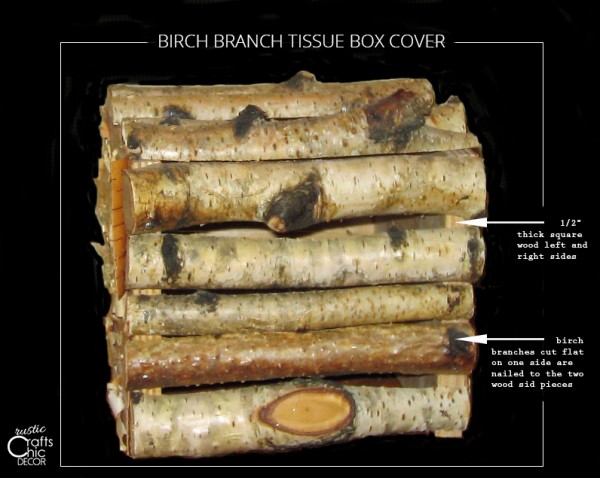
This bottomless tissue box cover is made to slide over a standard square box of tissues. It is made up almost entirely of thick birch branches and birch bark. You can easily prune branches from a birch tree anytime other than late Spring or Summer. Birch bark can be found from fallen birch trees or purchased from a craft supply store.
The only wood that you will really need to purchase is two five inch squares that are a half inch thick. These can either be found sold at that size from a craft supplies store or purchased from a builders supply or craft store and cut to size at home. If you don’t have access to any birch trees you can also purchase birch logs, branches and bark from retailers.
You will also need approximately fourteen sections of birch branches that are each six inches in length. Long birch poles can just be cut into six inch lengths. Five to go up each side and four across the top.
Tissue Box Cover DIY Instructions
Craft Skill Level: Moderate
Materials Needed:
- fourteen sections of birch branches, six inches long
- birch bark
- two – five inch squares of unfinished wood (1/8 to 1/2 inch thick)
- 28 small finish nails
- satin finish polyurethane spray
- miter saw
Instructions:
- Cut each branch in half lengthwise, with a miter saw, so that it will lay flat.
- Lay the first branch along the bottom of the box, attaching it to the two wooden sides with two small finish nails.
- Flip the box over and lay the first branch along the bottom of that side, attaching it with the finish nails.
- Continue working your way up on both sides until you have five branches on each side. The top branch should be flush with the top of the box. Depending on the size of your branches, you could have more or less branches on each side.
- Now place your branches along the top. You should have an equal amount on each side, working your way to the middle. I used two on each side which left a nice gap in the middle for the tissues to come out.
- To dress up the two wooden sides, I used peeled birch bark from a larger section of a tree and glued it onto the wood. Now the entire box is covered with birch.
- Spray the entire box with a satin polyurethane spray to seal and protect.
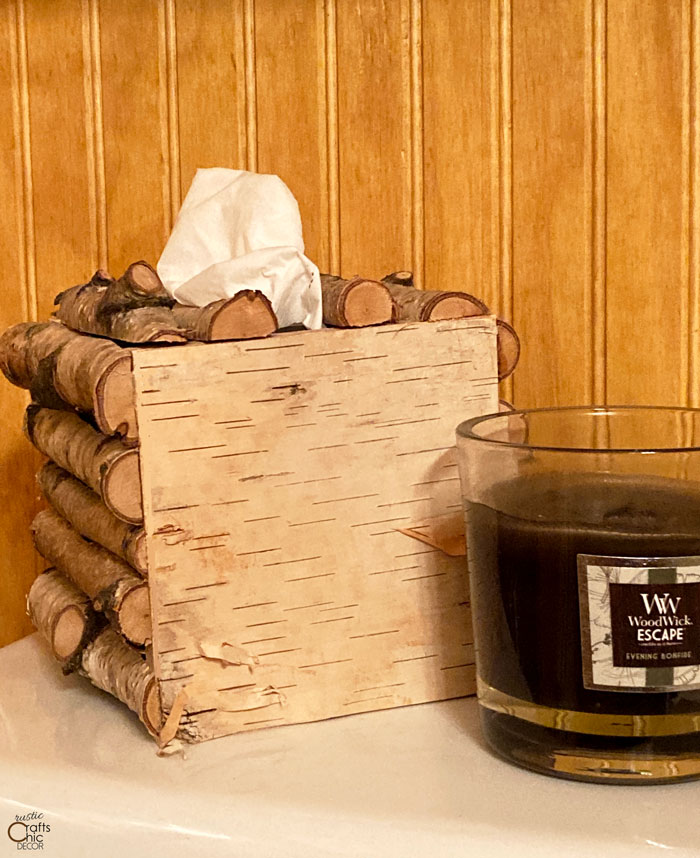
Display The Box In A Rustic Setting
The last thing you need to do is slide your tissue box cover over your box of tissues! Place your new bathroom accessory into your bathroom or anywhere that you require a box of tissues. This tissue box cover DIY also makes a great gift for someone who loves rustic decor!
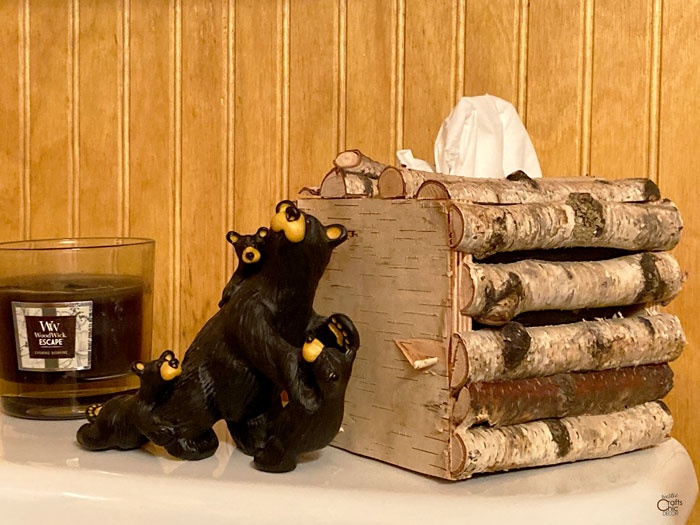
I like having rustic bathroom accessories in our cabin bathroom. It makes it extra warm and cozy.
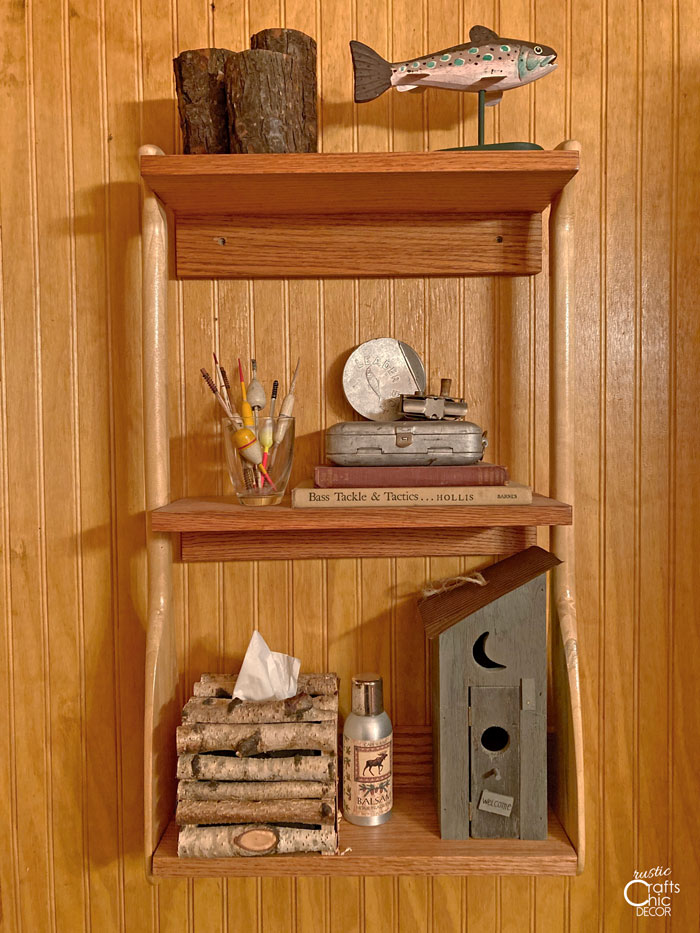
Check out the coordinating toothbrush holder craft. The two would go great together in your rustic bathroom.