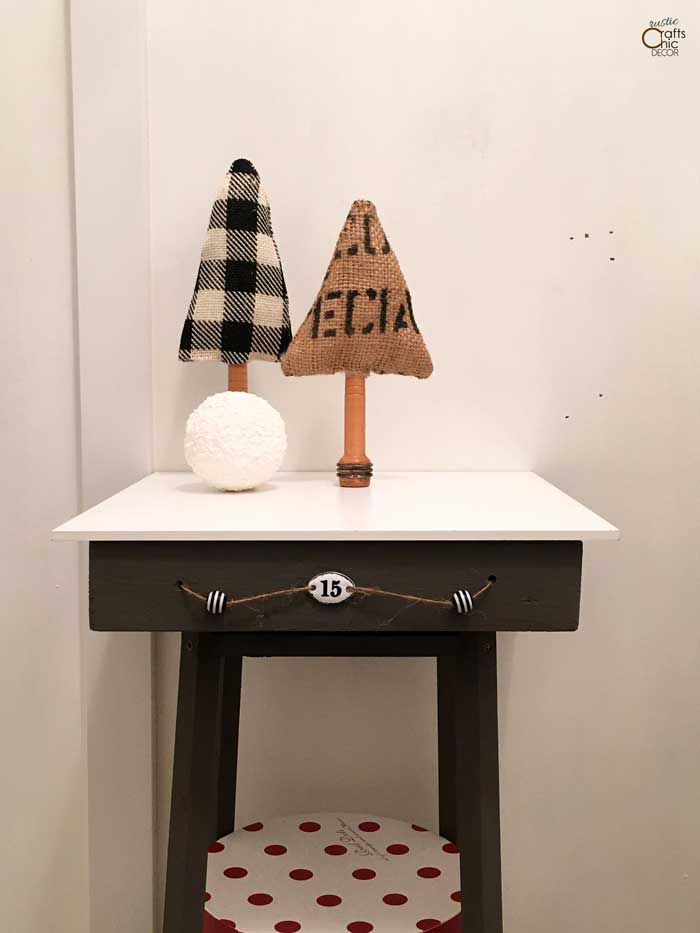
Lately, I have been obsessed with fabrics. More specifically, I just can’t get enough of buffalo checks and coffee or grain sacks. This leads me to my current craft project. A fabric Christmas tree! I’m not talking about anything big here, just a couple of table top trees for some rustic Christmas decor.
Ever since I made my buffalo check burlap wreath, I’ve been dying to use the fabric in another project. Kind of like polka dots, buffalo checks just make me happy. In fact, I have also painted a wooden log candle holder with a buffalo check pattern.
Since I wanted to make at least two trees, I wanted another fabric that would blend with the checks nicely. That is when I thought about my burlap coffee sacks. I love the black lettering, on one of my sacks, and decided to use that. Previously I have used a section of the coffee sack to decorate a lampshade.
DIY Fabric Christmas Tree
Materials I Used
This post contains recommended product links to complete the project. If you make a purchase through one of the links, I will earn a small commission.
You can basically use any type of fabric that you want for these fabric Christmas trees. The bases for the trees can be anything from the vintage wooden bobbin spools, to branches, or even dowel. If you use a branch or dowel, you will need to secure it to some type of base so that the tree will stand on it’s own.
If you want to create the same look as my trees, the materials are readily available.I am providing a list of the materials that I used which are linked to where you can purchase them.
- black and white buffalo check fabric
- coffee or grain sack – the vintage grain sack will produce a similar look to my coffee sack
- antique wooden textile bobbins
- pillow stuffing
- tan thread
- sewing machine – or you can stitch by hand
Fabric Christmas Tree Instructions
Fabric Christmas Tree Craft
- Outline The Triangle Shape Onto Fabric
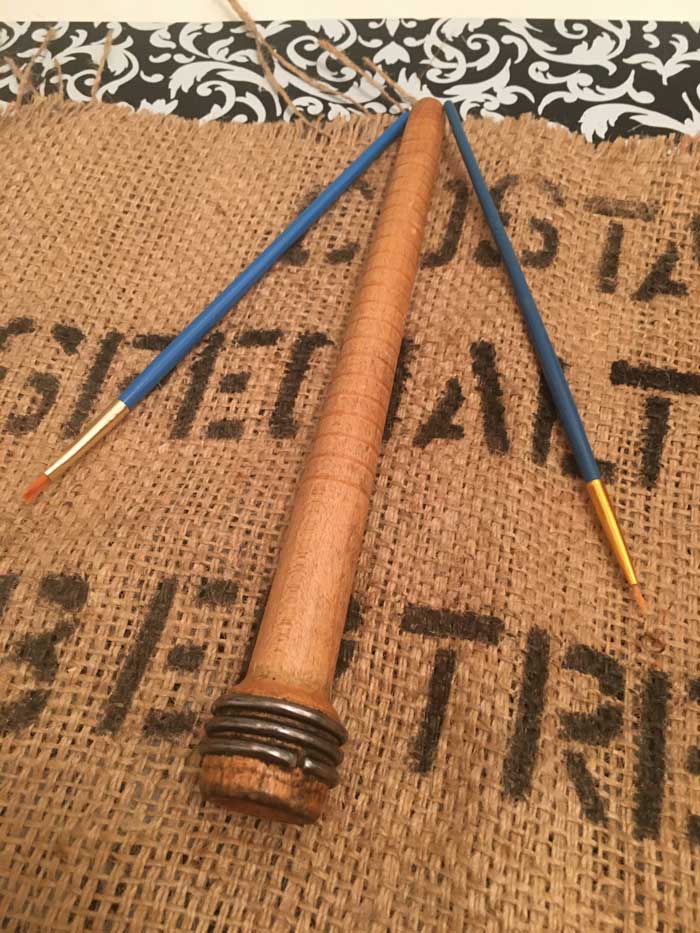
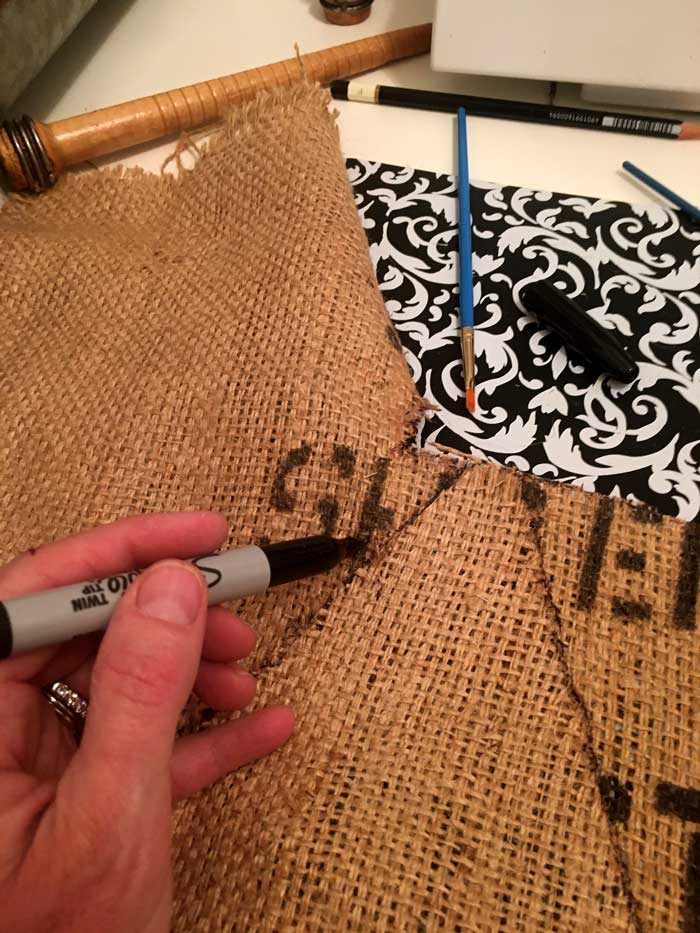
You just want a narrow triangle shape and it doesn’t have to be perfect. My highly technical way of outlining my tree was to use a couple of paintbrushes! First, I laid down my wooden bobbin on the fabric. Then, I place a thin paint brush at each side of the bobbin to determine the size of my triangle. Finally, I used a pen to draw lines 1/4 inch away from the brushes for the seam allowance.

- Cut Out Triangle And Use As Template
Once I cut out my triangle, I flipped it over onto another section of the fabric to use as a template on my second triangle. I could have folded the fabric in half to get two cuts at a time. However, I wanted more precise layout with the graphics for each side of the tree.

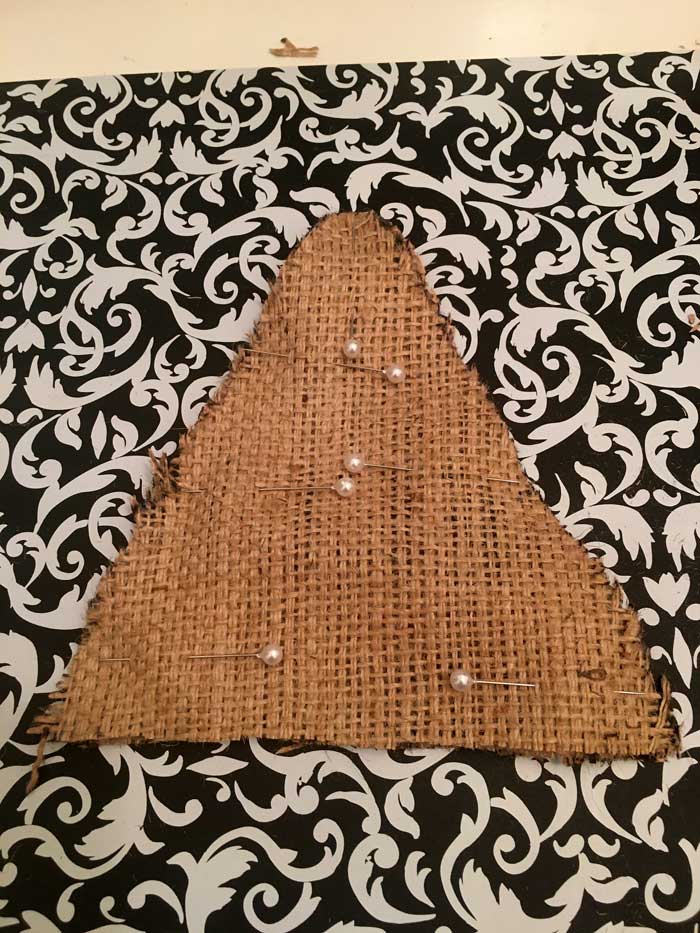
- Pin The Two Triangles Together
With the right sides together, pin the two fabric pieces together.

- Sew The Pieces Together
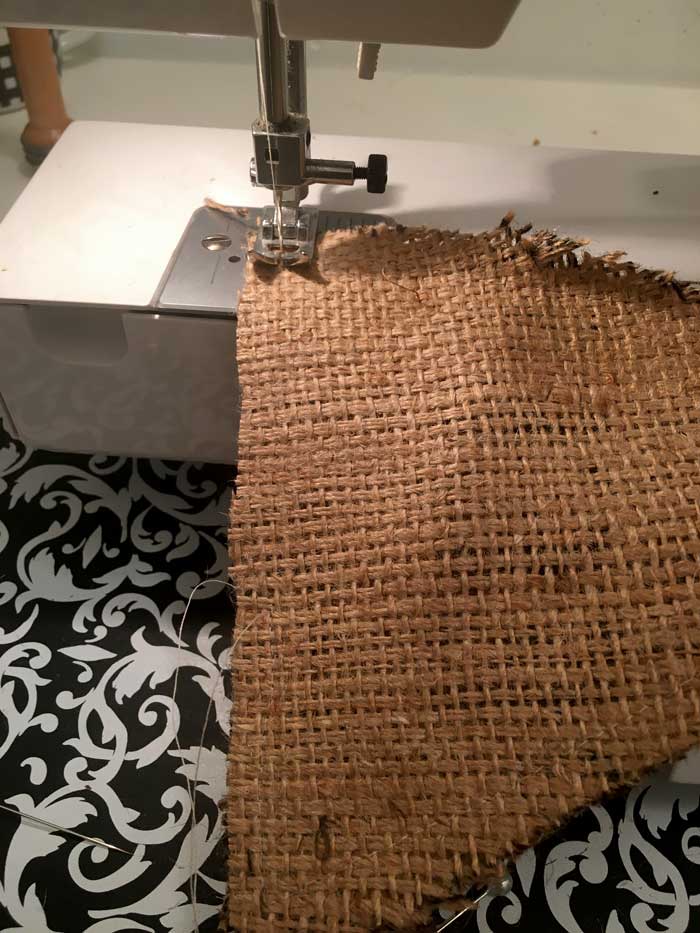
Starting at the base, stitch up the angle and around, ending at the other side of the base. Use 1/4 inch seam allowance. This leaves the entire bottom open which makes it easy to turn the fabric inside out. The first tree that I made, I only left about an inch and a half gap along the bottom and it was tricky turning the fabric.

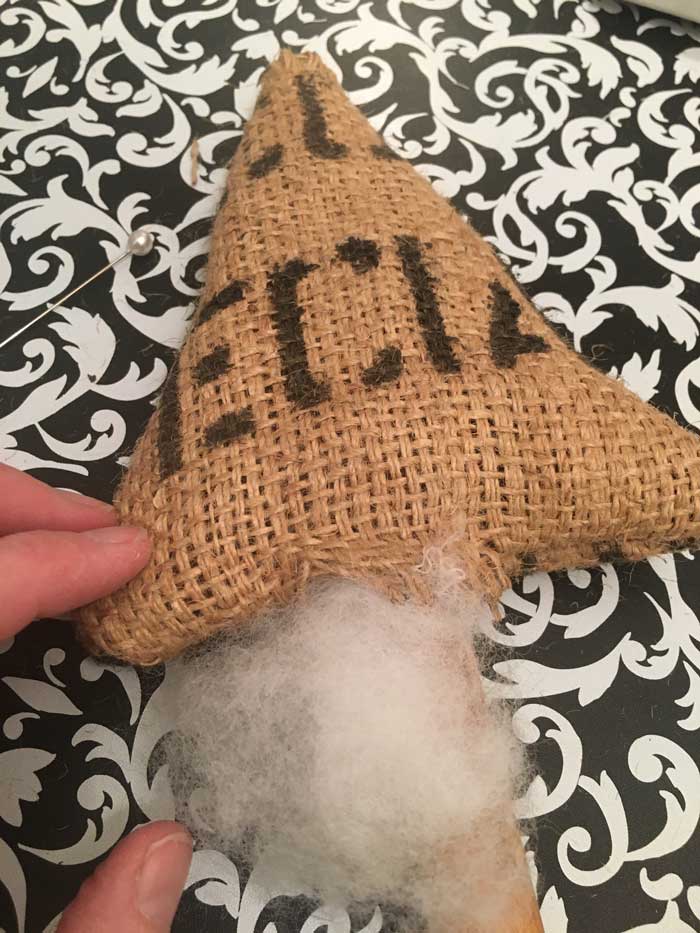
- Turn Triangle Inside Out And Fill With Stuffing
Depending on the type of fabric you use, this part could go real fast or be a little more time consuming. A thick burlap fabric is harder to maneuver than cotton fabric. However, it is worth the effort for a more rustic look and it really isn’t too bad if you keep a large opening for turning.

- Insert The Wooden Bobbin
Once the triangle is filled, you can insert the wooden bobbin through the stuffing at the middle of the tree. Then, simply stitch the bottom closed, working around the bobbin.
Fabric Christmas Trees
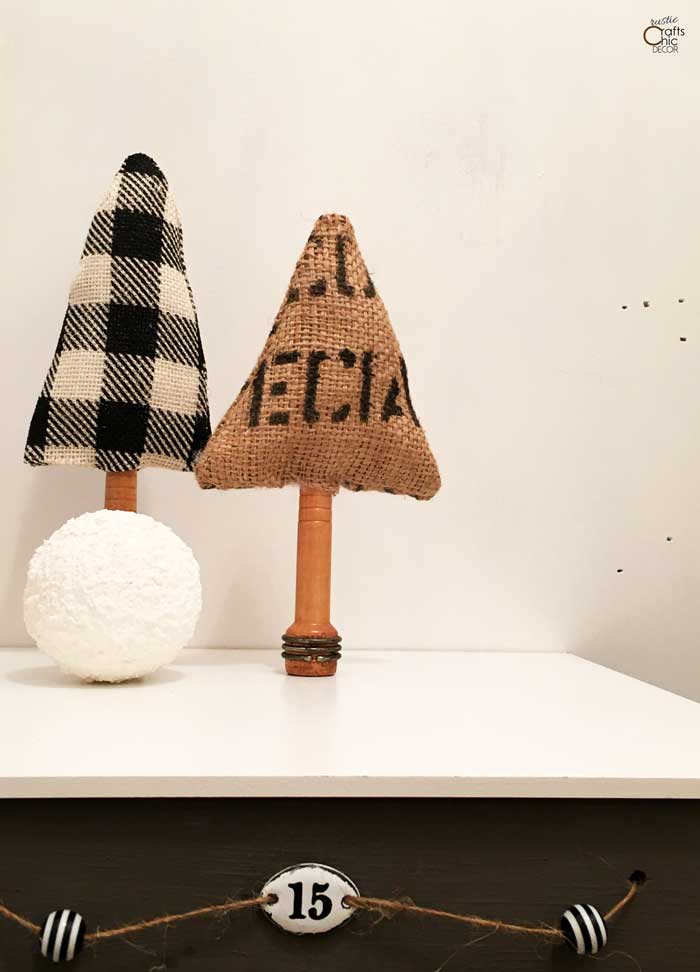
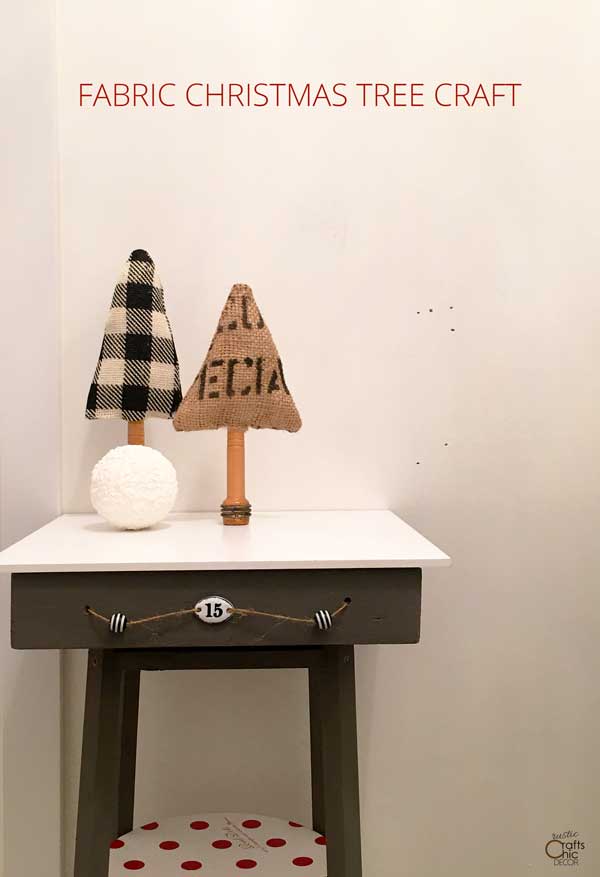
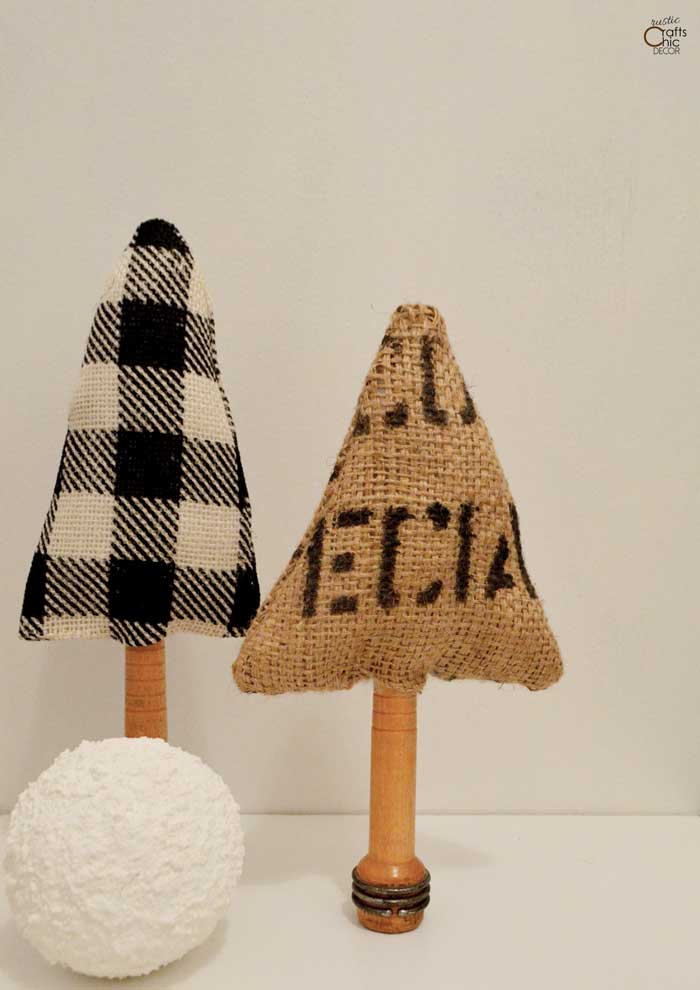
The trees stand perfectly on their own when you use a wooden bobbin. Make them in varying heights and widths for an interesting display. I placed one of my homemade indoor snowballs with the trees for a Winter decor scene.
Although, I call these fabric Christmas trees, the little pine trees can be displayed all year long for a woodsy scene. The fabrics don’t scream Christmas but work great for holiday decor as well as neutral rustic decor.
