Outdoor wooden signs are great to use for a variety of reasons. Maybe you want to label a potting shed or welcome guests to your front porch. Whatever the reason, a DIY outdoor sign can be easy to make. I wanted to create a whimsical feel to the boat storage area under our deck. A wooden sign, labeled boat storage, helps to define the area in a fun way. There are also no rules as to what type of wood should be used as the base of the sign. In fact, I used an old wooden shutter. I’ll show you how I converted the old shutter into a decorative sign that can handle the outdoor weather.
To start, it’s not so much what wood you use, for an outdoor sign, but how you treat it that makes it suitable for use outside. My husband is still amazed at how well our name sign is holding up. I made that sign on an old boat oar and used branches for the letters. Not only is the finish still holding up after ten years, but the branches are still all in place. And, since that sign is nailed to a tree, it is susceptible to all of our Michigan weather.
This particular sign is in a covered area but still requires a protective finish. All I did was stencil paint my words onto the wooden shutter and added a little rusty embellishment. Besides stenciling, you could also transfer an image or words directly to the wood using freezer paper. Since, I didn’t need any fancy lettering, I went with a basic letter stencils for this project.
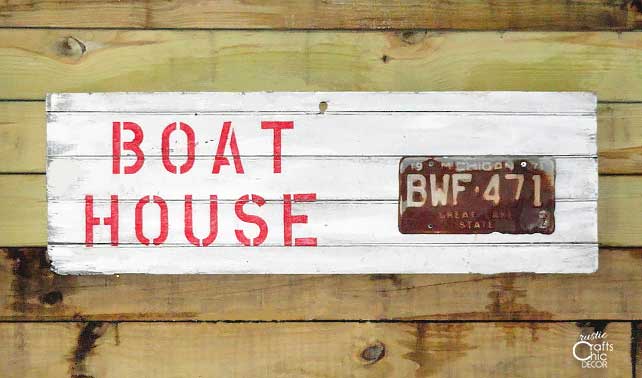
Steps To Making An Outdoor Sign
Choose Your Wood Base
Think outside the box when choosing your wood to make a sign. You definitely don’t have to purchase new wood. Plus, using salvaged wood will give your sign even more character. Think of things like oars, pallets, barn wood, or any salvaged wood that you can find. I used an old window shutter.
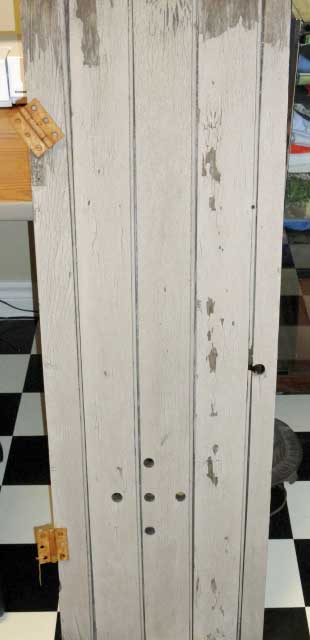
Since I wanted a fairly big sign, the shutter worked great. All I had to do was remove the hinges first. I’m not sure what the five holes, in the shutter, were all about but I had an idea for covering them up. To freshen up the paint that was already on the shutter, I just went over it lightly with a brighter white. I didn’t worry about getting full coverage because I still wanted a distressed look.
Paint Your Words
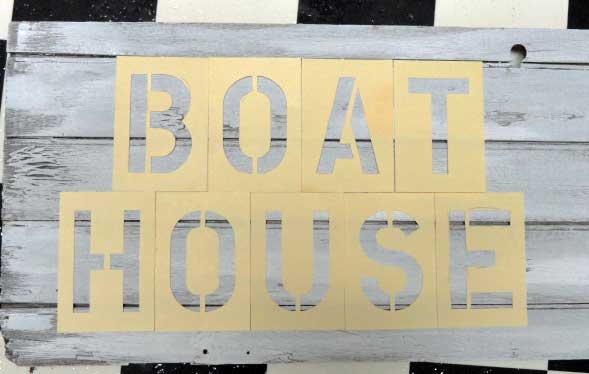
There are a variety of different ways to get your words on the wood. If you have great handwriting, you could always pencil in your words and paint over it free hand. Otherwise, stencils, letter transfers, or vinyl cutouts work great. I used letter stencils that were easy to layout and align on the wood.
Protect The Finish
Once you are happy with your painted words, you will want to protect the finish. I just brushed on some satin finish polyurethane. Even though my sign was going to be somewhat under cover, I still did two coats of the polyurethane.
Add Embellishments
Although it’s not necessary to add anything else to a DIY outdoor sign, sometimes a little extra embellishment is fun. In my case, I needed to cover those holes. You can create shapes or graphics using cutouts from wood, metal, or vinyl. Or, create shapes, like a star, with branches. I simply used an old rusty license plate. It is an old Michigan plate with the slogan “great lakes state”. I thought it would be a fun little rustic embellishment for my boat house sign.
I always use E6000 craft glue for adhering objects that need a good durable hold. It has never failed me yet so it is definitely my go to adhesive.
Finished DIY Outdoor Sign
Since we had to build a large retaining wall for the patio under our deck, we were left with a large and empty wooden space.
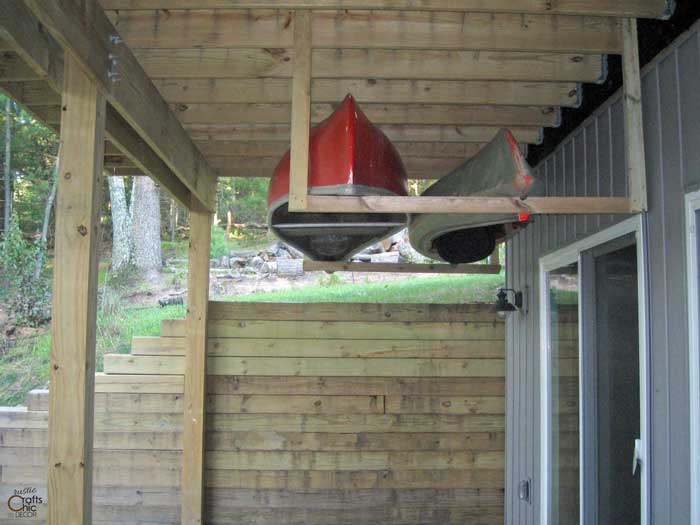
With my sign, I could fill up some of that space and define the area as boat storage.
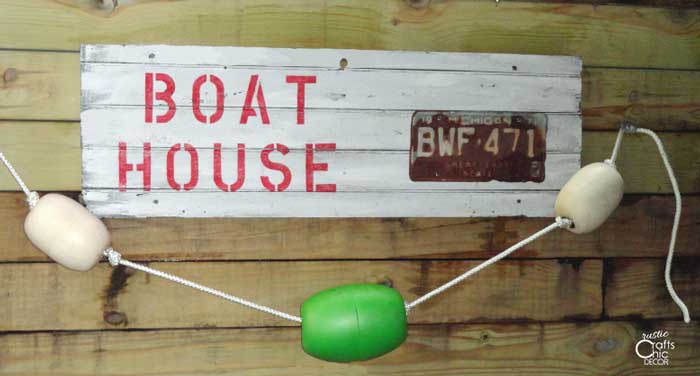
To decorate my wall further, I strung up some of our old buoys on a section of rope.
For more DIY outdoor sign ideas, check out my post on fun garden signs.

Hi there,
Just curious where you get your stencils and if you have any suggestions on best places to buy them or the best brand you like. I manage a hardware store and plan to be painting some signs advertising our selection of items.
Please email me back at adamsannie26@gmail.com
Thanks!
Hi Annie,
I get all of my stencils at either Joanne or Michaels. I’m not particular on the brand but I do like a stencil that is somewhat rigid and heavy duty.