Sometime, in my antique collecting, I ended up with a few old garden hose nozzles. I’m not exactly sure why I bought them but I do think they look cool. Small vintage industrial items like that are fun to use simply in rustic decor displays. And, for a while that is how I used my hose nozzles. However, when you can upcycle something and give it a new purpose, that can be more fun than simply displaying it. I am always looking for unique ways to display photos. In fact, you can see some of my creative ways to display photos using vintage props. Since a hose nozzle could be another vintage prop, I thought I could incorporate them into photo stands. So, I came up with the idea to make a wire photo holder and use a hose nozzle as the base.
The cool thing about a lot of my hose nozzles is that they have a small hole at the top that is the perfect size for inserting wire. I did have one nozzle without that top part so I came up with a second option for the wire on that one. Either way, a vintage hose nozzle makes a great base for a wire photo holder. I’ll show you a couple of different techniques and styles to create a decorative wire photo holder.
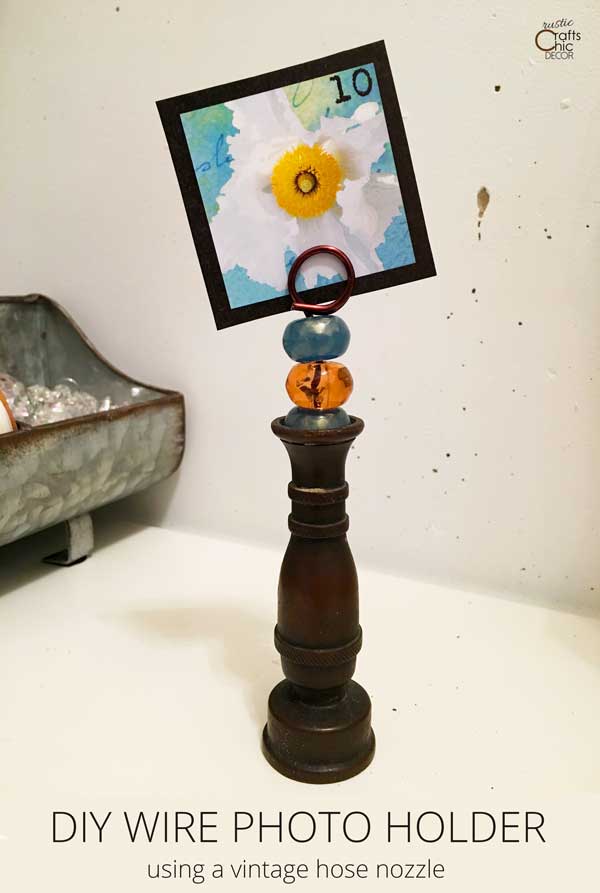
DIY Wire Photo Holder
All you really need for this craft is an old hose nozzle to use as the base. Then, just add heavy gauge florist wire and some beads and you will have a new photo holder in minutes. You can also use this to hold place cards or table numbers. Whatever paper item you need to display will work. There are a couple of little tricks into making this so I will get into the details in this easy tutorial.
Supplies Needed
- heavy gauge florist wire
- vintage hose nozzle
- wire snips
- large beads
- tacky blue
Instructions
How To Make A Wire Photo Holder
- Wrap One End Of The Florist Wire Into A Circle
First, cut a length of florist wire about 8 inches in length. Using a cylinder object, that is about 3/4 of an inch in diameter, wrap the wire around it twice. This creates your circle end that will hold the actual photo. I used a thick branch for this but you could also use a dowel or a thick marker.

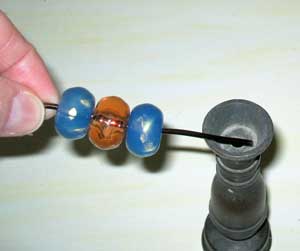
- String Beads Onto Wire
Use beads that are large enough that the last one fits nicely inside the hose nozzle. Depending on the height that you want for your wire photo holder, use about three large beads.
- Insert Beaded Wire Into Hose Nozzle
This part will only work if your hose nozzle has the inner part removed. If you can’t get to the hole, there is another option that I will show you.
- Glue In Place
If you like how everything is laying out, you can now glue the wire and beads in place. Take the wire back out of the nozzle and coat the bottom inch of the wire with tacky glue. Now reinsert the wire. Starting with the bottom bead, dab some glue on the bottom and set it into the nozzle. Add a dab of glue in between each bead as well.
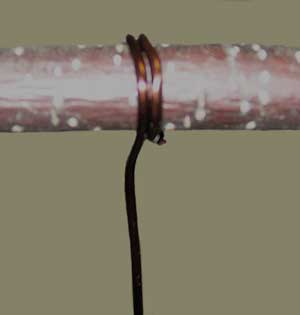
- Optional Step
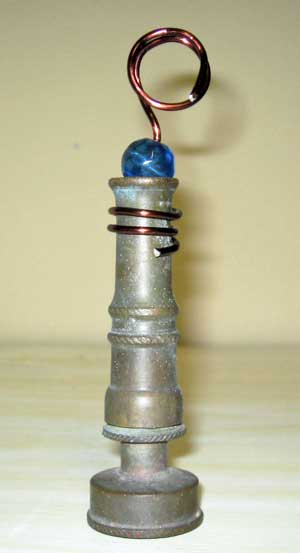
For those hose nozzles without an accessible hole, you can simply twist the bottom end of the wire around the hose nozzle. You can use a longer section of wire or less beads so you have enough for twisting.

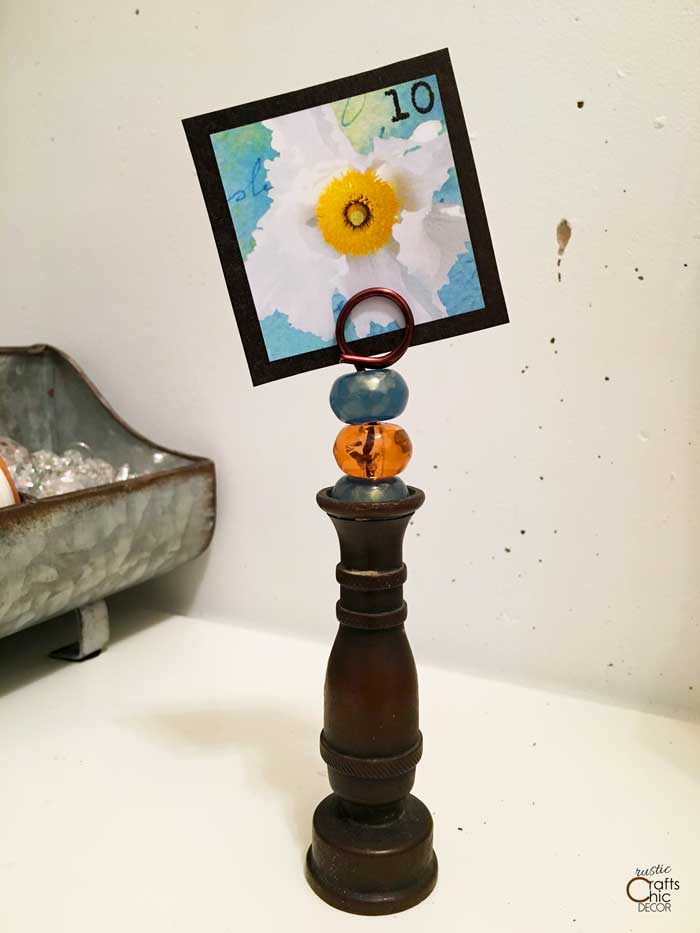
Finished Wire Photo Holder
For more wire photo holder ideas, see how I made some with vintage thread spools.