Don’t spend money on brand new coasters without checking out this easy DIY tile coaster tutorial first! You can save a lot of money and customize your look by making your own. Besides the coasters I am about to show you, I also had a lot of fun making festive Christmas coasters with ceramic tiles. Since they are so inexpensive to make, it’s not a problem making several sets for different seasons or holidays.
You can also recycle your leftover ceramic tiles. If you have ever done any kind of tile work in your house, you know that you will most likely have extra tiles at the end of your project. A great way to make use of those extra tiles is with these DIY tile coasters. Even if you don’t already have tiles on hand, you will want to purchase some for this easy craft. Using tiles for coasters is inexpensive and they make a great decorative accent when decorated.
Everyone needs coasters and even if you already have enough of your own, you could make a custom set to give as a gift. The way to customize these for your own taste is to decorate them with some of your favorite magazine cut outs. This is also a great way to recycle old magazines once they have been read. You can find pretty florals and fun patterns in many magazines. If you don’t have magazines with good images, just purchase fun craft papers.
How To Make DIY Ceramic Coasters
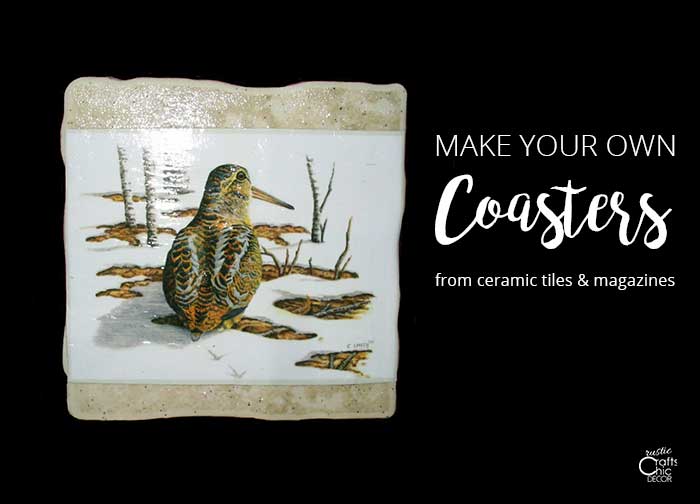
Since we have a rustic cabin in need of some new coasters, I decided to make some using cut outs from a few of my husband’s old Duck’s Unlimited magazines. The magazines are full of great little pictures so I had plenty of options to choose from.
Materials Needed
- 4×4 square ceramic tiles
- magazine cutouts or craft paper
- satin Hard Coat Mod Podge
- soft bristled paint brush
- thin rolled cork with adhesive backing
- exacto knife or scissors
- glossy acrylic sealer
Coaster Tutorial
Step One: Cut Out Magazine Image To Fit Tile
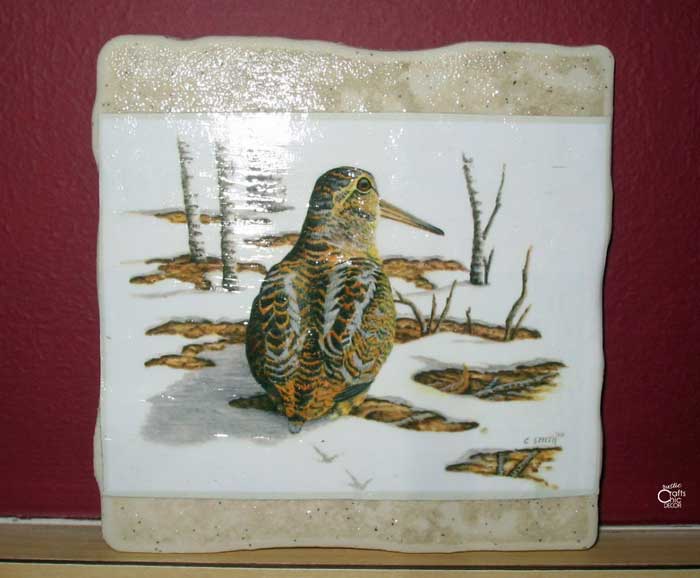
I like to use the photography found in magazines. However, you can also cut out a meaningful paragraph or sketch. If you want to make a collage, cut out smaller pieces that will all fit together on a tile. You can either fill the entire tile with a cutout or leave some of the tile showing like I did.
Step Two: Adhere Cutouts With Mod Podge
Using a soft bristle or foam brush, apply decoupage to the back side of your cut outs and adhere smoothly to your tile. Apply another coat of the decoupage over the front side of the cut out once it is in place. Repeat for all of your pieces and let dry.
Step Three: Seal And Protect The Front Of Coaster
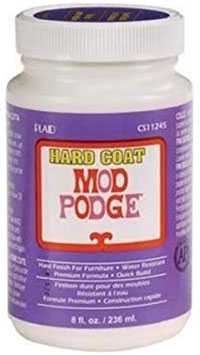
It’s especially important to use the right kind of Mod Podge at this point. For coasters, you want a nice hard finish coat. Using the satin hard coat Mod Podge will ensure your coasters are waterproof and can handle beverage condensation or spills. It also cures faster than a glossy Mod Podge.
Apply another thin coat of Mod Podge over the entire surface of the coaster. You will need enough Mod Podge to easily smooth out any wrinkles as you go. However, make sure to brush off any excess to end with just a thin even coat. Let dry thoroughly. It takes about a half hour drying time for a thin coat. Repeat this three times so that you have a total of three thin coats.
Step Four: Apply The Final Finish
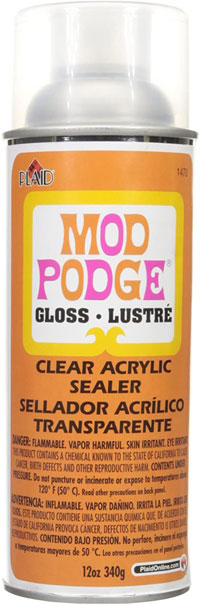
I like a nice glossy finish for my coasters. Since the Mod Podge is satin finish, I like to spray a couple coats of sealer in a glossy finish.
Step Five: Apply A Backing To The Coaster

Obviously, you don’t want the back of your tile coaster to scratch any furniture surface. To protect from scratching, you will need to apply cork or felt to the bottom of the coaster. I used cork with an adhesive backing to make the application super easy. If you are using felt, just glue onto the bottom of the tile with your favorite tacky glue.
All you have to do is lay out a section of rolled cork, place the tile on the cork, and trace around the tile. Then, cut out the cork with an exacto knife or scissors. Since this square of cork comes out at the same exact size of the tile, I like to do an additional trim on it. An 1/8th to a 1/4 inch trim from each edge is all that is needed to ensure you won’t see any of the cork underneath the tile from the front.
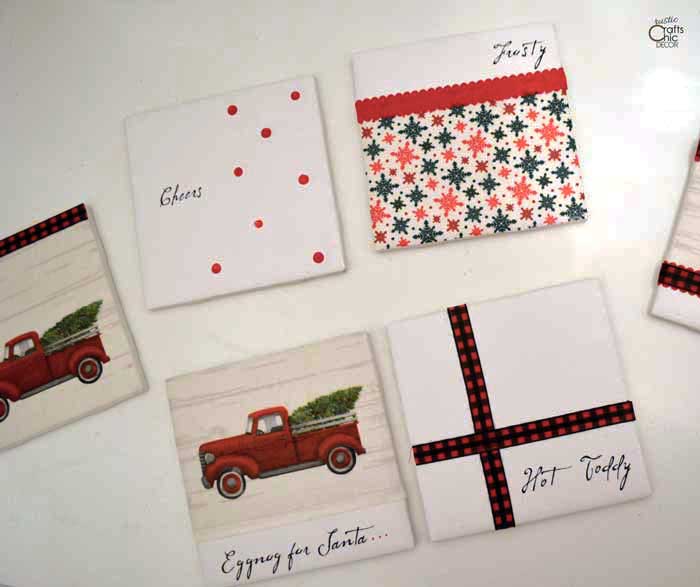
Try different types of papers or materials to mod podge onto your tiles as well. For the coasters below, I used Christmas napkins and ribbon to decorate the coasters using the same process.
These coasters are super durable and fun to make. For more DIY coaster ideas, check out my post on making coasters from a pine log.