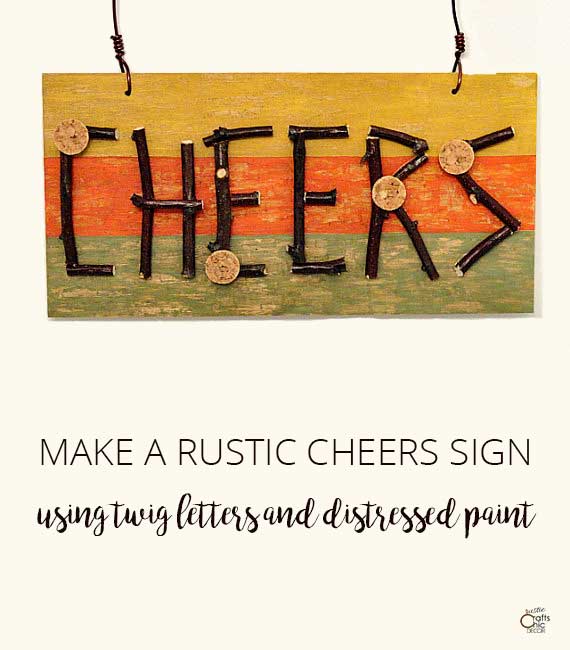
Have you ever wanted to spell out a word on a DIY sign only to be disappointed by your handwriting? Although stencils are always an option, there is another rustic way. Simply spell out your word using small twigs or branches. All you have to do with DIY twig letters is to cut up some pieces, of uniform lengths, and then piece them together to form letters. That is exactly what I did for this rustic sign craft. Not only did I form my word from twigs, but I also distress painted the base of the sign to complete the rustic look.
Materials Needed
- 6 inch by 12 inch piece of birch plywood or other plywood
- birch branches or other branches
- wine corks
- sharp knife and cutting board
- four colors of acrylic paint
- paint brushes
- weathered wood crackle medium
- gloss varnish
- walnut stain
- tacky glue
- drill
- heavy gauge florist wire
- pencil
- ruler
Instructions For Distress Painting Of Sign
Time needed: 2 hours
Painting And Distressing Of Sign
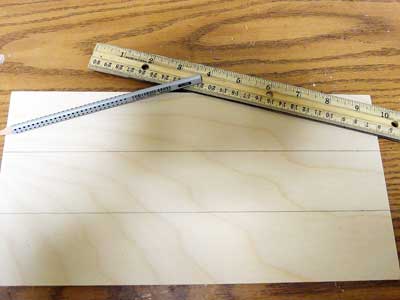
- Measure And Divide The Board Into Three Equal Parts
With a pencil and ruler, draw lines to section out the board in three equal parts. Each rectangle will be about two inches wide.

- Paint Entire Board With A Base Paint
The color paint that you choose will be what shows through when you distress the top layers of paint. I used Pure Gold as my color. It was light enough for the pencil marks to still show through. If you use a darker color, just paint the base coat before drawing out your lines. You can also use a chalk pencil on dark paint so the lines show very distinct.
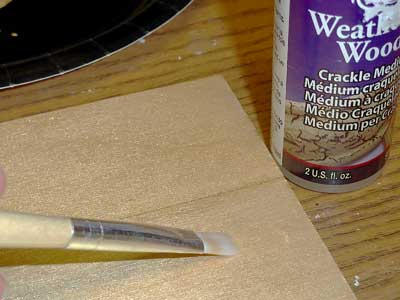
- Apply A Layer Of Crackle Medium Over The Base Coat
Once the paint is dry, apply a layer of the Weathered Wood crackle medium over the paint. Let dry.
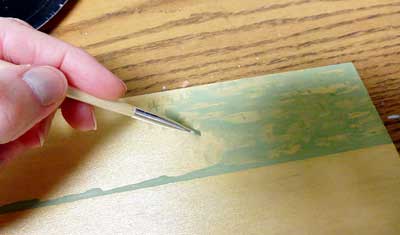
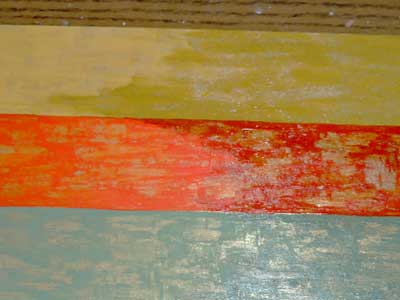
- Paint Stripes With The Remaining Three Paint Colors
Starting with the first rectangle, paint your top stripe color. You will notice that the paint will start to peel away in parts as it dries. This is what you want. The crackle medium is what gives this nice distressed look. Clean your brush and repeat for the second and third rectangles.
- Dirty It Up With Stain
Since most old signs don’t have the look of fresh bright paint, I wanted to dirty up my painted stripes a little bit. It’s easy to do this with stain. I simply applied a thin layer of walnut stain over the paint to age and further the distressed look.
- Seal And Protect
I applied a gloss varnish over the top to keep the paint from flaking after the distressing.
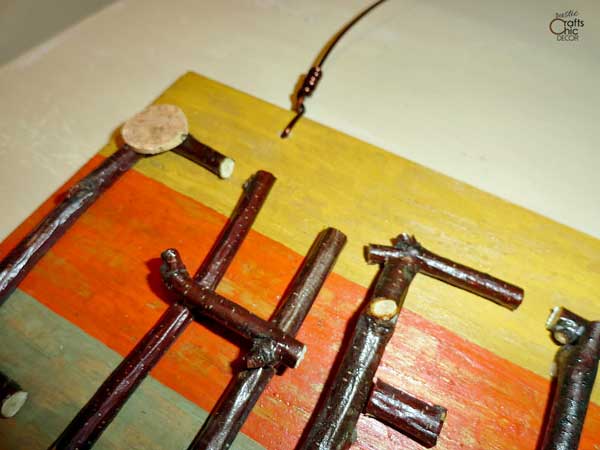
Instructions For DIY Twig Letters
Using a pruning shears, I cut up birch branches in small pieces to make up letters. I tried to keep the letters at about four inches high by an inch and a half wide. Then, I pieced the branches together and laid them out on my painted board. Once I like the placement, I glued them down with tacky glue.
Once the glue was dry, I coated the branches with the same gloss varnish to give them a rich color.
Finishing Touches For The Sign Craft
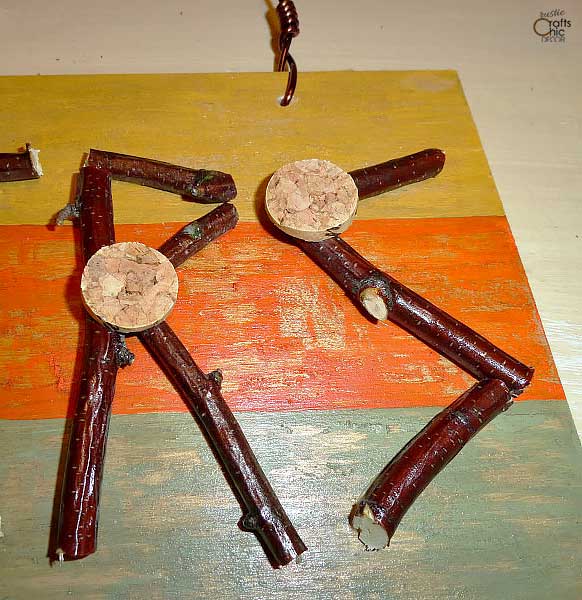
Cork Circle Bubbles
I used a razor knife to slice the wine cork into thin slices. Then, I added some of the slices to the branches, with tacky glue, as an embellishment. Since my sign said “cheers”, my corks circles were to resemble bubbles.
Wire For Hanging
To be able to hang my sign, I first drilled two holes at the top of my wood base. I spaced the holes out to be an inch and a half in from each of the outer edges. Then, I secured a section of florist wire through each hole. Taking first one end of the wire, I inserted it through the first holes so about two inches went through. Then I twisted that end up and around the main length of the wire. I repeated this for the second hole. It works good to use a beading pliers to do the twisting but also can be done simply by hand.
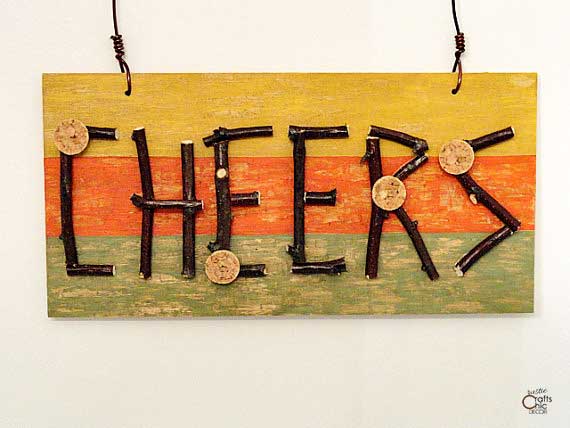
I was pretty happy with how this sign craft turned out. For me, it has just the right mix of cheerfulness and rustic that is perfect for a bar or party area.
For more ideas for DIY twig letters, see how I also made a name plate sign for our cabin. I used an old boat oar as a base for the twig letters.