If you’ve ever wanted a decorative clipboard, you may have considered upcycling an existing clipboard. However, what if I told you that you can easily make your own from scratch? In fact, you don’t even have to make your clipboard from wood. I’ll show you some easy ways to make a decorative clipboard out of things like an old license plate, a book cover, and even cardboard. With all of the creative ideas, I’m sure you’ll want to make your own custom DIY clipboard instead of buying new.
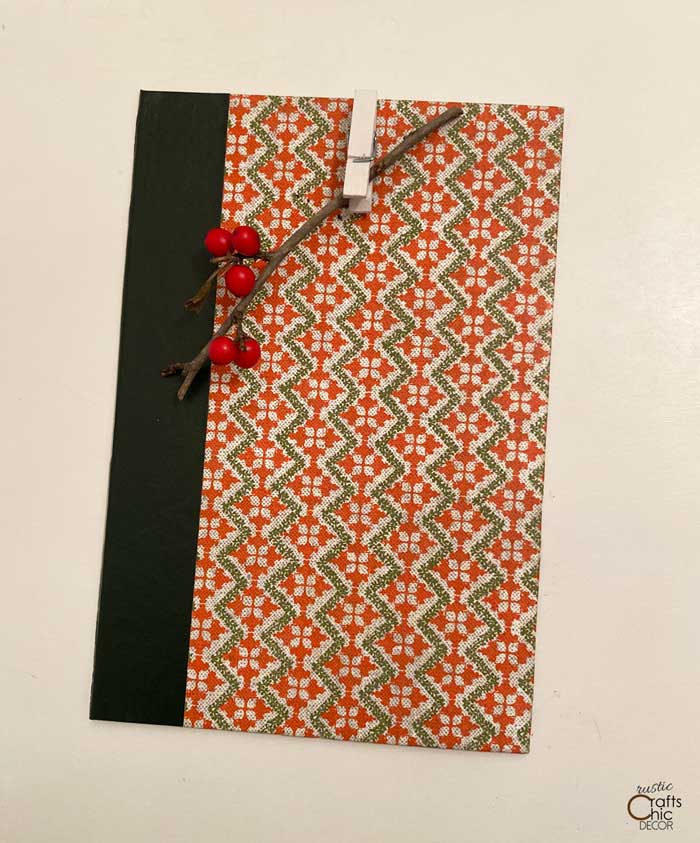
There are a variety of ways to use a decorative clipboard as well. You can use one, in a traditional way, for writing away from a desk. Or, hang one on the wall to clip notes to or hang a picture from. I have used a vintage clipboard as a photo holder and love the unique look. No matter what way you want to use one, you’re going to love these easy projects that are a snap to put together. You basically just need to combine something for the base with a decorative clip. That’s it! Here are some of the ways I made my own clipboards with things I had on hand.
This post contains recommended product links. If you make a purchase through one of the links, I will earn a small commission at no extra cost to you.
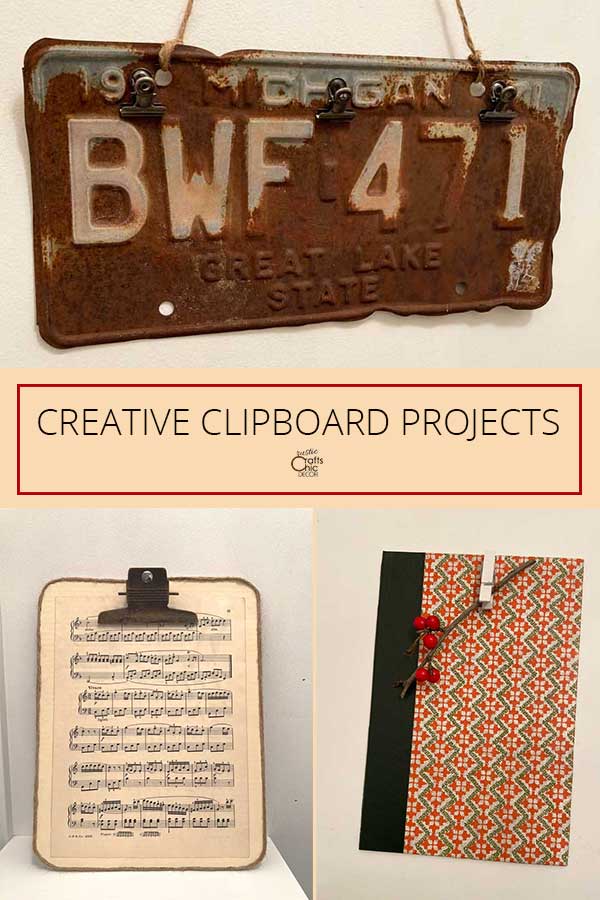
Old License Plate Wall Clip Board
This is a fun and easy project to do especially if you like to collect old license plates. My husband had a bunch in the garage so I just picked my favorite. Of course, it was the rustiest one I could find. Other than the license plate, you just need a few things to make a wall hanging clipboard.
- small metal bulldog clips
- twine for hanging
- hot glue
The nice thing about an old license plate is that it already has holes that work out great for hanging. All you need to do is attach twine through the holes and glue the small clips to the plate with hot glue.
For a more traditional looking clipboard, use the license plate lengthwise instead. Then attach a larger clip to the top center and you have a unique decorative clipboard.
Vintage Book Cover Clipboard
Old books are great for crafting with. You can use the book cover as well as the pages for a variety of crafts. I determined that a book cover would make the perfect base for a clipboard. A lot of book covers already have a decorative look so this DIY clipboard was a breeze. Here is what you’ll need.
- book cover
- mini clothespin or other clip
- hot glue
The nice thing about books is that they come in a variety of different sizes. Just choose a book that is roughly the size you want your clipboard to be. Then, just glue on a clip and you’re good to go!
If you need an old book to use, good places to find them are at thrift stores or library sales. I got a bunch of books from our local library that was cleaning out their old books and giving them away for free.
You may also want to check out how I made this book cover picture frame.
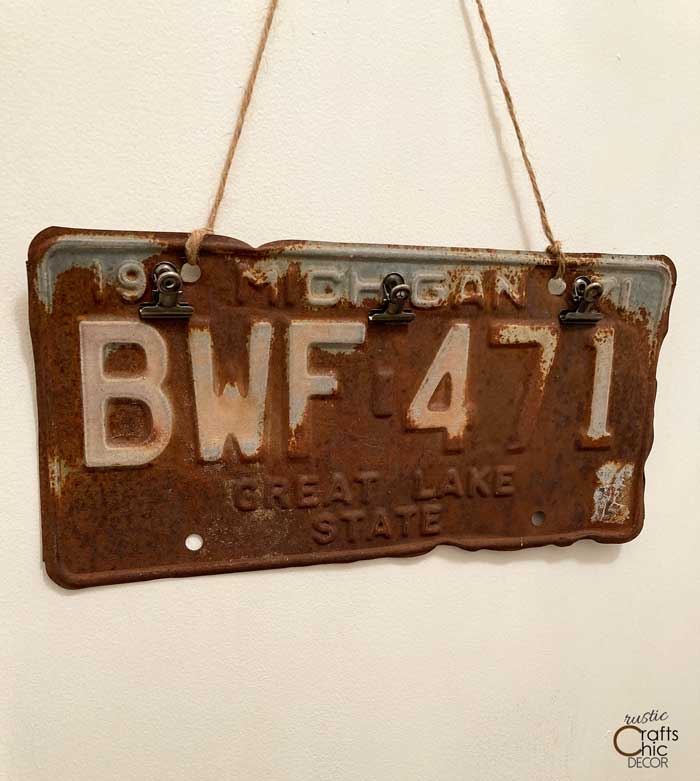
DIY Cardboard Clipboard
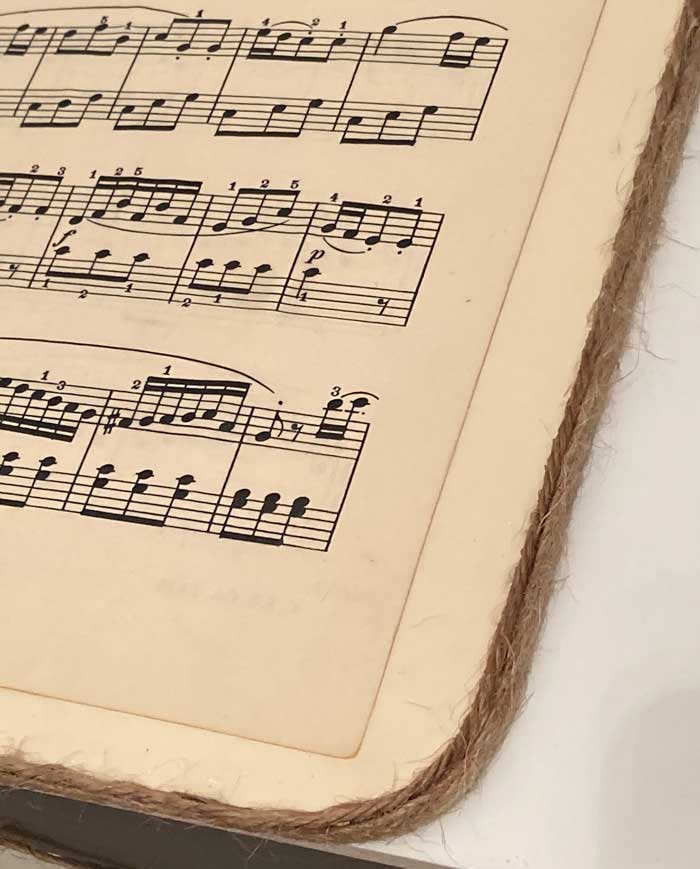
This cardboard clipboard was the most fun to make. You can customize the look in so many different ways. I decorated my cardboard with paint and a vintage song sheet. You can also use fabric and a variety of different paint colors and decorative papers. These are the supplies you will want to collect.
- decorative paper – use patterned construction paper, book pages, newspaper, wrapping paper, or fabric
- paint
- Mod Podge decoupage
- cardboard
- ribbon
- large metal clip
How To Make A Decorative Clipboard
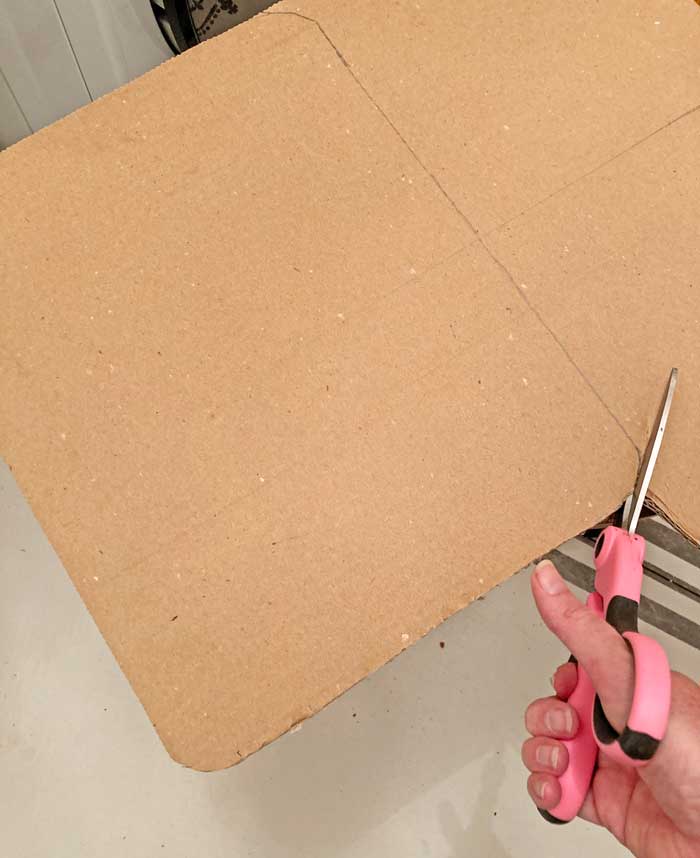
1. Cut Clipboard Base From Cardboard
Since a DIY clipboard can be totally custom, you can cut out any size that you want. Make it a rectangle or square and round the corners if you want to. It’s easiest to trace something to get your shape.
2. Paint The Cardboard
If you are covering the entire cardboard with paper or fabric, you can skip this part. I painted my cardboard first because the vintage song sheet, I was using, was smaller than what I wanted my clipboard to be. I just chose a paint that matched the paper pretty well. You could also use a contrasting color paint.
3. Decoupage Paper To The Cardboard
Apply a coat of Mod Podge over the entire piece of cardboard. Then, position your paper over the coated cardboard and lay it flat. Now, apply a second coat of Mod Podge over the paper.

4. Trim The Edges With Ribbon
When you cut cardboard the edges look a little rough. All you have to do is wrap ribbon or twine all the way around the clipboard to finish the edges. The thickness of your cardboard will determine what you want to trim it out with. I did a combination of twine and twine ribbon.
5. Attach The Clip With Hot Glue
The final step is to simply attach the clip to the middle top with hot glue.
Barnwood Clipboard For Photos
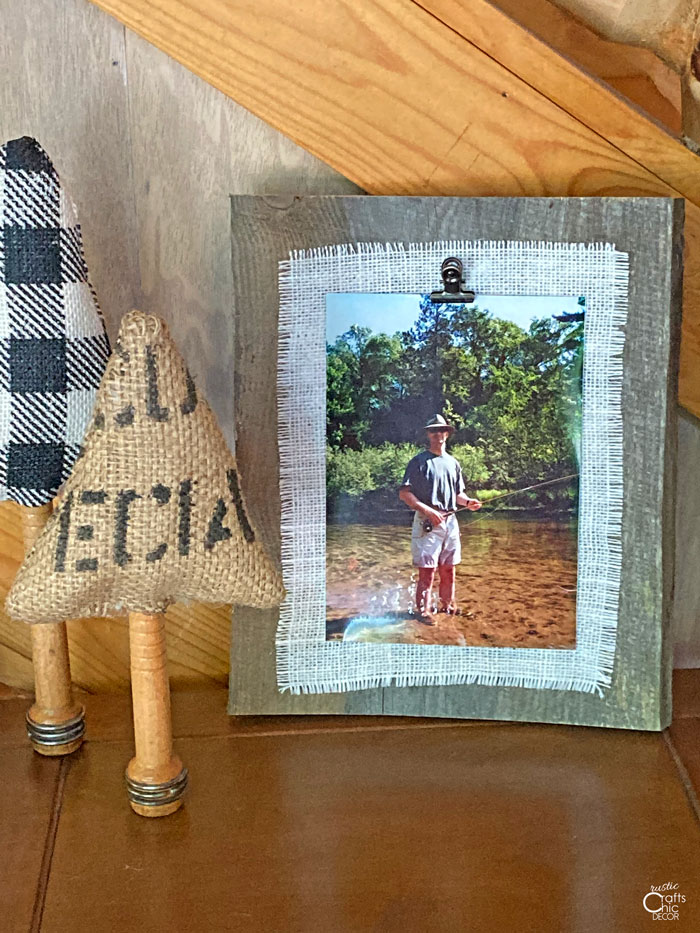
Of course, you can always make your own clipboard with wood as well. Use plywood, unfinished craft wood, rustic wood slices, pallet board, or any other salvaged wood. I used barn wood to make my clipboard for photos.
Leave the wood plain or decorate it with paint, stain, or any other embellishments. I decoupaged some burlap to the wood to give it a little more dimension for photos.