You don’t have to be a pro at pottery to have fun with clay. It’s even possible to make something that you can proudly display as a home decor piece. I am a big fan of pottery and recently discovered a lot of cool things that you can make with simple modeling clay. This inspired me to make something of my own. For just starting out, I decided to try working with air dry clay since it didn’t require the use of an oven or kiln. The only downfall was you can’t give the clay a traditional glaze without an oven. However, I wanted to make a rustic bowl using my birch bark paint technique so glazing wasn’t required.

This post contains recommended product links. If you make a purchase through on of the links, I will earn a small commission at no extra cost to you.
For my first project, I decided to make a simple shallow bowl. I wasn’t wanting to make something perfectly formed. Instead, I wanted a bowl that was irregular and rustic in nature. This is a good thing because I may not have the patience for perfect shapes! I also chose to make a small bowl for jewelry or trinkets. You really can’t make anything to hold food using air dry clay since you can’t glaze it. Projects with air dry clay should be purely decorative.
Tutorial For A Simple Clay Bowl
What You Will Need
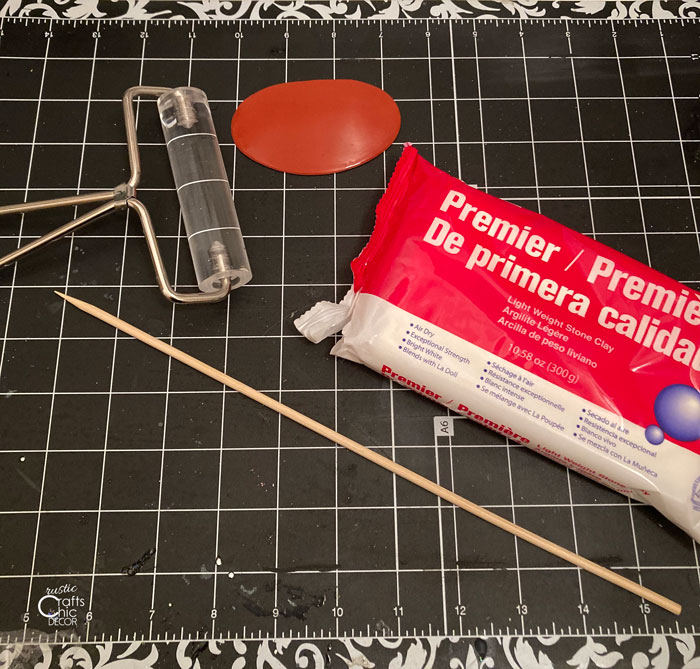
- air dry clay
- clay roller
- paint
- pottery ribs for smoothing
- polyurethane
- skewer – *optional for holes
- brown floral wire – *optional
Instructions
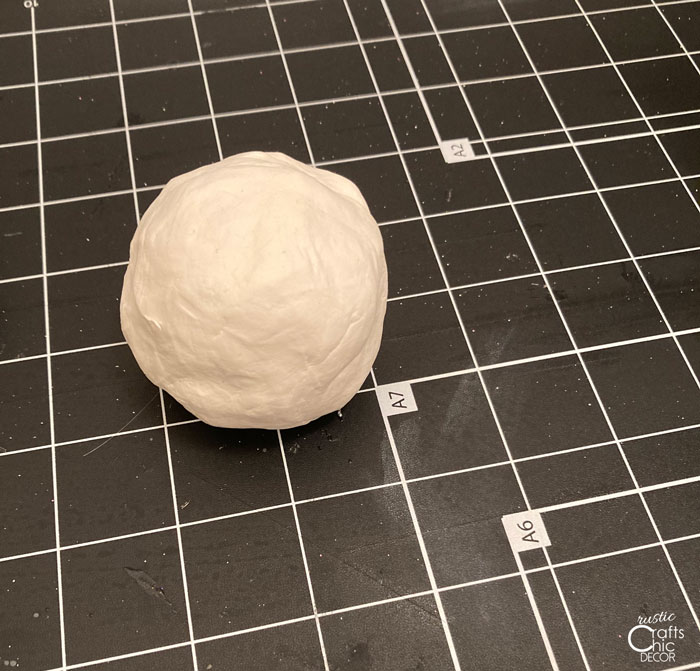
Step One: Form Clay Into A Ball
Pull apart a section of clay from the block to use for your bowl and shape it into a ball. You’ll have to kind of guestimate based on the size bowl you want to make. As you start working with the clay you can either add or take away some of the clay.
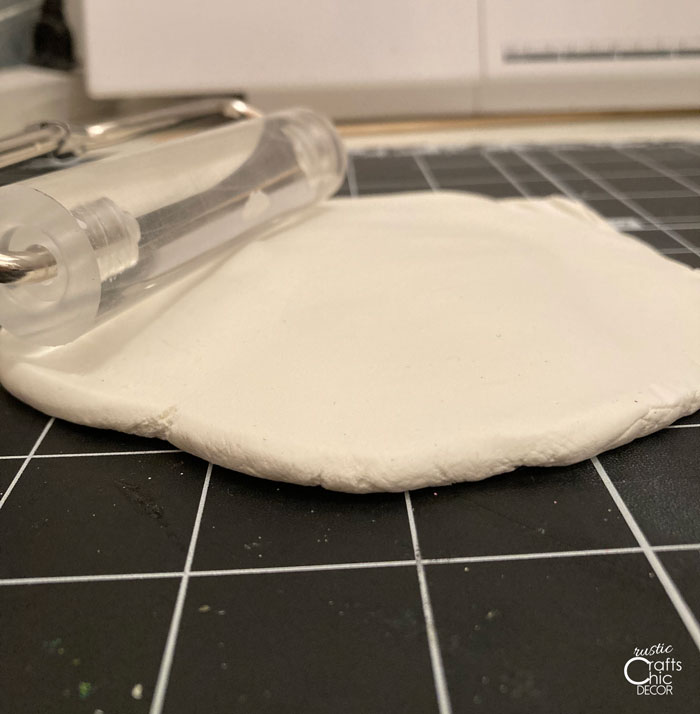
Step Two: Roll Into A Flat Disc
Using the roller, roll out the ball of clay into more of a disc shape. I wanted a shallow bowl so it was easier to start the shaping from a disc rather than straight from the ball.
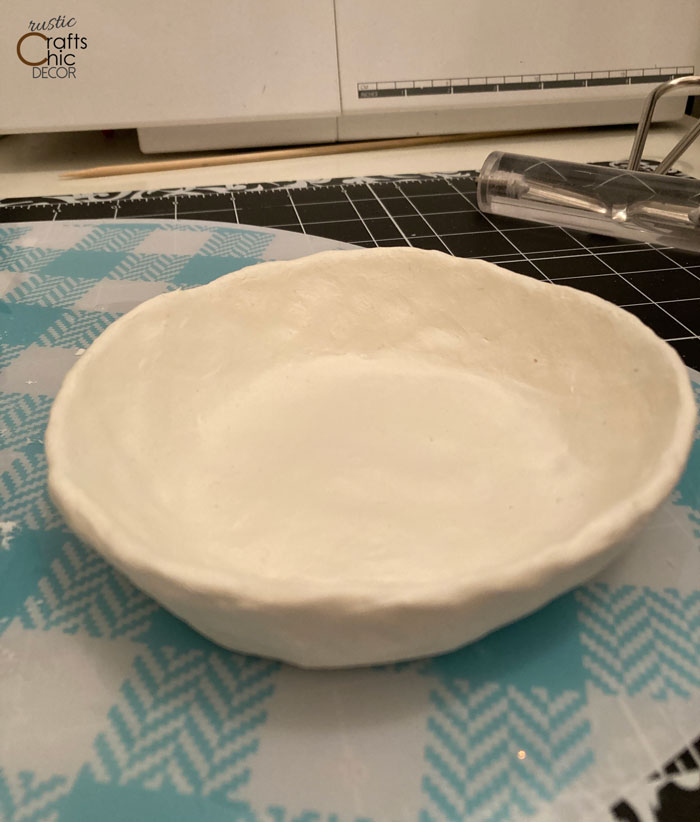
Step Three: Pinch The Clay Into Shape
Form the clay into a bowl or tray shape by pinching with your fingers. You may find you need to fold the disc for a deeper bowl, pinching and turning until you have the desired shape. Wet your fingers to keep the clay nice and smooth. If you are not happy with the amount of smoothing, you can also use a pottery rib to smooth out the surface further. Luckily, you can work on the clay for quite awhile without it drying out.
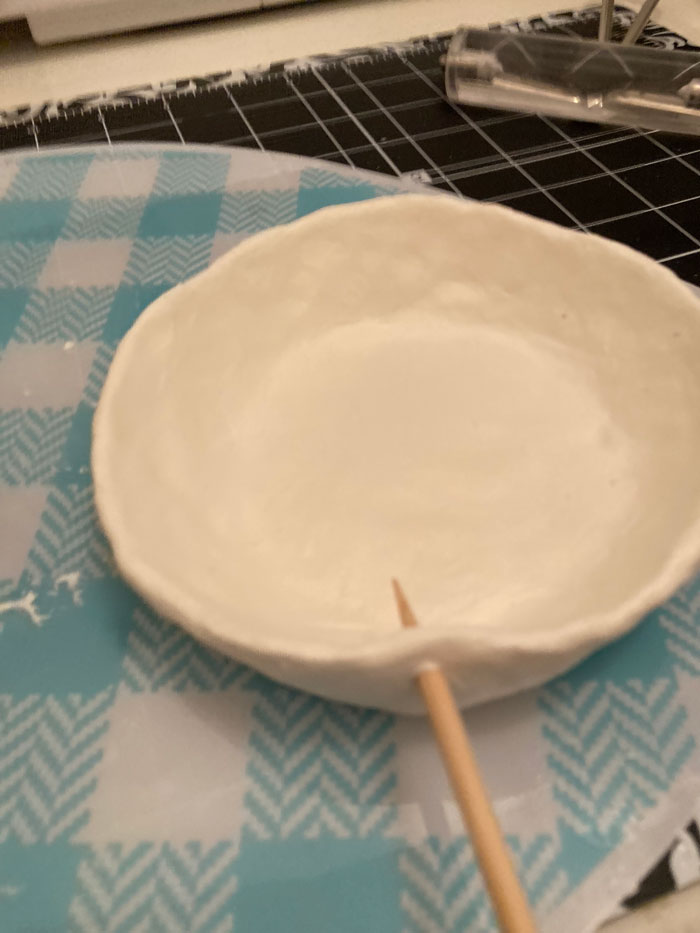
Step Four: Add Detail Before Clay Dries
There are several things you can do to your clay to give it more style before it dries. Maybe you want to stamp letters or shapes onto the clay. Or, add texture by drawing with the point of a skewer. I wanted to thread bark looking wire through holes for a rustic look. To get the holes, I pushed a skewer, point first, through the clay keeping the holes as evenly spaced as I could.
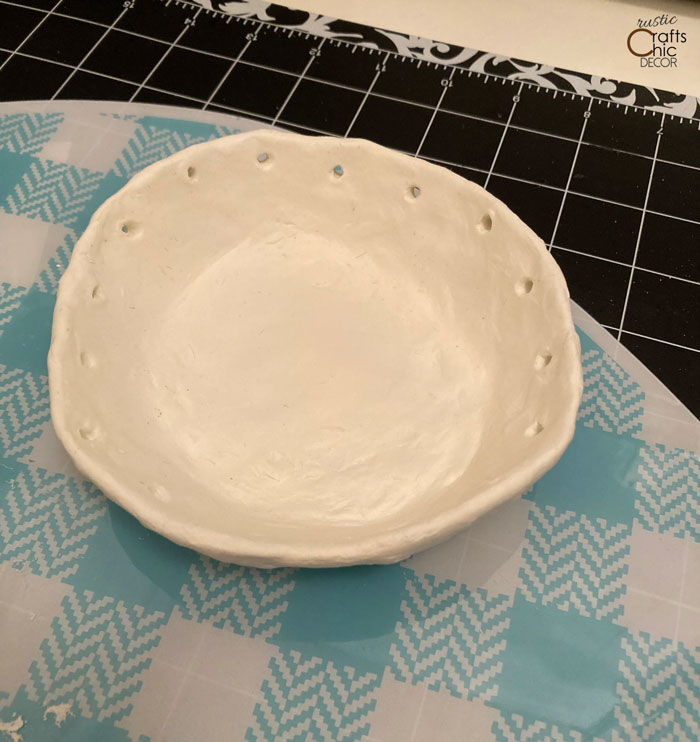
Step Five: Let The Clay Dry
Now all you have to do is set the formed bowl onto either a plastic mat or wax paper to dry. This will ensure that the clay doesn’t stick to your surface. It takes at least 24 hours to fully dry.
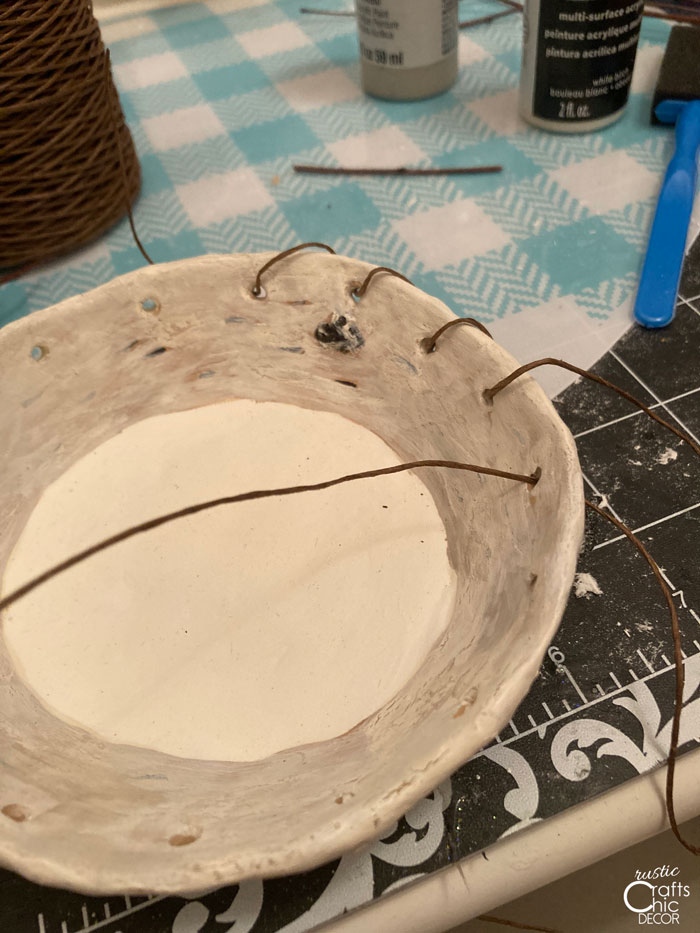
Step Six: Finish With Paint And Varnish
Paint your bowl with acrylic paints in a design of your choosing. To get a glazed look, you can apply either glossy Mod Podge or varnish to the paint after it dries. After I painted my bowl with the birch bark technique, I wove florist wire through the holes for a little more detail.
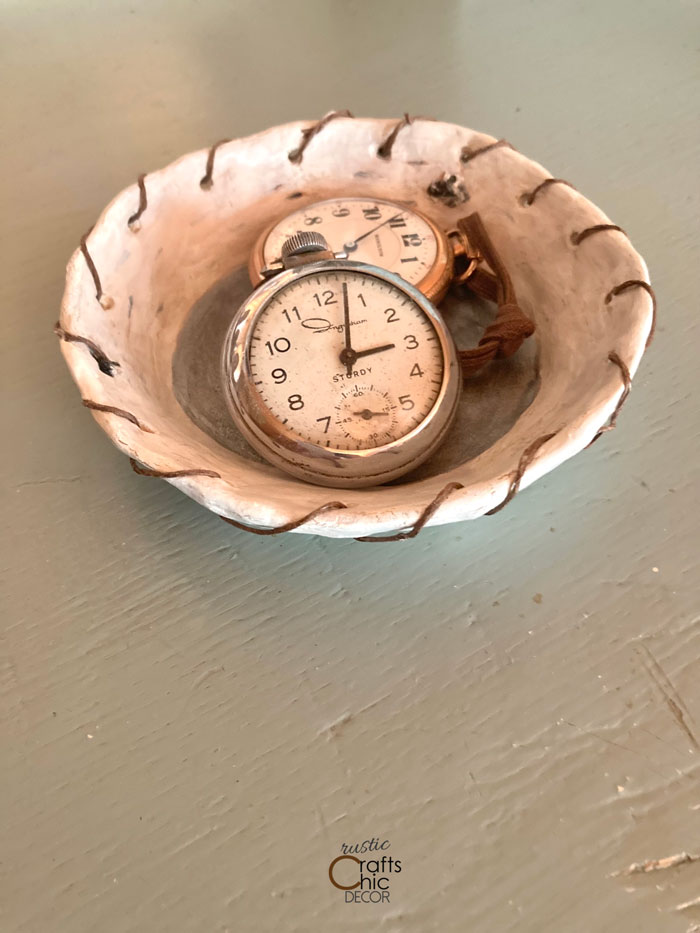
Finished Rustic Clay Bowl
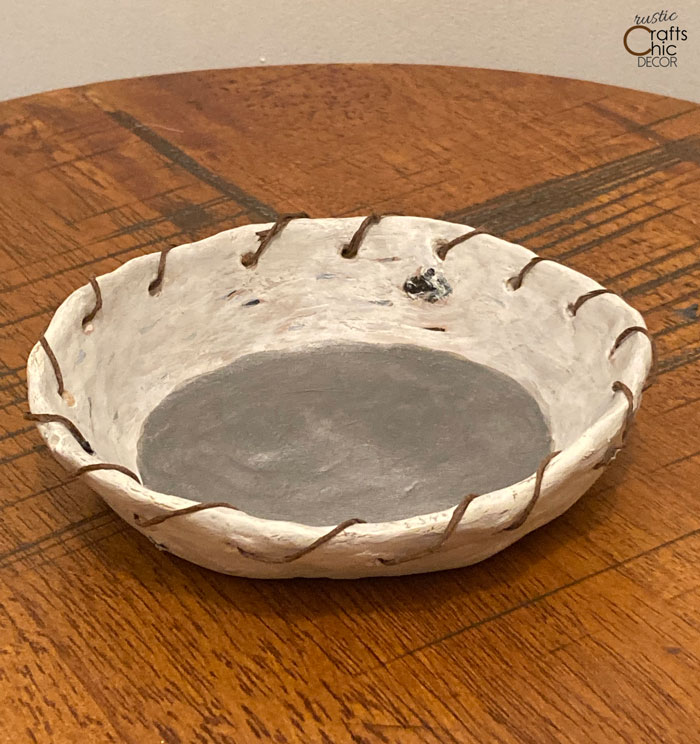
I ended up painting the inside bottom of the bowl with a metallic paint. I’m not sure if I like the contrast or if I should have done the whole bowl the same. This just means I’ll have to make a few more bowls with variations to see what I like best. At least it doesn’t take a lot of clay to make a little bowl.
This was such a fun little project! There is definitely something therapuetic about working with clay. It makes me think I might want to graduate to traditional pottery with a kiln. I can see some classes in my future! There are a lot of pottery studios around than not only teach the pottery wheel process but also let you come in and use their wheels and kiln for your own projects.