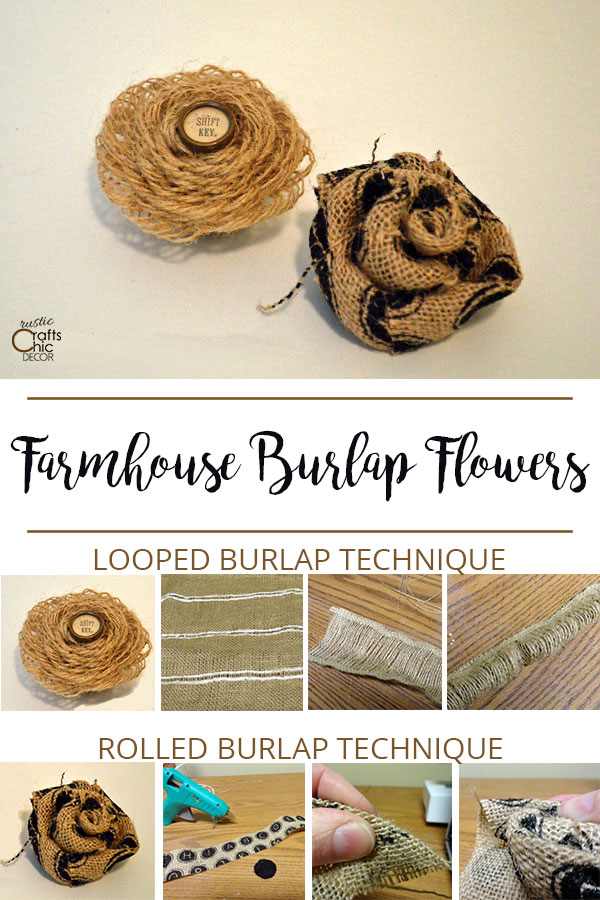
Quite often I will see a craft project that is embellished with a decorative burlap flower and I always love the look. So, today I thought I would show how to make burlap flowers. These are good to have on hand for gift wrap, decorating embellishments and other craft projects.
There are two techniques that I am going to demonstrate. Each one has it’s own unique look that are quite different from each other. One is a rolled technique and the other is looped.
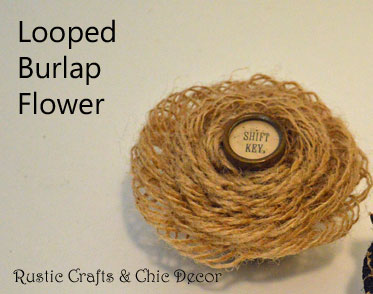
The first technique is a looped burlap flower using the strands of burlap. It is really a lot easier than it sounds.
How To Make Burlap Flowers Using The Looped Technique:
For a fairly small flower, you will need:
- a 3 inch by about 30-36 inch strip of burlap that you will cut from a yard
- tacky glue
- fabric glue
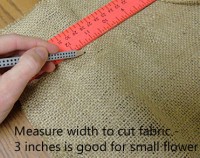
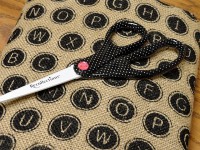
To get your strip of fabric, you will need to cut it from a larger section like this:
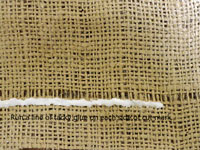
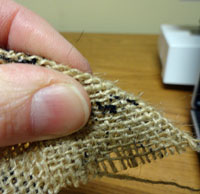
You first need to measure a three inch width. At each of your end marks, you will pull out a strand of burlap to mark your cutting lines. Before cutting, you will need to run of bead of tacky glue along the inside edge of the cutting line. If you are doing multiple flowers, then you will run a line on each side of the cutting line (as shown below).
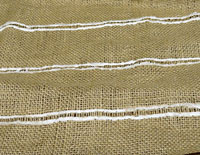 These flowers can go really quick once you have the prep work do so it is a good project to do several of at the same time. I was using a scrap piece of burlap so I only had room for a couple of flowers in this example.
After applying the glue, you can take a break to work on another project or go have a cup of coffee. The glue needs to fully dry before you can cut between the glue lines.
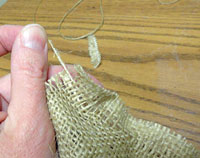
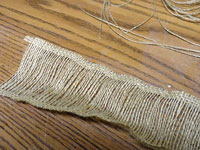
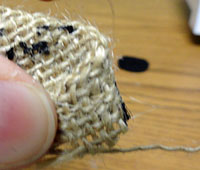
Once the glue is dry, just cut where you took out the strand, between the glue lines. Then, you need to pull out all of the strands in your strip accept for the glued edges.
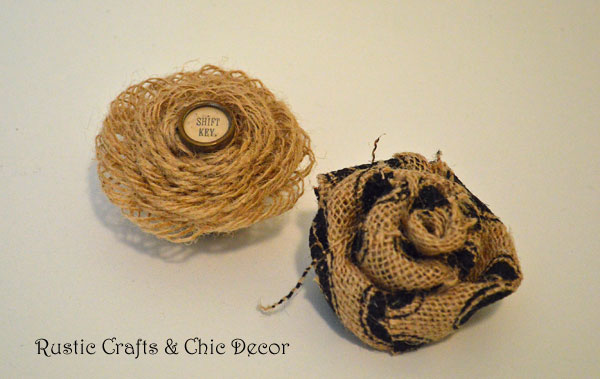
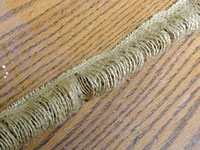
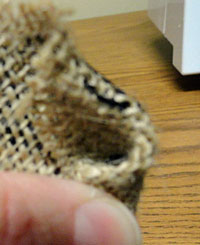
At this point, I like to use fabric glue because it is a fast tack. Run a bead of fabric glue along the inside top edge of your piece and then bring the bottom half up to fold your section in half. Press the edges together to form a bond. Run another bead of fabric glue along your new top edge. Starting at one end, begin rolling the looped strip tightly together at the top seam, making sure to keep the edge even as you roll. I forgot to take a picture of this last step but you are just rolling the seamed edged together which forms your flower. When you are done rolling, you have your flower!
I added in an old typewriter key for some extra embellishment.
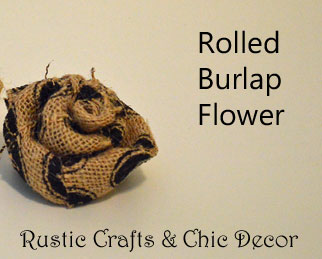
How To Make Burlap Flowers Using The Rolled Technique:
For a small flower you will need:
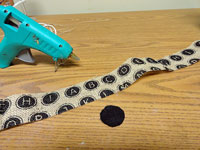
- a 2 inch by 30 inch strip of burlap ( I used patterned
- hot glue
- felt cut into a small circle to use as flower back
Cut a strip of burlap to about 2 inches by 30 inches or buy burlap trim. You can adjust the size depending on the size flower you want to make. I wanted to use a patterned burlap to give my flower another dimension.
First, you need to take one edge and fold the corner down in half toward you.
Then, you bring the corner of that first triangle and fold it toward you in a small triangle and then roll that whole edge in until it reaches the edge of the first big triangle. Now fold the upper half backwards so the trim piece is in half.
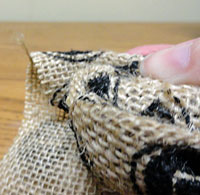 At this point, you will start twisting the full piece of burlap from the top to the back to form petals and you will turn the flower as you go.
You can do this part either tightly or more loose depending on the style you want.
If you don’t like how the shape is turning out, just start over!
When you are happy with the results you just put some hot glue on your felt circle and glue it to the bottom of your flower to hold everything in place. You may need to add a few spots of glue between your petal layers, especially if you wrapped your flower loosely.
Your result will be a fun shabby chic flower!
