Have you ever wanted to have an image on your blog that contains multiple links? In WordPress, when you upload an image, you only have the ability to create only one link. However, you can still create multiple links with image mapping.
Image Mapping Tool
To do this, you simply need to use an image map tool to get the appropriate HTML code for your WordPress blog. There are several image mapping tools available but for the sake of this tutorial, I am using Mobilefish. This tool makes it super easy to create multiple links and it’s free to use.
For this tutorial I’m using the following image with text that I would like to have separate links for.
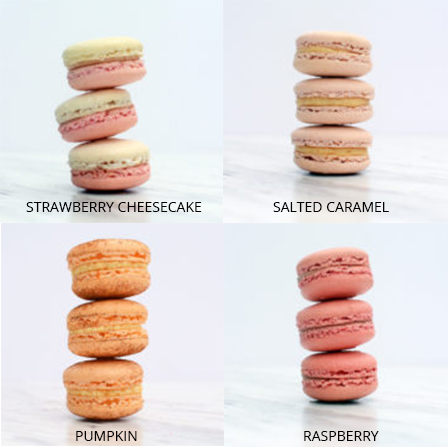
First, I would go to Mobilefish and upload this image.
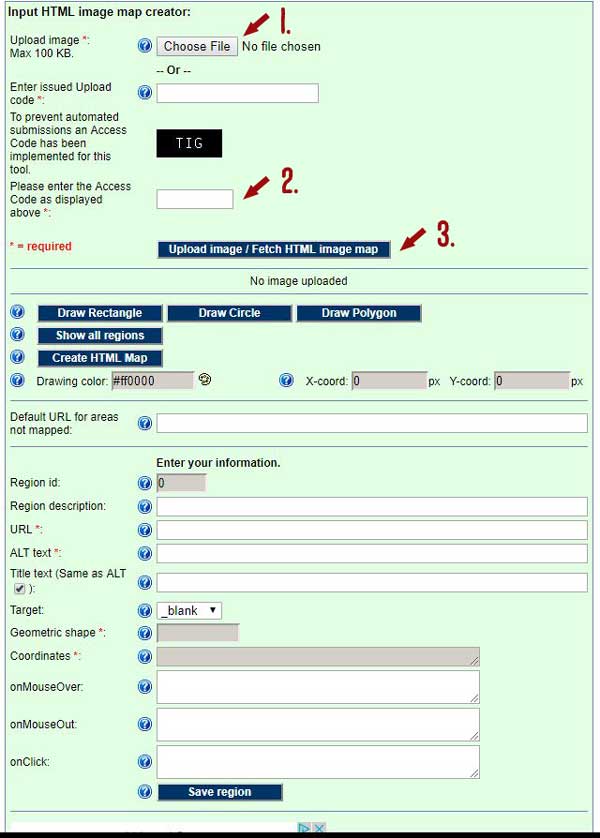
The first three steps of the image map creator are to select your image, enter the access code shown, and click Upload image / Fetch HTML image map.
The next screen will now show your image to add links to.
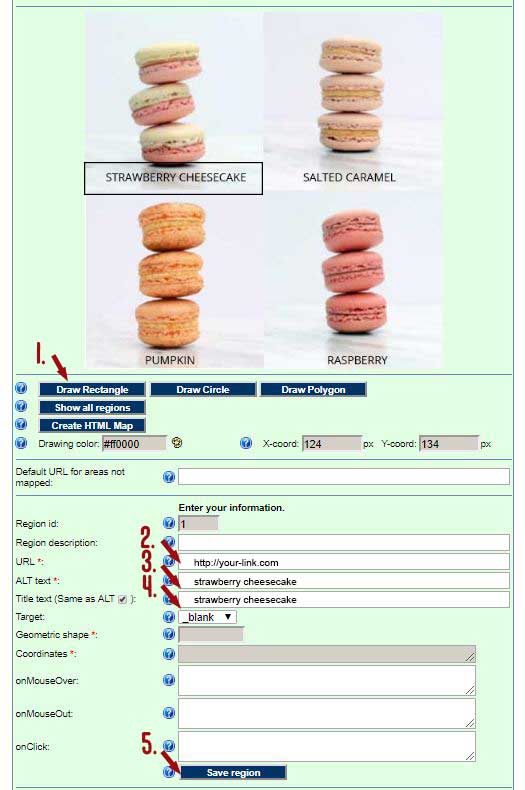
The first step is to click on what shape and area you want your link to be in. I wanted just the text part of the image to be a link, so I chose to draw a rectangle. After clicking on your desired shape, you drag your cursor around the area that you want the link. My first link was for the strawberry cheesecake macarons.
The only fields that you are required to fill in are the URL you want to link to and the Alt text. The Title text automatically fills in when you type the Alt text. Once you have everything filled, you then click on Save region. After saving the region, the screen freshens and now the Region id shows 2 instead of 1. Follow the same process for the rest of the links you want. When you are finished, click on the Create HTML Map button.
The code generated will be the code that you enter into your WordPress post, page, or widget……almost! There are a couple easy things to do in WordPress first.
WordPress Tutorial For Uploading Image Maps
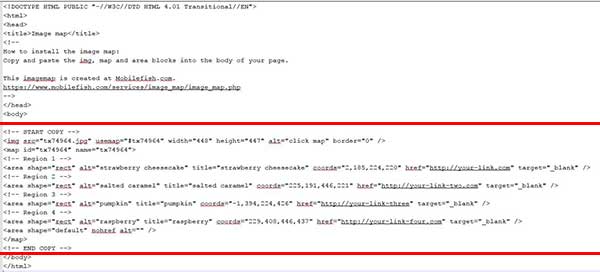
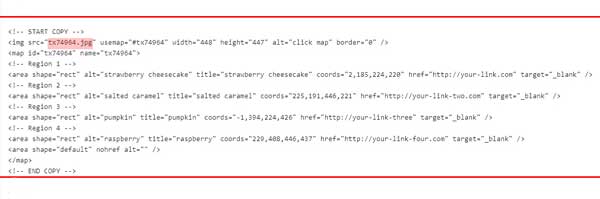
First, upload your original image into your WordPress media then click on the uploaded image and write down the URL. Now go back to Mobilefish and copy the part of your image map code that is between <!–Start Copy–> and <!–End Copy–>. This is the only section needed. I added the red lines to show which section you need.
Finally, click over to the Text tab and paste your generated image map code into the post, page, or widget. The image source part of the code is highlighted in pink and needs to be replaced with your WordPress image URL. Make sure the new URL is between the quote marks.
And that is it! You should now have multiple links in your image.