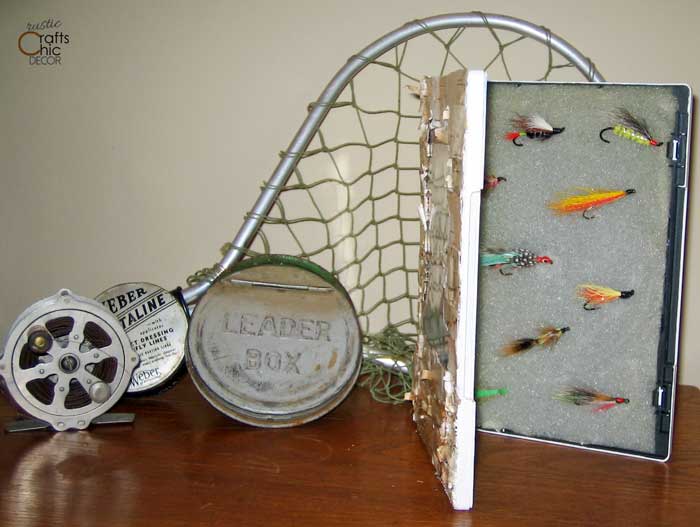
Occasionally, I like to challenge myself by creating something unique from a common household item. Because we had moved all of our DVD’s to a storage album, I was left with a large pile of discarded cases. Instead of throwing them all away, I decided to recycle one into something we could actually use. Since my husband loves to fly fish and has plenty of flies to store, I decided to make a DIY fly box. The old plastic DVD cases are perfect for this craft.
I could have just made over the inside to hold flies but I was also excited to make a decorative cover for the box. It didn’t take me long to come up with a plan. For one, I love to incorporate birch bark wherever I can. And, I also had some decorative fishing craft paper that needed to be used. With a plan in my head, I began my project.
How To Convert A DVD Case Into A Fly Box
Make The Inside Functional
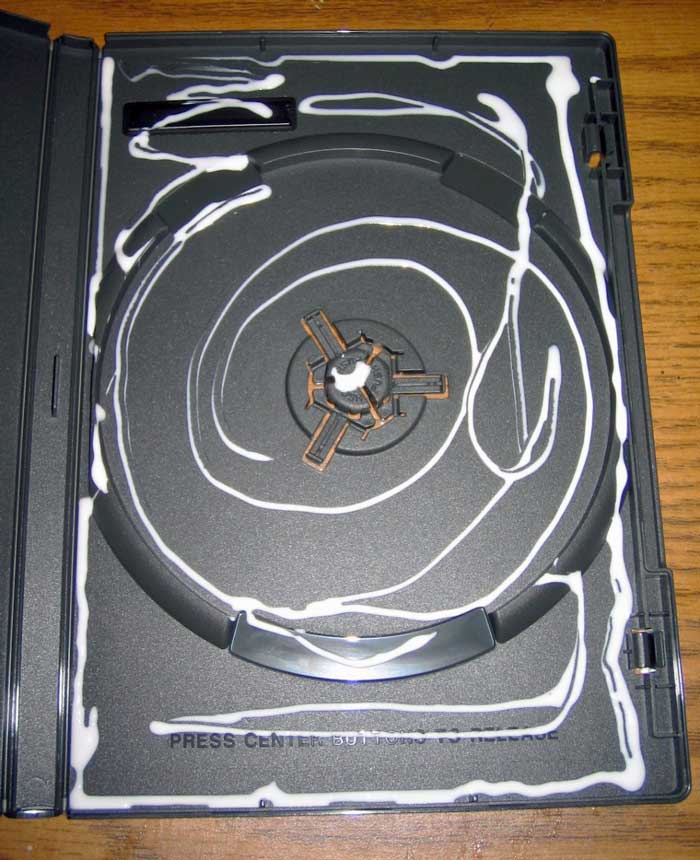
I started with the inside. After all, I had to make sure that the box could actually function as a fly box. The case would need something to keep the flies in place so I decided on foam. So, the first thing I did was cut two pieces of thin foam to fit on each side of the open case. Using tacky glue, I coated each side of the case with glue and then laid down the foam on the glue and let dry. This gave me a soft surface for the flies to lay on and I could also poke the hooks into the foam to hold the flies in place.
Create A Decorative Cover
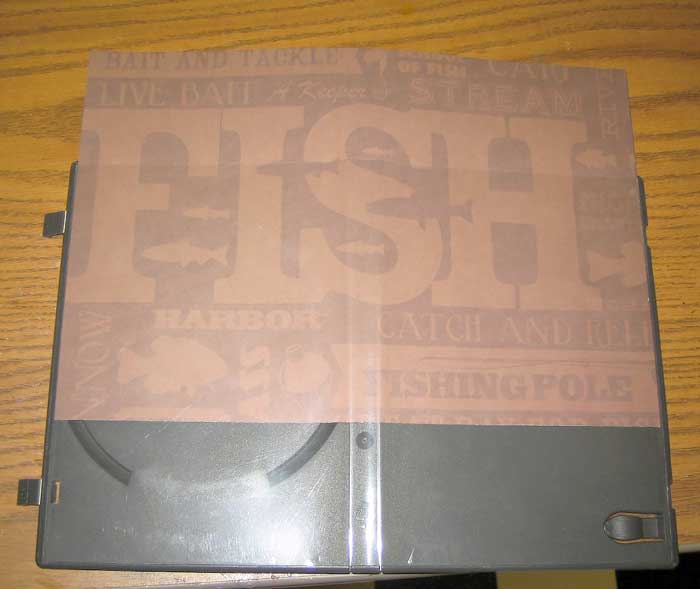
Once I had the foam in place, I went to work on the cover. I cut a piece of patterned construction paper to fit the insert where the movie jacket used to be. I opened the case completely to be able to slide the paper through easily. Before sliding the paper in for good, I added a couple of card stock stickers for added embellishment. I could have been done right there but decided to add some birch bark and paint to the outside.
I had a slab of birch that had been in storage for a couple of years and the bark was easy to peel in thin layers. Using tacky glue again, I adhered each piece of birch bark to the outside of the case in a layered fashion. I then put a coat of decoupage over the birch to seal and protect it.
I couldn’t get birch around the top and inside lips of the cover so I painted those a satin cream color to blend with the birch.
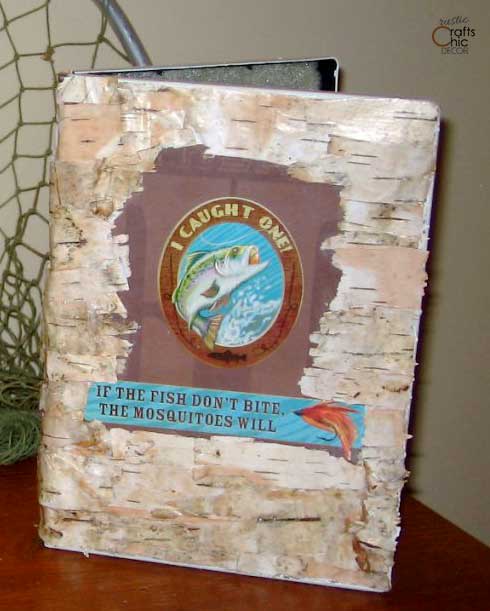
After adding the birch bark and stickers, my original fishing paper was pretty much covered up. But, that’s the way it goes when you are making things on the…..fly!
The Completed Project
I inserted the flies and the project was complete! It also makes a decorative little box to display.
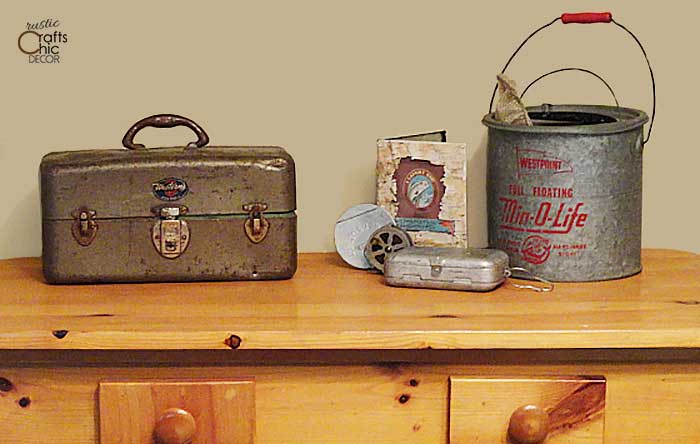
We have so much vintage fishing decor, that the DIY fly box fit right into the vignette.
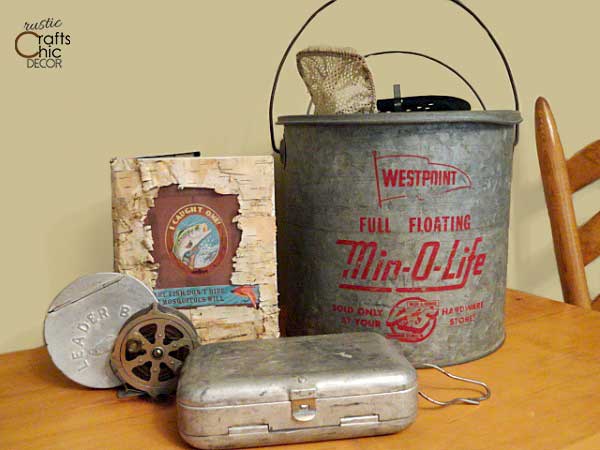
If you liked this DIY fly box, you also might want to check out my DIY fly fishing sign.
